I almost titled this "Strawberry Pride" because of how gorgeous the pie turned out. I mean... Just look at it:
Check out the crystal clear glaze and the gorgeous berries. I mean... wow.
Now that I have your attention, I kind of need to apologize for bringing the pie into the discussion. You see, this post is really going to be more vlog ("video blog" for those like me who aren't good with jargon) than a regular text-and-photo blog.
And it's also going to be more about celebrating Gay Pride than about baking. But the Strawberry Pie is really important in the discussion. I promise. I mean... well... just watch the video and I think you'll understand.
NOTE: Yes, I know that my version of celebrating Gay Pride is not what everyone does - and some people may think that I'm doing it "wrong." And that's perfectly fine. This is definitely a "You do you" situation - whatever works for you (you know, within moral/ethical reason) is cool, too. Just so long as you're living your true life.
Next week, I plan to have the full Strawberry Pie recipe. It will be a completely different pie, even, because (as you might expect) the one pictured above is long gone.
Thanks for coming along with me and being a part of my life - in all its layers.
-----
Is there something you make in the kitchen that ties you to your history - or grounds you in the present? What foods are special to you? I'd love to hear about how you connect your personal story with your cooking!
I’m really trying to stick to some fairly healthy eating. I swear. I know that my posts kind of swing wildly between the ends of the spectrum, but that’s because… well… so do my meals.
Today, for instance, we’re working on a really nice, summery casserole. For me, casseroles (or – if I were a true Minnesotan – “hotdishes”) are typically a heavy winter food. Lots of cream of something soup, cheese, and potatoes.
Don’t get me wrong. I absolutely love that kind of thing. But not when the weather is warm and humid and all you really want it to cook something that doesn’t make you feel like you can’t fit into your shorts.
Rice, peppers, meat, melty cheese. How could this go wrong?
Now, come on. How great do these ingredients look? Multi-color peppers, white rice, ground turkey – and cheese. You know we can’t go wrong at this point, right?
First step (and, really, the only step in the prep) – chopping things up.
I will never win an award for my knife skills. I watch all of those cooking shows where people are getting lectured about how bad their skills are, and I think “I haven’t lost any fingers, yet, I must be doing okay.” But, that said, here’s a quick trick for dicing an onion:
1) Cut it in half, from top to bottom
2) Lay it flat and cut off the top (if you keep the root end intact, it will help hold it all together)
3) Cut “stripes” into it vertically (from the top to the bottom toward the cutting board)
4) Cut back across it horizontally (with your knife parallel to the cutting board)
You can see the cross-hatch cuts if you look closely in this picture:
5) Cut across the original stripes from side to side toward the cutting board
6) You’ve got a fully diced onion!
By the way – have you ever heard about how much produce American grocery stores throw out because it’s not “perfect” – and so people won’t buy it? This includes things like bruised apples or dented tomatoes or – in this case – slightly wrinkled bell peppers.
Personally, unless I’m going to be making a presentation out of what I’m buying, I tend to not worry about that. And I’m sure that if I really wanted I might be able to bargain down some prices because I’m buying “damaged” goods – but I’m horrible at haggling (even in countries where you’re supposed to), so I just pay and go.
When you get to the peppers, you’ll need to cut them open and take out all of the seeds before dicing them. (I tend to make the initial half-cut, and then just pull the pepper open with my hands and scoop everything out.)
I love a good Santoku/Japanese Chef's knife!
Oh. Sorry. I forgot to include garlic in the initial photo. That’s because ours comes from a squeeze container instead of from a fresh bulb.
This is one of those shortcuts that just makes sense for us. We don’t cook with enough garlic to keep a bulb from shooting out sprouts before we use it all. So this is a little more expensive – but much more practical.
Before we launch into the cooking, I should mention that I doubled the recipe. I had looked at the photo with the online recipe and decided that it didn’t look like it was enough food to fill a 9x13 pan, and since so many of the ingredients are things like “a can of…” it seemed better to just double it instead of trying to do one-and-a-half of everything.
Into the pan go 2 pounds of ground turkey (or very lean ground beef), the chopped onion half, and about 4 cloves of garlic.
If you work it with a spatula while it cooks, it’ll break down into nice chunks by the time it’s done.
Just before the onions are completely soft, you toss in the bell peppers, salt, and pepper.
I obviously got over-excited and forgot to take these photos as squares.
Stirring them together was the moment where I began to think “I’m going to need a bigger pan.” (cue music from Jaws)
I split this out between my 4-quart sauté pan and a deeper 4-quart “everyday” pot, and took over the top of the stove.
Next up – one can of diced tomatoes (not drained) per pan, plus one small can of tomato sauce per pan, plus some herbs – I went with oregano and basil, since it was feeling kind of Italian at this point. (With the turkey, I also could have easily gone for sage or rosemary.)
I have to admit: At this point I was thinking I should just add beans and call it chili.
Then each pan got 2 cups of chicken stock and I waited until they each came to a boil.
And then added in 1 cup of Basmati rice per pan and stirred it all together.
When I put the lids on, I have to admit that I wasn’t sure what was going to happen over the next 25 minutes. It was pretty much soup with crunchy rice at this point, after all.
But, when the lids came off... well… it looked like a bunch of peppers and tomatoes had been made into stew.
But... geez... is that gorgeous or what?
Until I stirred it and all of the rice appeared.
About 2/3 of this went into a 9x13 pan, and was topped with some cheddar cheese.
That left about 1/3 of it in the other pan on the stove.
Which went into another casserole dish and was also topped with cheese.
Technically, at this point we were done. And had in front of us a nice, filling, yet not overly heavy dish.
But, to make this a true casserole, I do believe it has to be baked off. So I put the back-up pan into the fridge for a couple of days and then did just that.
Don't worry - I was taking out of the oven just as I took this, so it was okay to have the oven door open.
By the time it came out of the oven, it had all melded together. The rice was a perfect texture, the cheese was all melty. I was ready to go.
As I mention in the video, this would be great with almost any other spice palate (palette? pallet?) thrown in. To take it more to the Italian side, I could have topped it with mozzarella and bread crumbs. A spicy Mexican take on it – with some hot sauce, and some sliced jalapeños and cilantro would be great. Or maybe Indian, with some warm curry spices and ground lamb instead of turkey. As long as the liquid content stays consistent (to cook the rice), this could become a really decent blank canvas.
I feel I should point out that – if you’re planning to bake it later – you should really only about half-cook the peppers. They were still crunchy the first time I bit into this (in the video), but by the time I was eating the leftover leftovers they had gotten pretty soft and bland.
Overall, though, I’m looking forward to trying this out again – especially since I know that it does well in the fridge!
----- Have any thoughts on which version of palette/palate/pallet is correct in this post? Let me know your opinions - you know I'm as interested in words as I am in food! (Well... almost.)
When I was growing up in the '70s and '80s in small town South Dakota, the closest real fast food restaurants were about 35 miles away. There was a Dairy Queen that was a little closer, but that didn't really count. McDonald's and Taco John's were both in the same town that had the closest movie theater and mall.
Taco John's was what we had before Taco Bell moved in a few years later. And, when I was in college my freshman year one of my sisters was a senior at the same college, and we would occasionally go for Taco John's. Nothing made the meal better than ending it with an Apple Grande.
What's an Apple Grande? It's... well... it's kind of a dessert tostada. It's basically a fried, flat flour tortilla with apple pie filling, cheese, and crushed red hots on it. It's... well... it's this:
I found that photo on Twitter where someone posted it in 2014. I think the fact that it's shown in its native habitat - its box - is important. (Although in my experience the lid was typically stuck to the cheese.)
There's only one or two Taco John's restaurants in the Twin Cities, so I don't get there very often - and I typically don't mind that. I was working with some tortillas, though, and was frying some up to cover with cinnamon and sugar as a quick and easy dessert to go with tacos. And - for no good reason - I started thinking about Apple Grandes.
Well, let's just let me explain what was going on:
So, here's what we're looking at for ingredients:
Remind me to turn on my flash, next time.
I know I've said in the past that I don't really like making up recipes as I go along, but... well... that's pretty much what I did, here. But first I dug around online and figured out what goes into an apple compote - which, really, is kind of like the inside of an apple pie without the crust.
Obviously, you need peeled and diced apples.
I was really happy with this tart-sweet combo of Granny Smith and Golden Delicious.
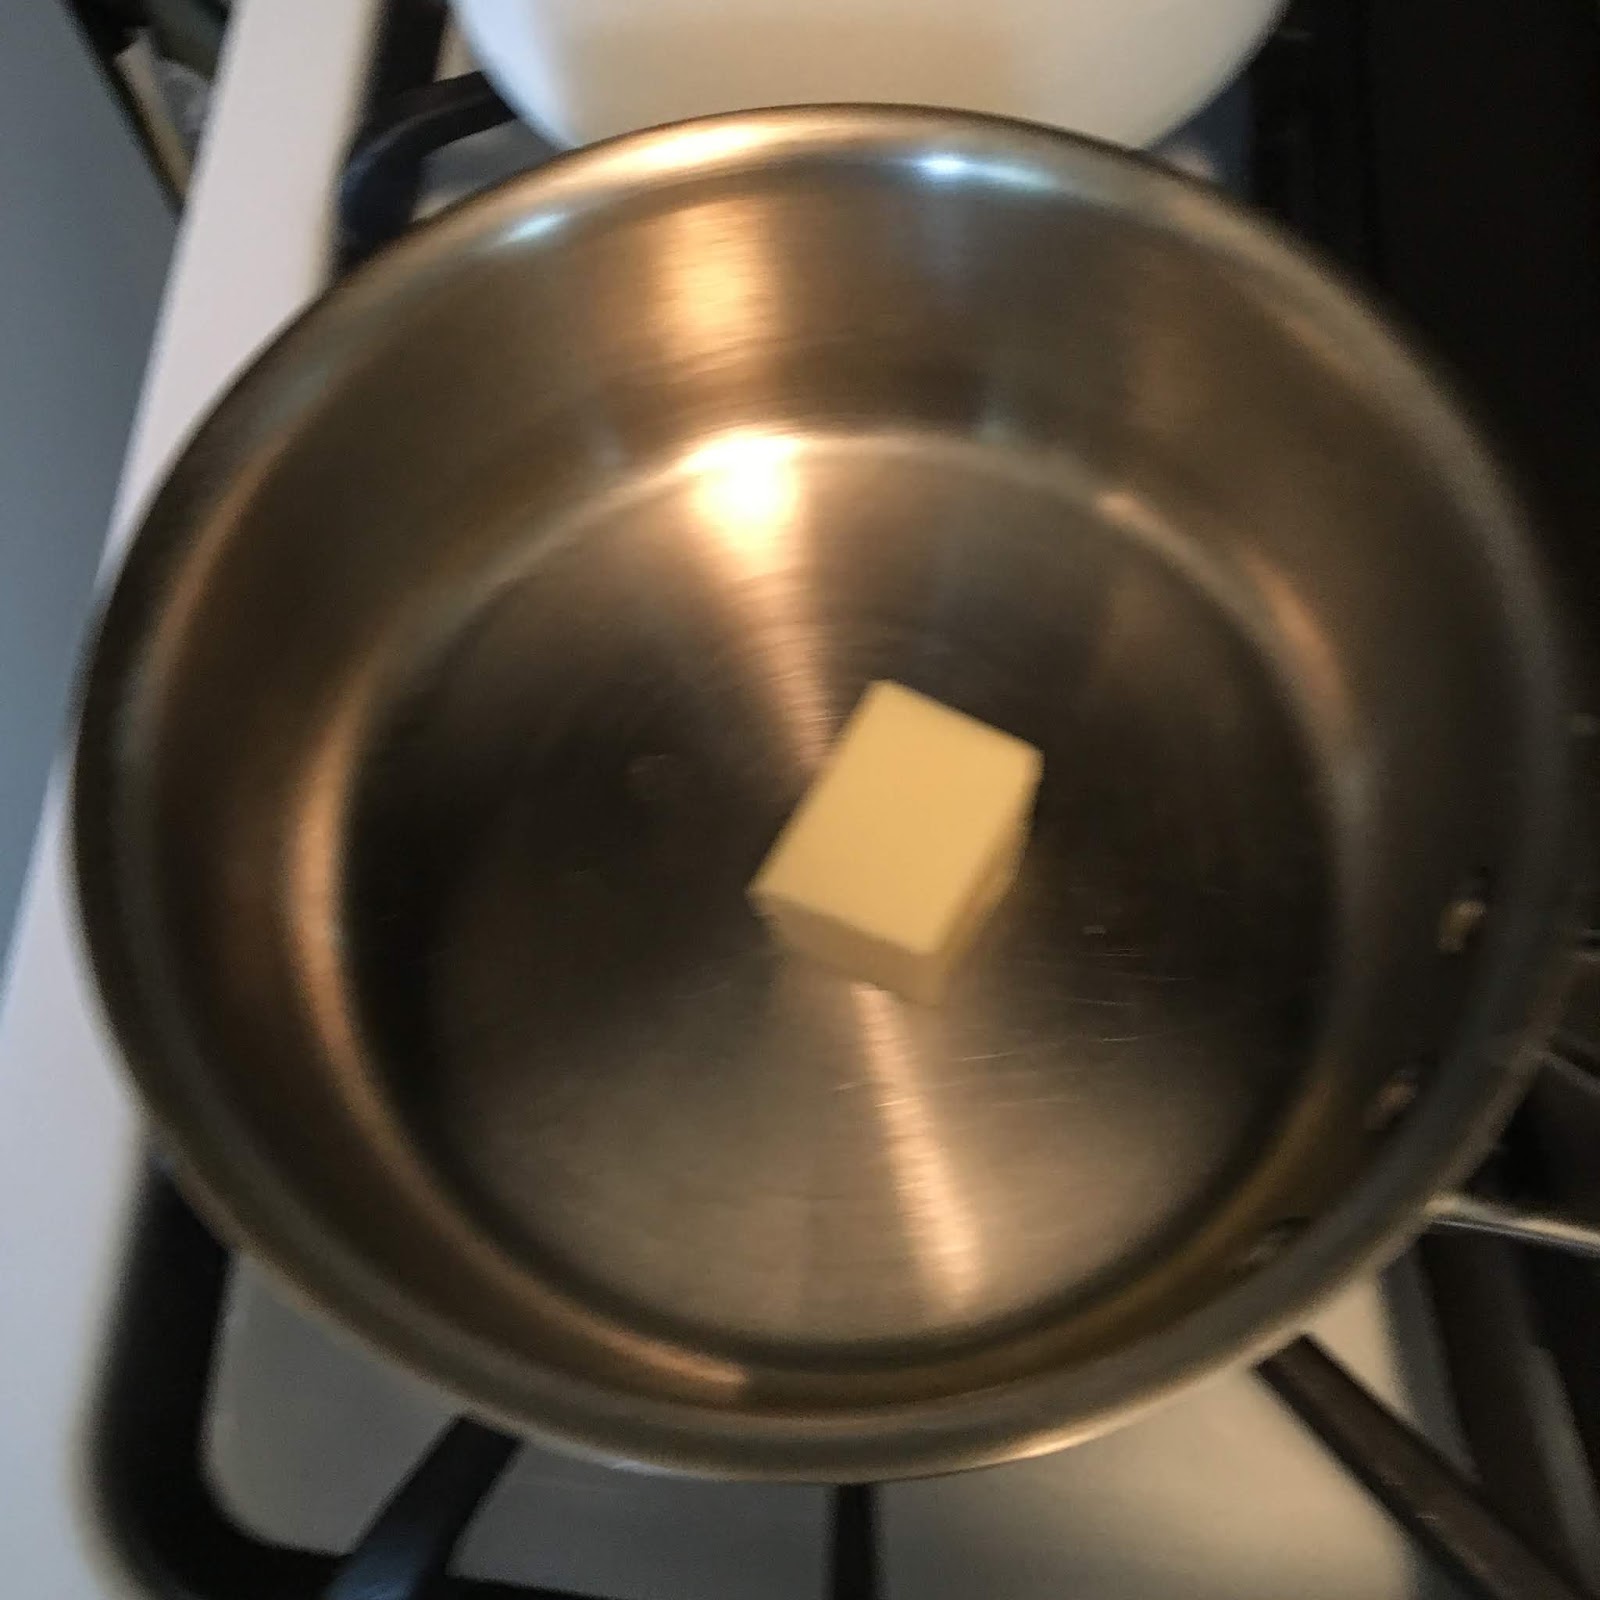
About 3 tablespoons of butter, which you put into a pan to melt.
And about a third of a cup of brown sugar, which you stir into the melting butter.
Once that's all good and melty and syrupy, it's time to put in the apples...
No, they're not perfectly peeled. I'm not a perfectly peeled perfectionist-type person.
Stir in some cinnamon - maybe about a half teaspoon...
And wait...
There is magic happening under that lid. I'm sure of it.
Now, there's really no telling how long you'll need to wait, because you're trying to get the apples to soften without becoming mush. The timing is going to change depending on the type of apples you've got, because they all have slightly different amounts of crunch to begin with.
Eventually, though, they'll go from this:
To this:
Yes, they smelled as good as that looks.
Of course, you can't make an Apple Grande without the fried tortilla. I mentioned above that this ought to have a flour tortilla. A really thin corn tortilla would also work well. My tortillas were slightly thick corn tortillas. But... you do what you can when you're working on a craving, right?
I used about a quarter inch of canola oil in the bottom of a wide pan for this. And, frankly, the hardest part is not burning yourself getting them in and out of the pan.
Important: Always put what you're frying into the pan so that any splash goes away from you. In this case, I started with the tortilla fairly close to me in the pan, and moved the "top" away from me as I lowered it in.
You know the oil is hot enough when it bubbles as you put the tortilla (or anything else, really) in. If it's not bubbling, there's a good chance that you're just kind of boiling the tortilla in the oil - which gives you a greasy finished product.
You're looking for this to turn golden, and you'll need to flip it about halfway through.
Use tongs. Not your fingers. Duh.
Once they're out of the oil, you're going to want to put them on a rack in case they need to drip at all. Then sprinkle them with cinnamon sugar.
Remember: I was making these cinnamon-sugar tortillas for a dessert, these did not all become Apple Grandes.
By the time you've fried up some tortillas, your compote should be cool enough to work with. (Prior to this, it was near-boiling sugar syrup with apples in it. NOT something you want to bite into!)
This means that you - and your very patient dog who has been waiting patiently for you to drop something - are ready to assemble and eat your homemade Apple Grande!
Sadly, I did not drop anything. Though she stayed exactly as close to under foot as possible, just in case.
This is one of those times when I feel I should remind you (and myself) that it's not all about looks. It's about taste.
So, how does it taste?
(I apologize, in advance, for calling my fried tortilla a tostada about 82 times in this video.)
I did plate one after that video, though, just so you could see the finished product:
Yeah. I know. This still doesn't look all that exciting. But at least it has cheese!
Yeah. The apples were great. But next time I really need flour tortillas. Oh well. I'll just have to stop at a Taco John's for the real thing the next time I head down to see my folks!
----- What's one of your summer treats? Is there something you'd love to see me try to put together - or make a homemade version of? Let me know and I'll see what I can do!
Last summer, as you may recall, I talked about my favorite summer treat: a mug of brown sugar and oatmeal. (Yes, really. I wrote about it here.)
This summer, I thought it might be good to be just a little bit healthier in my snacking. (Especially after last week's Toll House pie.) But I still want it to be easy. So I was trying to think of other things I could have that would approximate my favorite mug o' comfort.
I decided that an entire market niche can't be completely wrong and headed down the granola route.
Not quite a mug o' goodness...
The thing that I quickly realized is that granola recipes are all kind of the same: You've got your healthy stuff, your other healthy stuff, your sweet things to kind of bind it, and maybe some salt. And then you bake it.
Let's look at how I made my choices:
NOTE: When warming the honey bear on the stove, do this in a water bath - not just straight on the stove or in a dry pan. You want the honey to melt, not the bear.
I'd like to point out that I do not love to make recipes up as I go along. I'm a recipe-follower. This was multiple steps out of my comfort zone for foods, as you might expect, but here's where I started:
Please ignore the Gluten-free pretzels at the back of this photo. There were no pretzels in my granola.
If there were a recipe for this, it might be:
1 1/2 c - oatmeal
1 1/2 c - pumpkin seeds
1 1/2 c - unsweetened coconut flakes
1/4 c - canola oil
1/4 c - maple syrup
1/4 c - honey
1 tsp - vanilla
1/2 tsp - salt
1 c - dried cherries
(SPOILER ALERT)
3/4 c - chocolate chunks
But, honestly, I can see how this could be endlessly modified. (Though I probably still wouldn't use pretzels.)
Before mixing - because I knew it wasn't going to take long - I preheated the oven to 350.
Then I started out with about 1 1/2 cups of each of the dry ingredients: oatmeal, pumpkin seeds, and unsweetened flake coconut.
Into this, I added 1/4 cup each of maple syrup, honey, and oil (canola, in this case), as well as about a teaspoon of vanilla and a half teaspoon of salt.
Have I mentioned that my honey is a little old? Luckily, honey doesn't go bad, so you just scrape it out and keep going. (Or you warm it, slowly, until it runs on its own.)
Dry stuff plus gloppy stuff. Yum. (?)
Once it was stirred, I spread it out on a cookie sheet that had been lined with a Silpat. (This could also have been done with parchment paper - or I guess I could probably have greased the pan - mainly, you just don't want to bake/scorch the sugars to the pan.)
Pre-oven, it looked a bit anemic.
At the halfway point (15 minutes in), I opened the oven (because the recipe said I was supposed to), stirred it all around (trying to flip it over as well), and then put it back in.
At about the 20-minute point, it was really starting to smell good in my kitchen. I should have taken that to mean it was almost done. But I'm a recipe-follower, so I left it in until the end of its second 15-minute baking. (If you're adding, this was 30 minutes, total.)
It was... a little darker than I'd hoped.
I added in about a cup of dried cherries (those are the big dark clumps in the photo, above), and stirred them around, then set it outside to cool and "crisp."
Later, outside with mug in hand, I did my taste test to see how it compares to my old standby:
I have no idea what's up with that one clump of hair that was sticking out in the back - for both videos.
Once it was fully cooled, I decided to be smart and portion this out. But - before doing that - I did add in some chocolate chunks. I'm not sure why, but they seem to help with the slightly-over-done taste of the granola (as well as just making it a little sweeter).
If you didn't already guess, the big rectangular chunks in there are the chocolate.
Overall, would I make it again? I'll give it a solid maybe. I mean... It's definitely better for me than the oatmeal/brown sugar/chocolate chip mix. But it's not quite as easy to just whip up and eat. I guess the snacking jury is still out on that one.
----- What's the one snack you can't live without? Is it something from your childhood, or something that you found when you got older? I'd love to hear what it is - and why it's a favorite!