But we needed something to take to an event this week, and since we took cookies the last time we thought it would be good to change things up with something savory. And - for some reason - I thought "maybe focaccia would be good."
For those of you who prefer video, allow me to explain what's going on:
Wait. I skipped a few steps. Here are the ingredients:
4 cups (520 grams) all-purpose flour
2 teaspoons kosher salt
1 teaspoon instant yeast
2 cups lukewarm water, made by mixing 1/2 cup boiling water with 1 1/2 cups cold water
4 tablespoons olive oil
Flaky sea salt
For the record, the olive oil I'm using is a garlic oil from a local olive oil purveyor.
Prior to showing off the bowl in the video, above, the ingredients looked like this:
A quick stir turned it into:
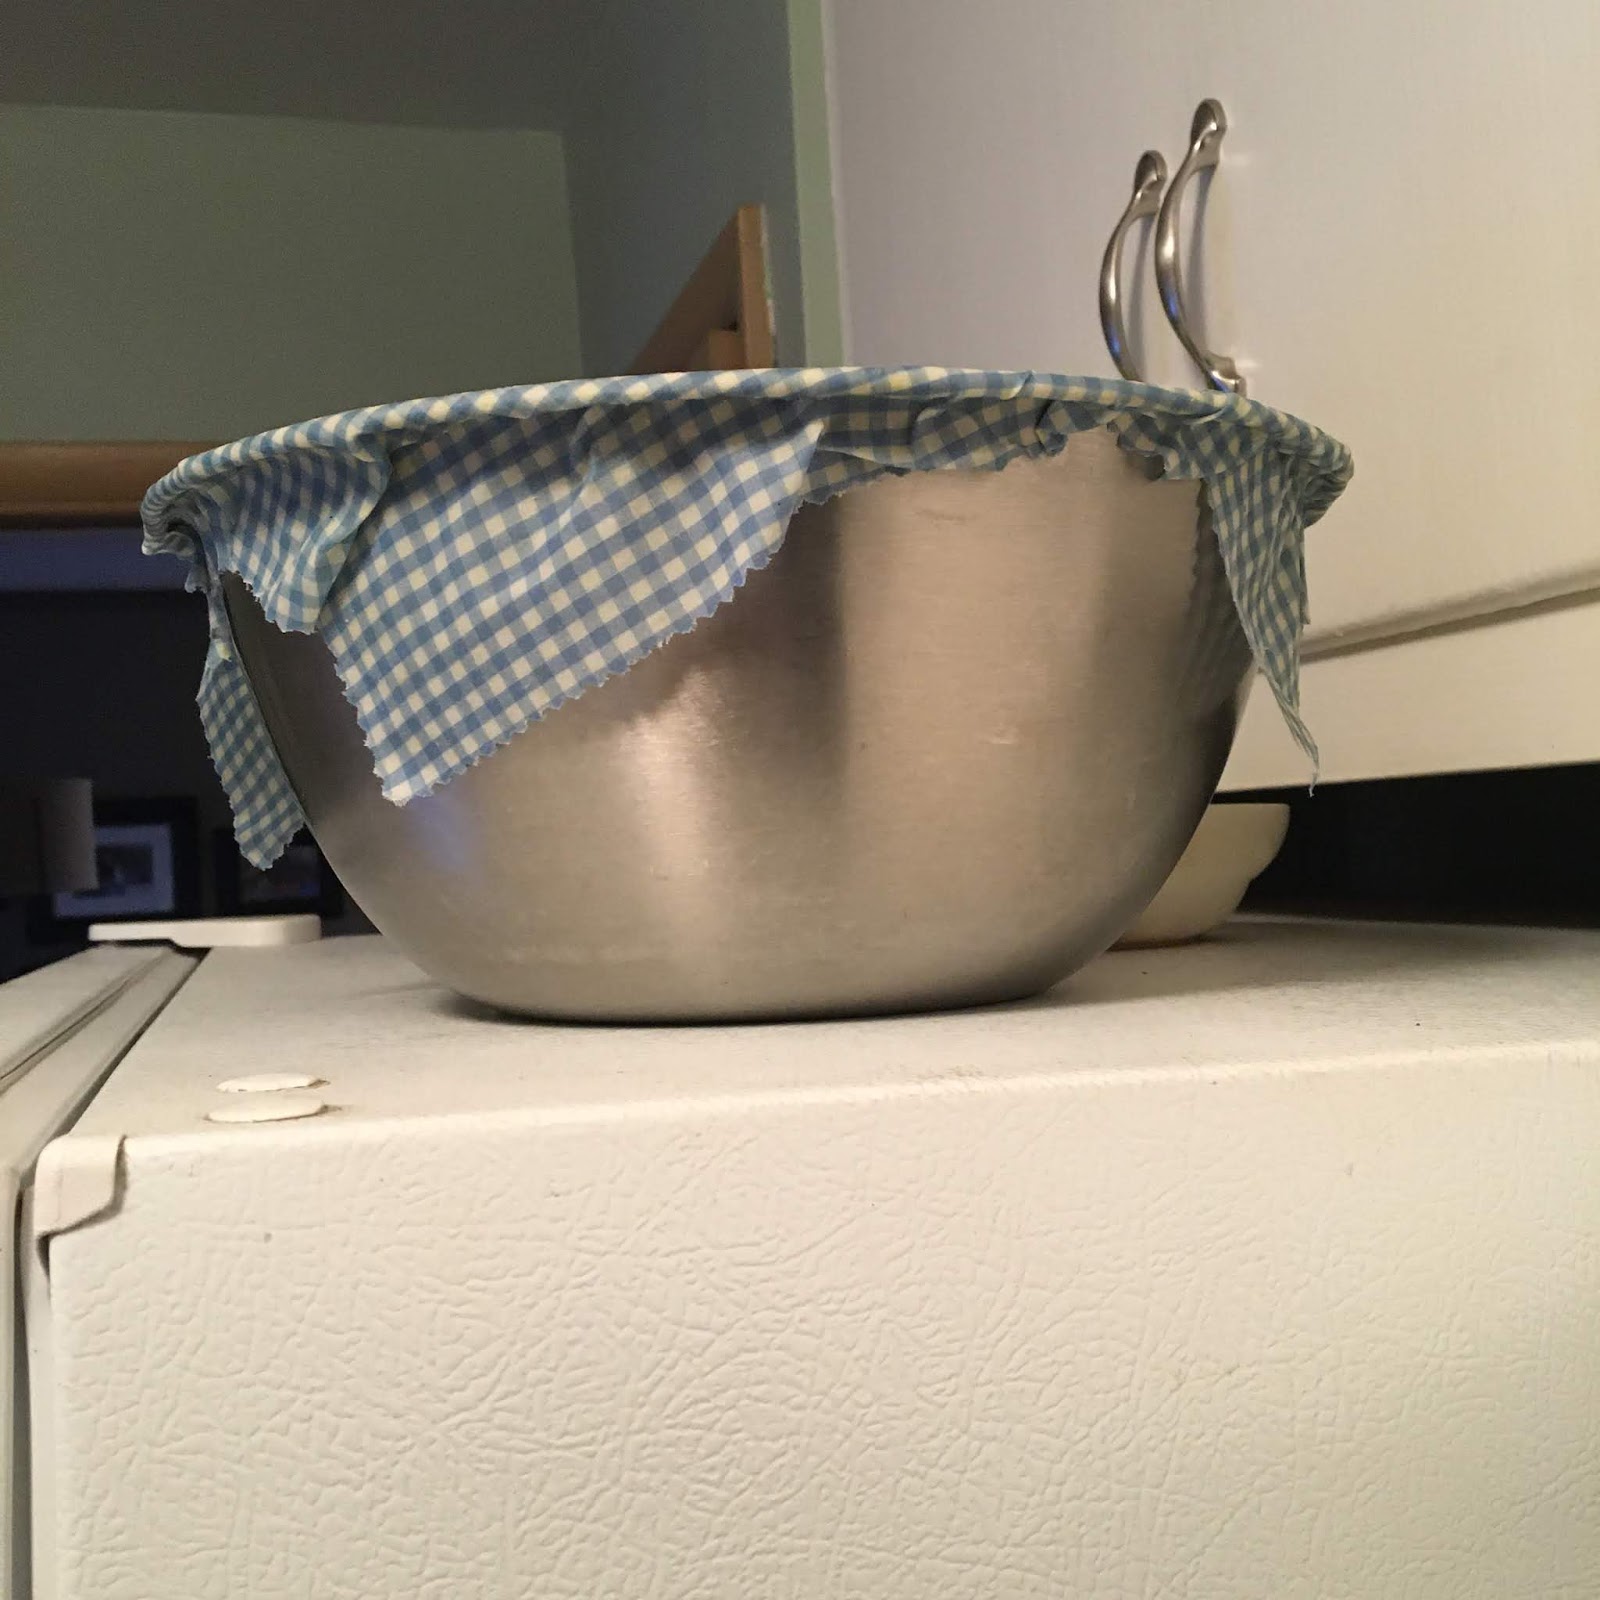
And then, just before filming, I covered it with a homemade beeswax-coated cloth:
And then I went to bed.
In the morning, I moved to the next step:
Post-stirring, it's a rather sad looking blend.
So, once again, the cover went on...
And this time I set it on top of the fridge to do its thing for the day while I went to work and did my thing for the day.
And it did its thing quite well over the course of the day, so that it looked like this at the end of the day:
A little garlic olive oil on the pan...
A little Play-doh time with the dough...
And after the "normal" stretching, I went a little off the rails and went at the dough with a bench scraper to make this batch into breadsticks.
Prior to baking, as I was sprinkling salt on them, they looked like this:
Post-bake, they looked like this:
How were they? Pretty much as good as you'd think. Not a single one of them came back home with us. And I really want to make more so I can eat the full pan...
Wouldn't you?
----- Lots of people checked out last week's Vinegar Pie, and one of them was actually someone who grew up with Vinegar Pie. As I had guessed, his recollection of the reason behind it was to replace lemon when it wasn't readily available. As such, it pretty much did its job. Also - weird thing - it didn't do well over time. A couple days later when I went in for a final slice, the flavor had "turned" a bit. It was still edible, it just wasn't enjoyable - the flavor had gotten less bright, and more sour. But I'm still very glad I made it and tried it. I recommend you trying sometime, too.
Did you all make it through the Holidays and the change of year? I'm happy to say that we all did, here. And now that it's 2019, it's time to get back to actual food on the blog!
Today, we're aiming for these Crescent Roll Pinwheels:
There is something really home-y about these that makes me kind of happy to think of them. I don't really make them often (it's been years, honestly), but I had the chance to make them this week and it was pretty fun - and with good results. Here's how we got there:
Note: The shirt is from a company called Litographs. They do shirts/posters/soft goods with the text of books printed on them in artful designs. The one I'm wearing in this is Around the World in 80 Days. I thought I'd mention that because I always have people asking me about the shirts that I have when I wear them.
As I mentioned in the video, there's not really a recipe to go along with this post. I went to Pillsbury.com and searched "Crescent Pinwheels" for the basics, and then went from there. Basics that I learned:
You're supposed to press the triangles together (or use the "crescent sheets") - though that didn't make a huge difference for me.
About 1 cup of mixed fillings should be enough filling for the full tube of dough (but you'll have to estimate).
These bake at 350 for about 12-15 minutes.
As I also mentioned in the video, I opted to try out two different tubes of crescent dough: Pillsbury and "Essential Everyday" (a less-expensive house brand at Cub grocery stores).
Now, I admit that the difference of somewhere between fifty cents and a dollar per tube (or per 24 pinwheels) seems like an odd thing to worry about. But I also know that there are times when a buck can make a huge difference in your grocery budget. And I figure that if they're going to be on the same shelves in the store - and the house brand obviously compares themselves to Pillsbury - I wanted to know how they would do.
As I'm sure many of you know, one of the best things about using dough-in-a-cardboard-tube is that you get to whack it on the counter to pop it open. (Okay. Yes. The tubes now specifically say that you're supposed to peel the outer wrap and then press a spoon against the seam until it pops. But... really... what's the fun in that?)
First up: The contender...
No. You're not missing anything. Nothing happened when I whacked it on the edge of the prep table.
After the underwhelming thud of trying the favorite way of opening the tube, I went for their "spoon at seam" technique.
However, I wasn't really sure which end of the spoon to use. And - why a spoon and not the tip of a knife? I ended up using the back end of the spoon.
Yes, it worked. No, it wasn't very fun.
I moved on to the Pillsbury. It did not disappoint.
That was after one quick whack. No spoon needed.
I feel like we need to take a moment and compare the two photos, above. Can you see how much bigger the "poof" of the Pillsbury tube is? That dough really wanted room to expand. (Consider this your daily dose of foreshadowing.)
Excitement complete, it was on to the assembly of my pinwheels.
I unrolled each "rectangle" and then tried to mush them together to get rid of the perforations. You might notice the difference in sizes. The smaller rectangles came from the "inner" portion of the roll. I'm sure that if I wanted to use a rolling pin, I could have gotten them all to the same size.
This is pre-perforation purge, obviously.
I chopped up some pepperoni. (I'm guessing that's about half a cup, right?)
I also chopped up the pitted Kalamata olives. (Oddly enough, they seemed to become a smaller amount as I chopped - while the pepperoni seemed to expand.)
First layer: olives on one side, pepperoni on the other.
Second layer: oregano for all!
The olive side really could have used a bit more oomph. If I do this again, I'll probably either get an herbed feta or just add more spice at this stage.
Feta crumbles on the olive set, "Italian cheese blend" on the pepperoni. (The blend was on sale - I honestly don't know what cheeses were in it.)
Oddly enough, this brings us to the step that had me the most nervous.
Oh. Sorry. No. The rolling-up part didn't make me nervous. Though - as I looked at the way the two different doughs were looking, it did make me wonder a bit.
The dough in the photo above this is the house brand. You can see that it's a little dry looking. The dough in the photo below is the Pillsbury, which seemed much more resilient and supple.
The actual step that had me a little freaked out was the cutting step. The full "sheets" of dough are about 4"x6", so when you roll them up the roll is only about 4" wide - but you're supposed to cut them into 6 pieces.
I started by cutting them in half.
Well... half-ish.
Then I cut each half into thirds.
I kind of loved that one of the online instructions was very specific to say that the next step is to put them on ungreased cookie sheets "cut side down."
Now, that kind of makes sense for the end pieces (because they have on cut side and one non-cut side), but all the rest have two cut sides. So... apparently they mean that you need to place them "flat" on the cookie sheet, instead of standing up...? That kind of just seems logical. So I'm not sure why they had to make it sound confusing.
Apologies. That pan looks like it's upside down and floating in space.
As I was putting them on the pan, I realized that I really should have worked the filling farther to the outer sides. The end pieces looked pretty barren.
You can see the filling in the "middle" pieces, but the end bits look like they're just dough.
On this first pan, all of the olive ones were made on the house brand dough. If you look at the dough on the left, below, you can see a few kind of dry-looking sections. Hmm...
They come out of the oven when they've become golden brown.
Unfortunately, though the Pillsbury ones turned a really nice golden brown (above), the house brand stayed a little lighter on top (though the bottoms were definitely done.)
In reality, these were not blurry.
This is probably a better comparison shot of the difference:
And then there was the size differential between the two doughs. To make sure that this wasn't a result of the filling, when I baked my second pan, I swapped the fillings. As you can see below, the house brand batches simply didn't puff as well as the Pillsbury. (The Pillsbury ones are about 2-3 inches across. The house brand ones maxed out at about 2 inches.)
You were wondering where the foreshadowing from the tube pop was going to come in, weren't you?
So... Okay. The house brand pinwheels are a tiny bit smaller, and not quite as golden. But if I didn't have the Pillsbury to compare to, I probably wouldn't have known that. This brings us to the biggest factor: taste...
In other words, I do think that - in this case - I'd vote for the name brand instead of the house brand (at least this house brand).
Although, when put all in the same dish for serving, they look pretty good, no matter what. And - with a total prep time of less than an hour (a bit longer for me, because I was taking pictures and recording video and getting ready to go out), these are a great, quick, variable, snack/appetizer.
Next time I might try one savory and one sweet. Maybe a little cream cheese and cinnamon or strawberry...
Epilogue: People at the party we took them to really seemed to enjoy them. There were two people there who had (I kid you not) never heard of dough-in-a-tube. And they were very impressed.
-----
What are you hoping to cook up in the new year? Anything you'd like to see me tackle in the kitchen? Let me know!
Sorry I missed the past couple of weeks. Frankly, the response was so good to my last post that it really threw me for a loop. I wasn’t sure how to follow it up.
I finally decided that the best way forward was just to keep moving. So I hope you’re all okay with me going back to food, because that’s where I am this week.
Once again, I’m going to refer you to the Smitten Kitchen website for the finer points of this recipe - including the actual recipe.
I swear this is not going to become a “Julie and Julia”-style blog. I just keep stumbling across great recipes from Smitten Kitchen right when I need them. That’s what happened for this. I was looking for something to use as part of an appetizer for dinner with friends, and came across this focaccia recipe.
I’ve never made much bread – and this recipe is pretty quick, as far as breads go – so I thought I’d give it a shot.
Let’s dive in…
So, the ingredient list is really short. Gotta love that.
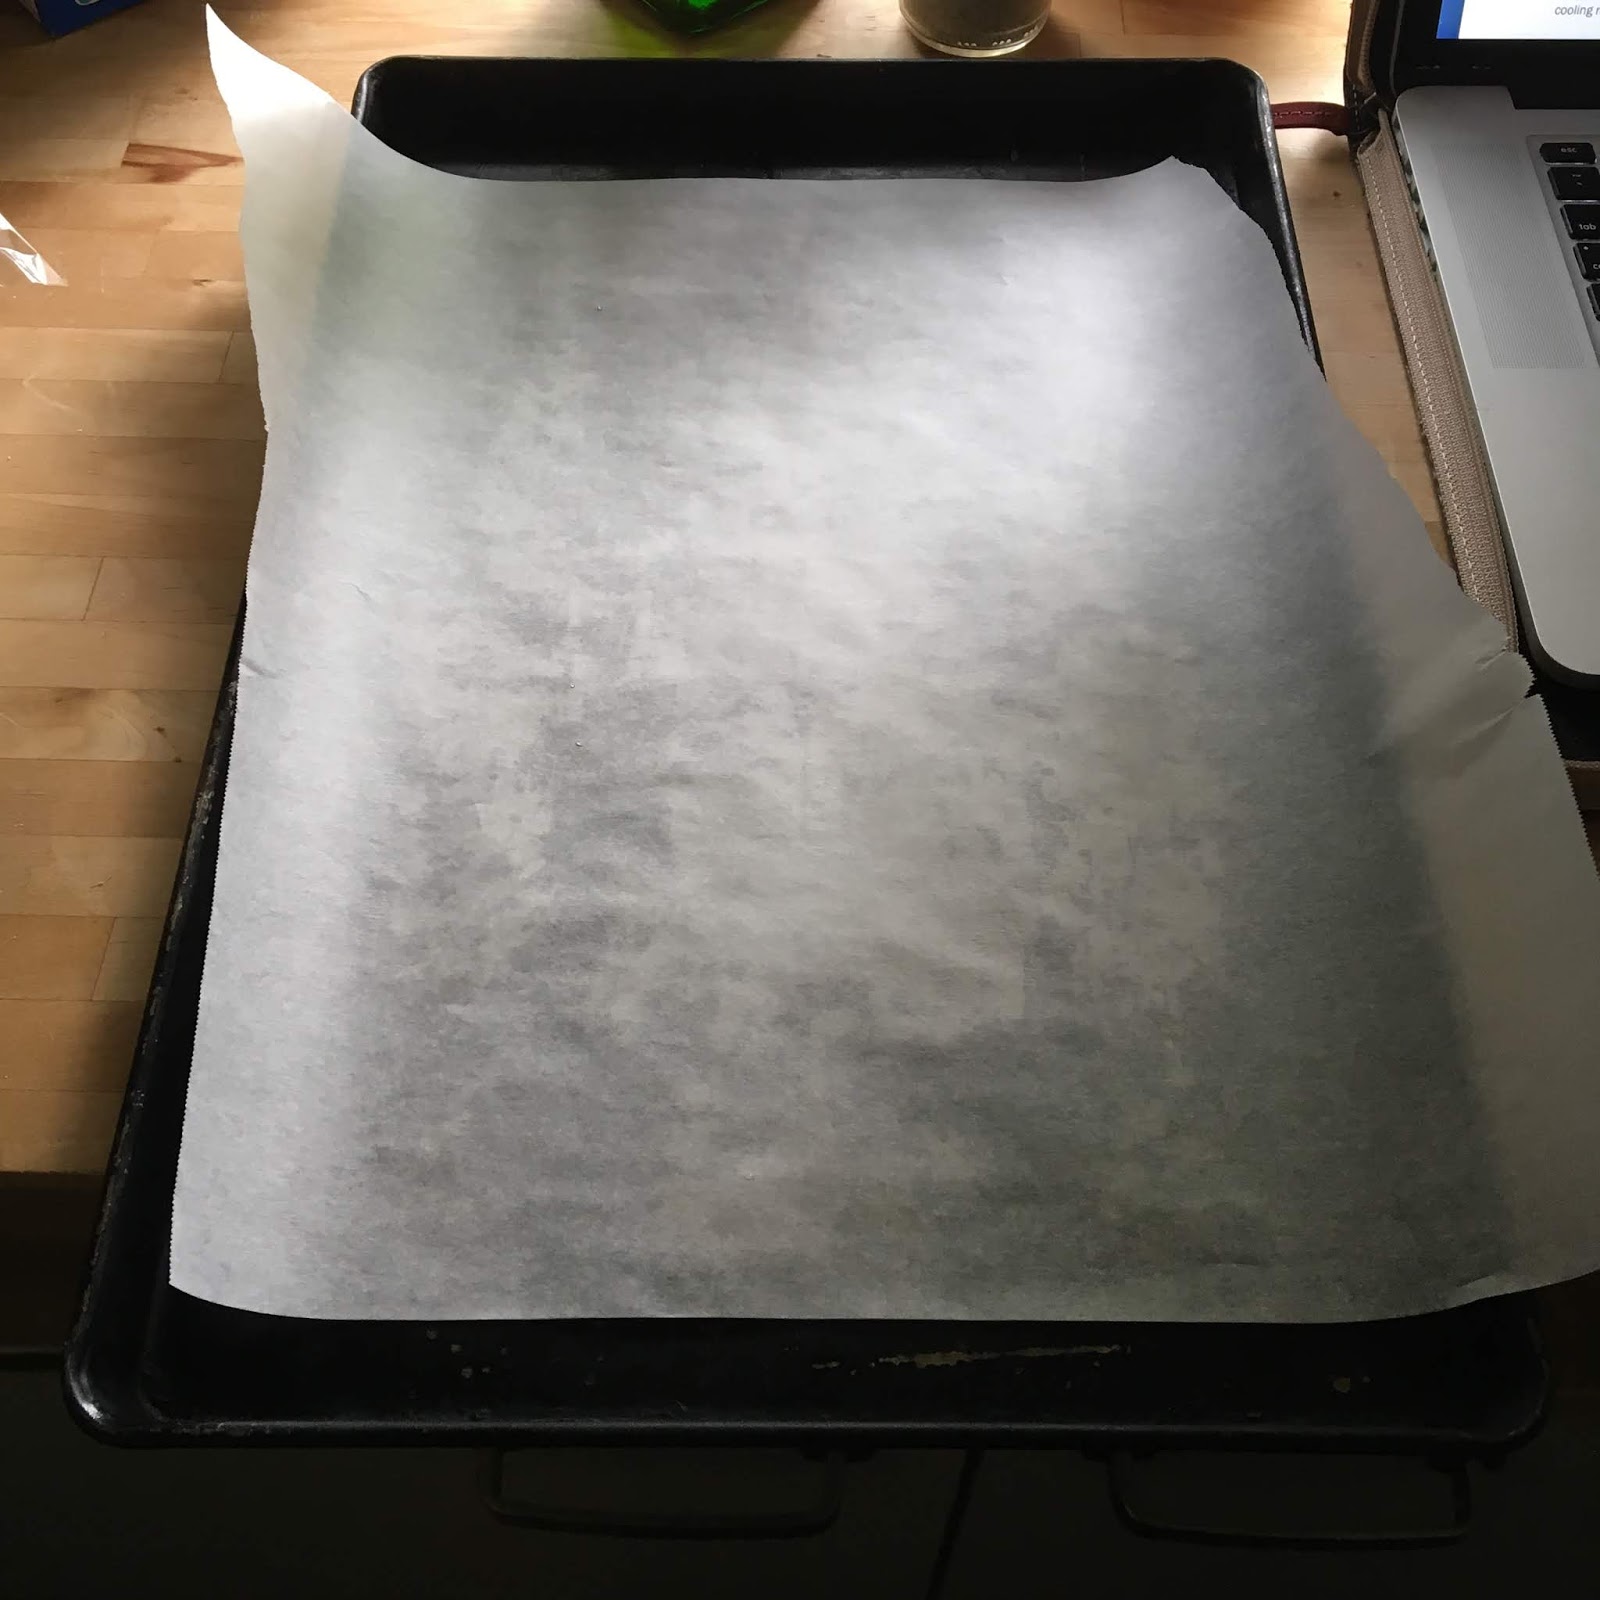
Yes, I consider the parchment paper in the background to be part of my mise en place - otherwise, you know I'd have forgotten it until I had dough and oil on my hands.
Of course, we’ve got the amazing white-on-white-on-off-white photos at the start…
I’ve had issues with yeast not reacting due to water temps in the past, so I did verify that I was within the range listed on the side of the jar.
We typically keep the jar in the freezer, to keep it for as long as possible, so the temp is pretty important.
It looked a little more interesting once the water went in. After all – with flour and water you’re either going to get dough or glue. (Sometimes both.)
After some quick stirring, I was pretty sure we’d dodged the glue bullet and landed in the realm of dough.
A perk of doing this recipe in the summer is that the house is relatively warm, which helps the dough to rise.
No surprise for any of you who have been reading me for a while: I set it on top of the fridge, where the temp is even warmer than other areas.
After 90 minutes, it had pretty much doubled in size, so I opted to go from there. If you let it rise too long, you kind of “use up” the power that the yeast has, and later on it might not rise when it bakes.
As you've no doubt guessed by now, I opted to go with the recommendation of parchment paper on the bottom of my pan.
Which I poured some olive oil onto.
Quick! Rohrschach test: What’s it look like to you?
The next step felt a little odd, and I don’t know why I wasn’t supposed to just do it with my fingers, but I followed the recipe instructions and used two forks to pull the dough from the sides of the bowl, and kind of mound it all up into a ball.
It’s still spreading at this point, so it’s a little like trying to keep pudding in a pile.
Instead of lifting the ball gently with my forks, I eventually just picked up the bowl and dumped the dough into the pan with the oil.
There was something kind of glee-filled about the process of rolling it around in the oil. It was messy as all heck – and felt… weirdly squishy… – but it was also really kind of oddly fun.
This resting period felt a bit like someone hit the pause button just when the movie was getting interesting. But I dutifully set the timer and walked away.
If you look closely at the photos, you’ll see that it did grow a bit during that time, but I have to admit that it might just have ooshed out to the sides a bit due to gravity, not yeast.
I pushed and pressed and prodded to stretch it out to the size of the pan. Or at least the size of the parchment paper…
I’ve always kind of wondered why focaccia had a dimpled top. Now I know.
I decided to skip the traditional rosemary for this one, and sprinkled the top with sea salt and garlic powder.
I did NOT peek at it while it was baking. (Believe it or not) and when I pulled it out of the oven it had some light browning on top, as well as a golden edge and golden bottom.
It’s a little odd that you can’t see the salt and garlic on top. But that could be my opinion simply because I’m used to seeing the rosemary there.
So, how was it?
Oh, as was foretold in the video, I did use this for Book Club with some “bruschetta topping.” (Or, as I referred to it in the video, “Italian salsa.”) The mix is: one red tomato and one yellow tomato, some basil, salt, black pepper, and parmesan cheese.
It was very tasty.
One caveat: Depending on how you wrap this up (and whether or not it’s completely cool and dry before you do), the salt you sprinkle on it before you bake it might “bloom.” This happened to me. The next day it looked like I had little mounds of soft dough on the top of the bread under the loose plastic wrap. It looked a little odd, but no one seemed to mind that when I served it.
***** Speaking of my Book Club - is there a book you've read where the food was really enticing? Was it fiction, non-fiction, or a cookbook? I'd love to hear what you like to read - and why.