I know we talk about comfort food a lot. Frankly, that's in large part due to the fact that I just don't see a point in making food that doesn't make me feel good.
There are some comfort foods, though, that you just don't often share with other people. Late night Oreo binges and cold pizza for breakfast notwithstanding, one of those has been with me since I lived in Paris.
Don't get your hopes up. I was poor when I lived in Paris. I spent so little on food that the woman at the Chinese Takeaway down the street had pity on me and would send me home with sticky rice for dessert when all I was buying was Riz Cantonnais (fried rice) for dinner. Truth be told, I really love fried rice - probably because of the attached memories.
Even more, though, I love a good bowl of one-pot tuna and noodles.
Let's get down to business.
As you might suspect, the ingredient list is pretty basic:
I'd give you amounts if I had them. Basically, though, it's all about how hungry I am - and whether I want more mustardy or more mayo-y.
As for prep, the first step is boiling water - which we've learned over time is really not terribly exciting on a blog post. So we'll start with some pseudo-action shots:
Adding salt...
The salt cellar is pretty, right?
Waiting for it to boil...
One strange step that I do with this is adding the "tuna juice" into the water as it comes to a boil. As with the salt, this means that the flavor will find its way into the pasta.
Once the water is boiling and the pasta goes in, I've adopted the old wives' tale version of resting a wooden-handled spoon across the pan to keep it from boiling over.
While the pasta was boiling, it was time to get to work. You know, the strenuous work of dicing the cheese. I actually tend to leave the chunks a little "long" - so that it does better in the melting department.
With the water at a boil - and being kept at bay by the wooden handle - I was starting to get a little excited.
Truth be told, I moved the spoon for a while, and it boiled all over the top of the stove - even putting out the burner. Oops.
The cooked pasta got drained, then went back into the pan.
I'm of two minds on whether or not to keep the heat on under this. On the one hand, it has to be warm enough to melt the cheese, but you don't want it to scorch to the pan.
Next up: the rest of the ingredients. Cheese...
Added first, so that it has time to melt.
Tuna...
New cans are only 5 ounces. Old cans were 6 ounces. Plan accordingly.
Mayo and Dijon mustard...
I typically do about 3 parts mayo to 1 part mustard. Sorta.
And enough elbow grease to stir it all together well...
We made it to the point of serving up the meal I'd been waiting for for ages:
Was it worth it?
Yeah. It was totally worth it. And, even better, there was more still in the pan.
It didn't last the night. As much as I'd love to have it as leftovers, I just couldn't stop eating it.
So what comfort foods are in your repertoire? Is it something you share with anyone else, because I'd love to hear about it - and maybe put it into another post.
Oh - and, no, I wasn't kidding when I said that the pup had given up and decided to have a nap. Here's how she relaxed while I enjoyed my dinner:
----- I'm serious. I'd love to know what your favorite comfort food--especially if it's something that you enjoy on your own with no one around. Let me know what it is, and I'd love to try it out in a future post!
I am very happy to say that I have a brand new food-related blog post about 80% ready to go.
Unfortunately, over the past couple of evenings, the pup has been a bit needy. And she's just so darned hard to say no to.
I mean... Just look at this face:
Play with the Kong? Or work on a blog post (or make the bed)? Such a dilemma.
And when you take her to the groomer and she sits on the seat next to you on the way home looking all cute, how can you not just spend the next couple of hours reassuring her that the groomer was a good thing?
"You left me there for 3 hours! They cut my hair! How are you going to ever make it up to me?!"
Of course, then there are the past two nights, when the blog post was waiting to be completed. I was sitting happily in the living room and really wanted to get up and get my computer, but just look what I was up against:
One evening, I was on the couch and this is precisely where I would have had to put my feet down:
The color is skewed a bit, because I didn't want to use my flash. Obviously.
The other night, as I looked at my laptop on top of the coffee table - while I was sitting across the room - I knew that moving would mean interrupting this nap:
I think she started out looking out the front window, but the world got to be just too exhausting.
So you'll forgive me for not having a food post up this week, right?
I mean... just look at what I've been working against!
Next week - back to food.
----- What is there that keeps you from doing work? Do you have a serious issue with some kind of procrastination? Is it food related? Let me know!
Starting from the top: I love pretty much everything I've ever made from the Smitten Kitchen. Whether from the blog or from the cookbook I own, I've had amazing experiences cooking her food. [Spoiler Alert] This was no exception.
I was watching something on TV a few days ago, and whoever it was made a "clafoutis" (we'll get into the pronunciation in the video, below). It seemed really easy - and really good. And very summery - both fast and light, and also transportable for potluck kinds of things.
Cutting to the chase: mine came out looking like this:
So I did a quick search and found this recipe on the Smitten Kitchen blog from about 11 years ago. I'm actually not going to paste the recipe, here, since if you go to her site you'll also get to see how hers turned out - which will probably give you a better idea of what it should look like than mine does, really.
Oh. I should probably explain my reasoning behind going for cherries this week...
The ingredient list is pretty basic (note: there are enough cherries in this photo for one and a half recipes-worth of clafoutis):
Yep. That's 7 ingredients. Total. (It would be 8 if you added the booze.)
I'd love to say that my ingredients started out that way, but first I had to pit all of the cherries. So what you're seeing in the picture is a measuring cup filled with pre-pitted (or pre-stoned) cherries. For the sake of this post, we'll start with the excitement of melting butter:
Please ignore the mess on the stovetop. I had some pasta water boil over earlier and didn't remember to clean it up before taking photos.
While the butter was melting (because it needs to melt and then cool a bit), it was time to put together basically the rest of the batter ingredients.
We've got some eggs and sugar...
Single recipe = 3 normal eggs; 1.5 recipe = 3 jumbo eggs and one normal egg (at least for me)
The recipe actually calls for beating this together until it lightens in color. So, for reference, here is the color when I started:
And here is the color when I finished:
They don't really grow much (not like when you're whipping egg whites), but they do get lighter - both in color and in density.
For whatever reason (possibly because I had crammed so much butter into such a small pan - and didn't want to crank the heat and have it sputter all over the stove), it took a while for the butter to melt. So I went ahead and prepared the pans.
I used real butter to coat the base and sides of the pans, then split the cherries between the two.
They look a little odd that way.
As a reminder (sorry, this may now be way too obvious), I used two pie pans, which are shallower than regular cake pans. Plus, the recipe is for a 9-inch pan, and the larger of these is probably about 8.5-inch (the smaller is probably 7.5-inch), so I figured the 1.5 recipe would work. As far as the amount of cherries goes, that seemed pretty good to me.
Luckily, before I started to obsess over cherry placement, my butter had cooled enough to add to the egg mix without giving me scrambled eggs.
So I did some left-handed pouring...
...and the batter looked like this:
I've mentioned that this is a pretty quick and easy recipe, right? The next step is to literally dump in all of the flour and the salt - all at once - and mix it in.
This gives you a kind of thick cake batter consistency. (Like you'd get for a pound cake, maybe.)
Mmm... Gloppy.
The addition of the milk was kind of strange. I mean... easy and all... but, well, let's see how well the photos show what happened.
At first, when I started adding in the milk, it just kind of sat on top.
When I mixed it, it had that weird look of pudding when you add milk to it. (Did anyone else do that as a kid?)
On the last pour, though, the milk went straight through the top and just... disappeared. I guess that, somewhere along the way, the mixture had lightened up enough that the milk actually seemed heavy? I don't really know if that's what it was, but it really kind of surprised me on the final addition.
The vanilla, on the other hand, just sat on top. (Did I mention that I opted for vanilla instead of almond extract because one of the clafoutis was going to someone with nut allergies and I didn't want to take any chances? Almond and cherry is a really classic flavor combo, but so is vanilla/cherry, so I figured I was in the clear.)
This is when you'd add the almond extract and the booze if you were so inclined.
At this point, the cake batter was more like a pancake batter. Nothing was sticking to the whisk any more.
I don't have photos of me pouring the mix over the cherries, because I don't have enough hands for that. But one of the interesting things that happened during the pouring is that... well... all of the cherries moved.
Yes, I know that, logically, this is what happens when you pour a liquid over something like this. But It just didn't click until I was doing it.
So, trying to keep things well-distributed, I tried moving them around.
It didn't make much difference - except for getting my fingers all covered in batter.
It would be bad to lick your fingers at this point, due to raw flour and raw eggs. Don't do it. I'm sure I didn't - and it wasn't amazingly tasty. At all.
I was more than a little paranoid about how much these might bake up and overflow. What I didn't think about was how difficult trying to transfer almost-full slope-sided pans to the oven would be. Let's just say that the dog was very happy to be in the kitchen...
In the oven, I decided to hedge my bets and placed a cookie sheet on the rack below them.
If you hadn't noticed before - yes, they were full.
I checked them at 25 minutes, and they were still really jiggly in the middle. Very obviously not cooked all the way through. So I left them in for another 5 minutes (after all, the recipe does say 25-30 minutes), and they seemed to be perfect.
Not only did they pass the shake test - just look at the color on them!
As I mentioned, the cherries had shifted when I poured the batter over them, but they still looked fairly well distributed in the end.
I love how they're peeking through the top!
Remember how worried I was that they'd bake up and overflow? They didn't rise too much, actually. They puffed up a little (eggs will do that), but they still stayed within the edges of the pan.
Yep. That'd be the edge that overflowed on the way into the oven.
I had to wait a little while for them to cool before I could sprinkle them with powdered sugar. Even so, because of the moisture in them, the powdered sugar melted pretty fast.
Believe it or not, this was taken almost immediately after the photo at the start of this post. The powdered sugar melted that quickly.
The moment of truth came when I went to cut it. Along with wanting to make two slightly smaller versions, instead of one large one, I had also opted to go for the pie pans because I wanted to make sure I could get this out of the pan. But I truly had no problem.
Yes, to make this camera ready, I had to re-sprinkle with powdered sugar.
So, how did it taste?
And, now that the storms have paused (though I suspect they have not yet passed), I'm happy to say that I might substitute eating a Cherry Clafoutis instead of spitting cherry seeds in the summer. (Well... unless I find myself at home in South Dakota - it would be a shame to pass up that kind of opportunity.)
-----
I realize that this is where I usually ask some question and look for suggestions for future posts, but this week - due to my pronunciation issues - I felt I had to share this video, instead. Enjoy!
(I apologize for the video quality - it was the only version I could find on YouTube that was from the movie.)
I know that last week's post was basically one big Strawberry Pie teaser, so I'm going to jump straight into the recipe this week.
(Spoiler alert: Christopher wasn't home to help me with this one, so it's not quite as pretty as last week's pie.)
But anyway, let's jump:
There's truly not a lot of ingredients in this, and what there are are really pretty healthy - if you focus on the "natural" side and ignore how much sugar goes into it.
OH - Quick point: You want your cream cheese to be softened when you use it. I tend to take it out of the fridge and set it - still in its sealed foil wrapper - on either a window ledge (this time of year) or on top of the fridge (any other time of year when the house is cooler).
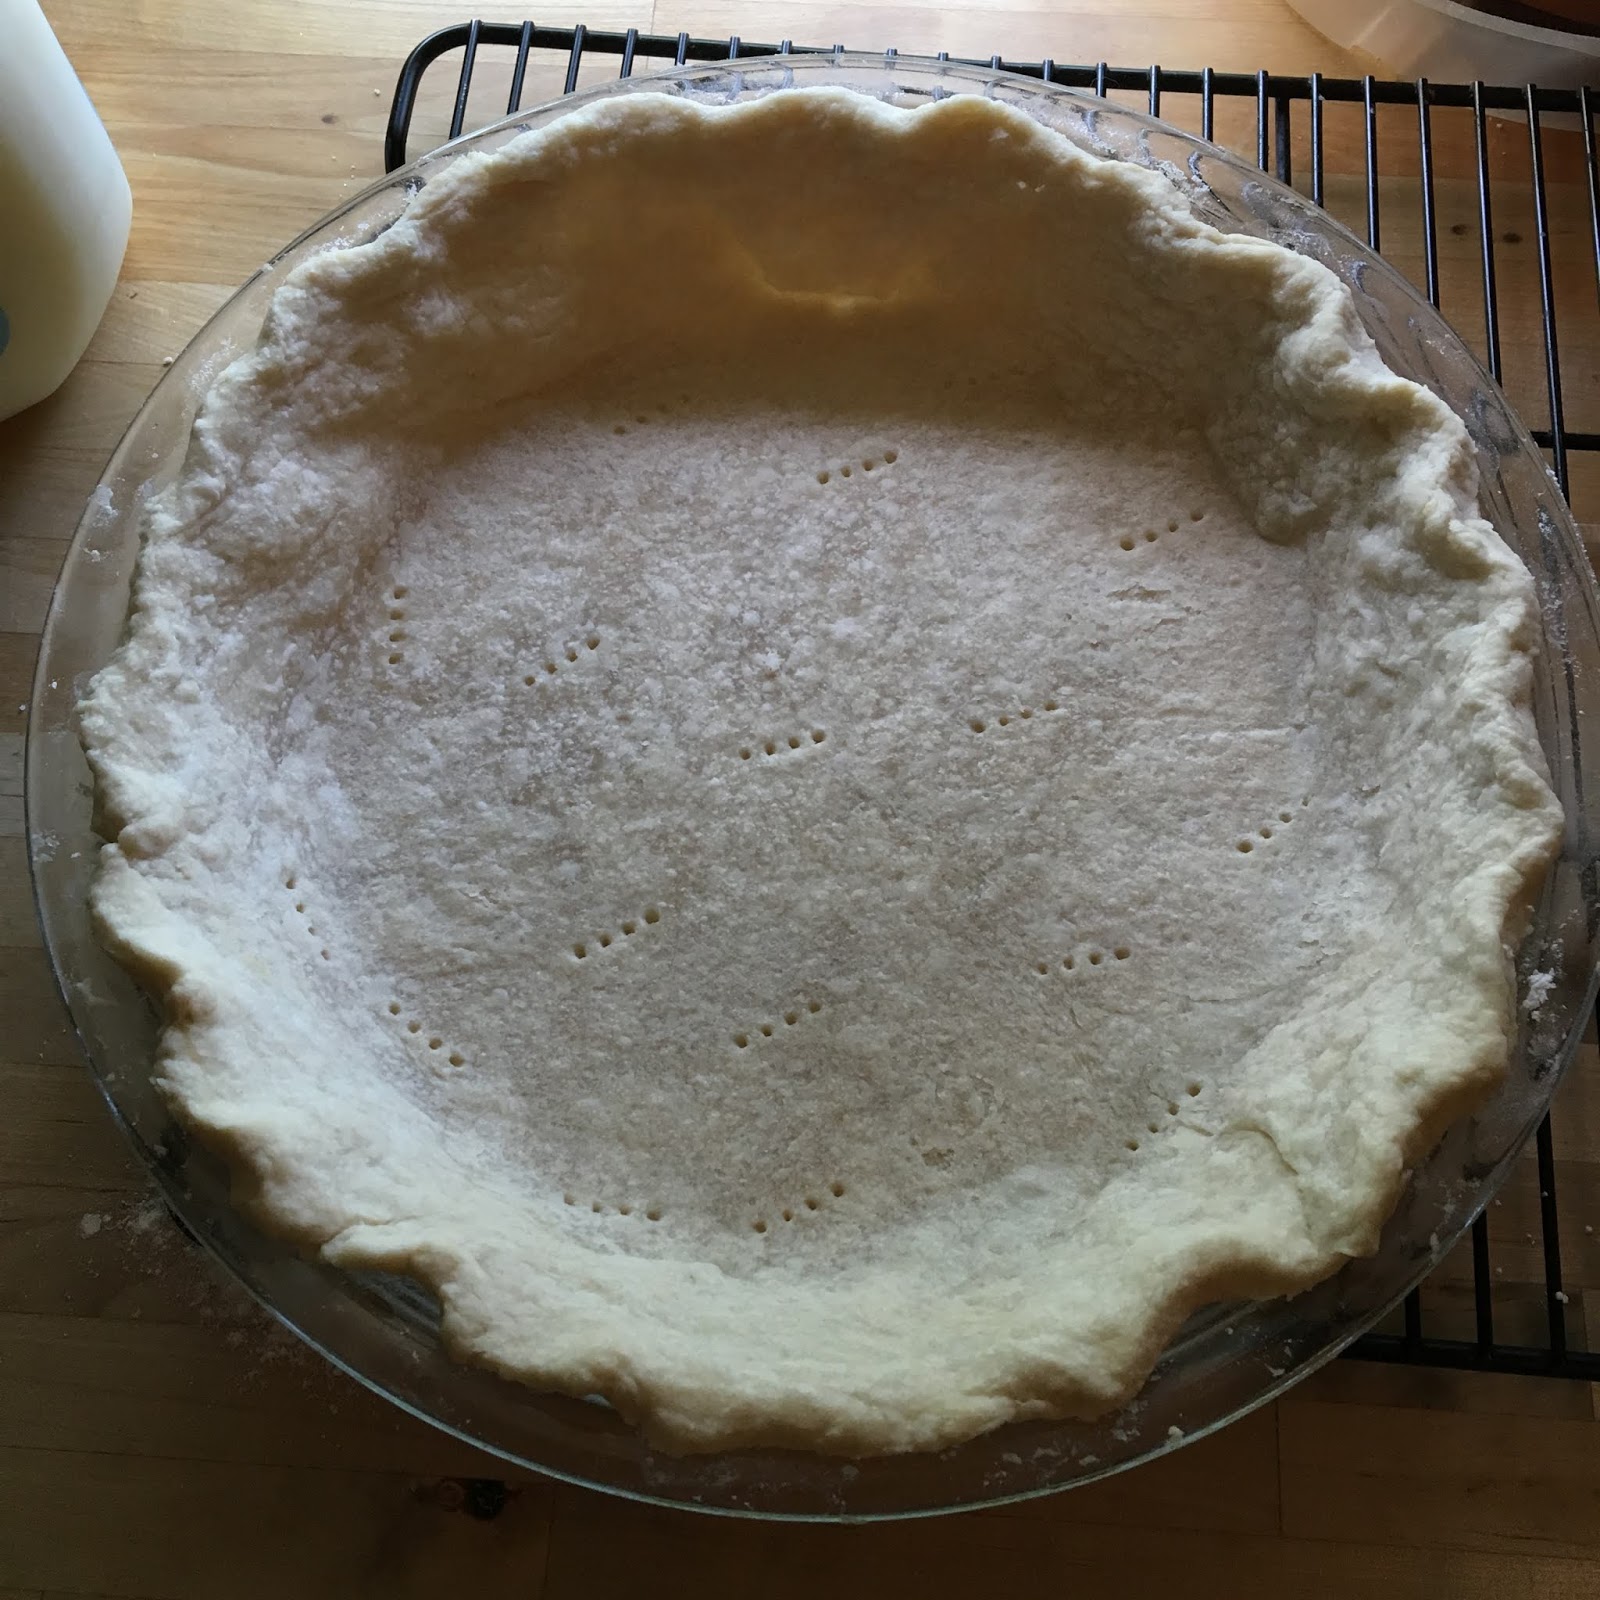
As I mentioned in the video, I did make my own crust(s). They're not quite as camera ready as last week's crust was, but that one was a gluten-free crust that I bought from our local co-op, so I don't feel too bad.
It's not perfect, but I'm pretty proud of it.
I'm thinking the outside crust might be too thick, here.
Here's the full pie recipe:
Now, this being a homespun recipe, there's some guesswork as to quantities. And part of that is caused by the desired size of your finished pie. A quart of strawberries was a perfectly fine amount for last week's 8" crust. For this week's 10" crust (as well as the mini pie on the side), I started with two quarts.
But, as you can see, I also did some "measuring" by putting the fruit into the pie shells as I was cleaning it to see how many I might need.
The one constant with your berry measurements needs to be the "kept back" one cup (of whole strawberries), because those get cut up and used in the glaze.
Note: This is one cup of whole strawberries, which you then cut up. This is not "one cup of cut-up strawberries" - which would be a lot more by weight.
The cup of strawberries (now cut up) and one cup of the water go into a pan on the stove and get brought to a simmer. At first, they look kind of boring.
Luckily, you don't have to watch them too closely at this point. So, instead, you can deal with the sugar, corn starch, and 1/3 cup water.
At first, it really doesn't look like there's enough water to do much.
But, with some good fork-whisking, it becomes a liquid. (I really want to call it a "slurry," but I'm not sure if that is appropriate for something that doesn't have flour in it. Does anyone know for sure?)
Even before the strawberries begin to boil, they already will begin to let go of some of their color.
Once they boil, the strawberry color kind of takes a dive - and the water around them becomes fairly dark red.
In goes the... slurry-type... corn starch mixture, which will disappear into the bottom of the pan until you stir it up.
Then you get this weird, cloudy mixture that looks like something has gone wrong. (I promise that it hasn't.)
Thus begins the first really big part of the patience I refer to in the intro video. Stirring occasionally, this will gradually come to a boil, then - after more patience and waiting and stirring - the mixture will go from cloudy to clear. It's a magical thing - but it does require some time.
While that is coming back up to a boil, you can whip together the first layer of the pie filling. (Be sure to go back to the pan every so often to check the color and to stir it so it doesn't burn on the bottom.)
**This is also a decent time for some kitchen dancing.
Again, the amount of cream cheese and milk you use will depend on the size of your pie. I used a full 8 ounces of cream cheese - and about 4 tablespoons of milk - to get a good, spreadable consistency to cover the base of both my pie and tart.
As a reminder: You want your cream cheese to be softened before you start. Otherwise, it's really hard to make this spreadable - and you don't want to rip up the bottom of your pie crust.
Don't forget about your strawberries on the stove, though. You'll want to stir it from time to time, just to be sure it's doing okay.
If you scrape all the way to the bottom while this is boiling, the bubbling sound may sound like something has gone wrong. Most likely it's perfectly fine.
Then you can go back to spreading the cream cheese into the crust.
To minimize the amount of "worrying" you do to the crust, I recommend dropping a few glops of your prepared cream cheese mixture around the middle of the crust. This gives you somewhere to start from and less distance to cover.
Meanwhile, back on the stove, a miracle of sorts has been taking place.
Somewhere along the way, it's gone from cloudy and runny to "clear" (but still red and filled with cut-up strawberries) and kind of syrupy.
I don't know about you, but those last two photos seriously make my mouth water!
Because the glaze needs to cool a little (so it's not quite "burn your top layer of skin off" hot sugar syrup), this is the perfect time to arrange your strawberries in the crust.
Yes, I go for "attractive" when I do this - but I also go for "full coverage of the cream cheese layer" so it's usually not as pretty when I'm done as it is about halfway in.
Before you pour the glaze over the pie, you need to decide which of the possible two ways to deal with all of the chunks floating in it.
If this pie is going somewhere special, you can strain them all out so that the glaze is a clear, jewel-tone red when it's poured.
You can basically see through the glaze all the way down to the cream cheese in the "strained" version.
Probably obvious point: to make them all shiny, you want to at least put glaze on every single strawberry. But you don't want to go beyond the rim of the pan (again, obviously). So you'll want to pay a little attention as you pour.
If, however, this pie is just for you (and possibly the hundred-or-so weekly readers of your blog), you can leave the wilted strawberry chunks in and enjoy all of the extra goodness.*
Can you see the lighter, wilted strawberry bits in there?
At this point, they need to set up for a bit. I typically choose to let it cool to room temperature on the counter, then move it to the fridge to completely set up.
There is one problem with this: even the clear, strained version can get just a little cloudy.
But, really, are we here to look at it or eat it? How did it taste? (Are you sure you're ready to find out?) Here you go:
I totally distracted myself while talking about prep time, didn't I? It took me about half an hour of prep, about 15 minutes of cooking/assembling, and then about 6 hours of chilling, during which I actually went to see a matinee...
By the way... Is it just me, or is this about the cutest little mini slice of pie you've ever seen?
Now go forth and pie-create! (You did buy all of the ingredients already, right? After all, I told you what you'd need in last week's post.)
And, if you happen to take a little Pride in the pie you create - I think that's perfectly fine, too.
*Speaking of extra. What do you do if you have extra glaze (preferably with chunks) and cream cheese? (I just happened to have an extra 4 ounces of cream cheese in the fridge...) You put them both into a bowl and stir.
This gives you some absolutely amazing homemade strawberry cream cheese, which you can put into a container in the fridge.
It will probably last about a week (unless you eat it before then on bagels, croissants, crackers, spoons, etc.).
------ Did you have a good Fourth of July? What is your go-to dish (or is it a drink) for a summer holiday?