
I even committed to getting up early to make them so that we could have them for breakfast (since we're planning to just have a big afternoon meal, and not three squares today). I figured I'd get up around 7, and we'd be good to go by around 9:30 or so. (Let's just call that foreshadowing by an unreliable narrator, shall we?)
Don't get me wrong. We did have doughnuts for breakfast. It was just a tad later than we'd expected. But here's what it was like when I started at about 7:25:
I kind of half apologize in advance for the Easter pun.
This is where I would usually post a photo of the recipe, but this time I'm just going to link you to Alton Brown's recipe over on the Food Network website.
I'd also like to state at the outset that I made a half batch of the dough, instead of a full batch. As much as I could probably have eaten a full batch of these in one sitting, I don't think that the two of us really needed that much temptation in the house when we're both working from home.
 |
| Not included in this photo are a few pieces of special equipment: thermometers for the water and the oil, and a doughnut cutter - or a biscuit cutter and a metal pastry tip... |
Because we were doing the half batch, some measurements got a little odd. Like trying to figure out how to do half of 1/3 cup of shortening:
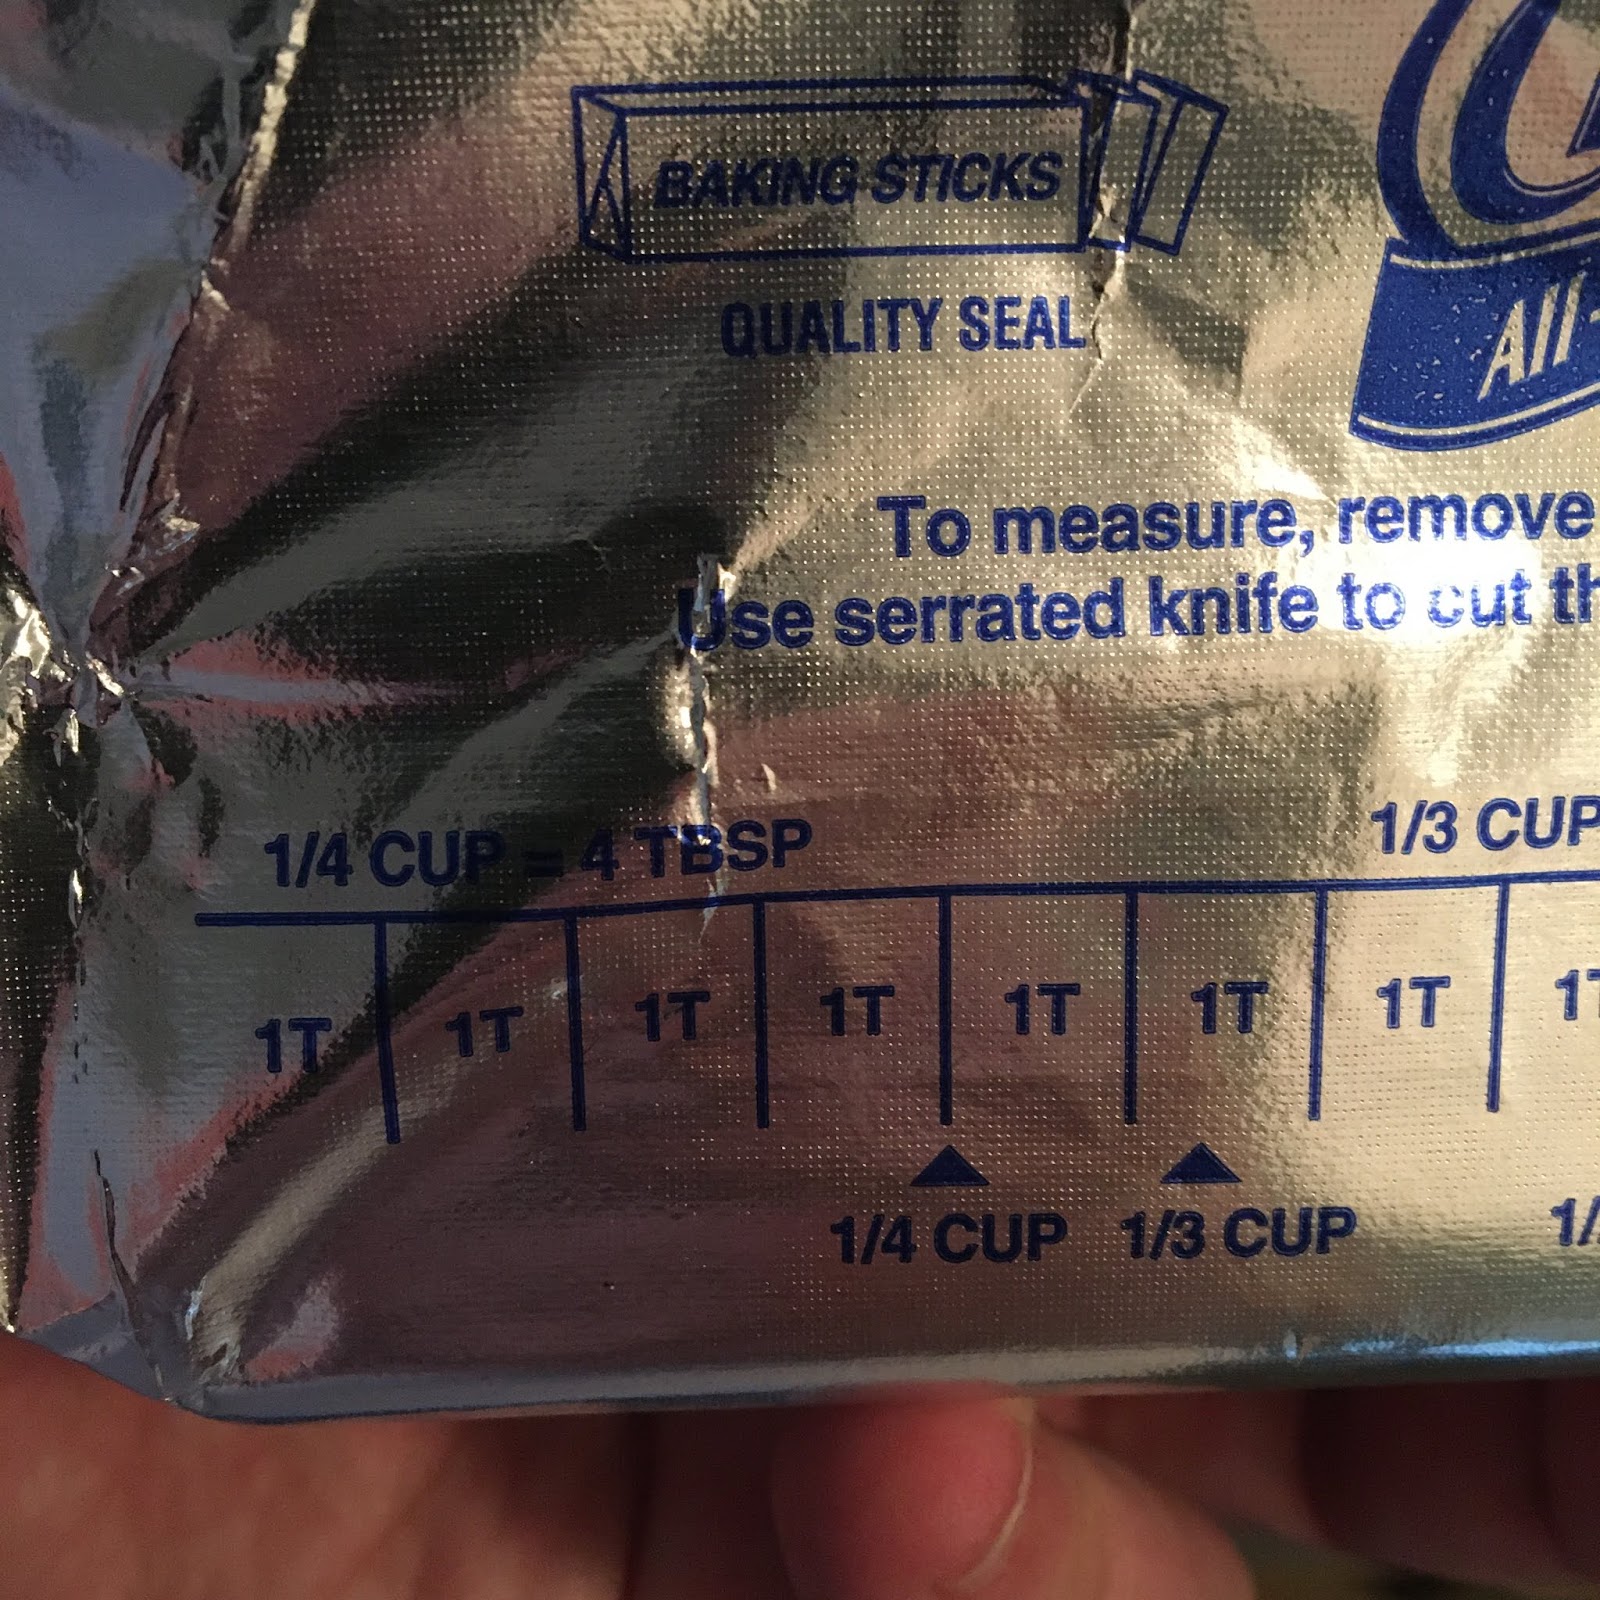 |
| Can you see the puncture mark I made in the foil before cutting into the stick? |
1/6c of shortening:

3/4c milk heating on the stove:
 |
| Please ignore the splatter on the stovetop. At 7am, I really didn't care enough to clean before taking that photo. |

1/6c of water, between 95 and 105 degrees Fahrenheit:
 |
| It was beginning to feel a bit "Mr. Science" around this point. |

Thankfully, we have a digital kitchen scale, because otherwise trying to figure out 11.5 ounces of flour would have been a bugger.

As someone who usually bakes things that are wet ingredients in one bowl, dry ingredients in another, it was a little strange to me to just dump the milk/shortening, yeast/water, nutmeg, sugar, salt, and half of the flour into the mixer all at once. But that's what the recipe said to do, so...

After the first half of the flour went in, it was still pretty liquidy:

But the second half of the flour gave us a sticky mess (which I knew meant we were on the right path):

I switched from the flat beater to the dough hook and let it run for a couple of minutes, then stopped it to check on it, and found this:
 |
| Definitely not "pulling away from the edges" or "smooth." |
 |
| I wonder if, had I done a full batch, it would have come together a little better. As it is, it seemed to keep leaving some in the bottom of the bowl. |

If you've been following my blog for a while, you know that I'm a huge fan of recipes that don't take a lot of prep and that don't use a lot of dishes. In large part, that's because we don't have a dishwasher, and I don't like having a messy kitchen.
This recipe is not one of those "self-tidying" recipes. At this point in the process, my counter looked like this:
 |
| I would be yelled at by any of the "chef mentors" on most cooking shows because it was so messy. But, honestly, I was working the full time on doing things, and didn't have much time to clean until I got to this point. |
 |
| Definitely a good doubling in size. Although you can't tell in this photo, it actually puffed up enough to stick to the wrap on top. |
 |
| If you look closely in the top section of the photo you can see where it got stretched when I took off the cover. |
Next up was the cutting of the donuts. The recipe says to use a 2 1/2-inch doughnut cutter. We don't have one of those. What we do have are biscuit cutters. So I started with just making the outer circles, and then had to figure out what to use for the inner cutter.
The first thing that I found that was round, small - and relatively sharp - was metal pastry/frosting tips.
 |
| Honestly, the size was about perfect. The only trouble was getting the "hole" out after you punched it. |

By the time I was done, I had about a dozen of the "small" ones and another half dozen of the large ones, plus all of the doughnut holes and some leftover bits.
 |
| In other words, a half batch was definitely the right way to go. |

Finally, with the cover off, they were all kind of pillowy and ready to fry.
My oil was up to about 365F - perfect.
 |
| As you can see, Christopher had already gone through over half of his coffee by this point. This is when it started to feel like these had taken forever. |
 |
| I use a deep sauté pan for frying, typically (as I did this morning), though the recipe recommends a Dutch oven if you don't have a deep fryer. Because the temp kept fluctuating as I fried, I think that a cast iron Dutch oven might have been a good idea - it would hold the temperature a bit better than an open pan like this. |

In the meantime, I had poured some sugar into one bowl, and made a quick glaze (powdered sugar and milk - just slightly thicker than you might think it should be).

I used a long spatula for the flipping and the removing from the pan. You do want to try to let the oil drip off before moving on with them.
The first doughnut went into the sugar, which you want to do while they're still warm so that the sugar sticks to the doughnut.

Then I started going for larger batches (and turning the heat on the pan up and down to try to stay close to the magical 365 marker on the thermometer).

Something I learned today: doughnut holes don't like to be flipped over once they've started to cook. The browned sides tend to want to stay down, and the light side (presumably airier and lighter) stay up. I did find, eventually, that if you allowed them to stay along the sides, they were more prone to stay flipped when you maneuvered them.

I don't have any action shots of me dipping the doughnuts into the glaze. Here's the thing, though: unlike the sugar ones, you need to let the ones you're going to glaze cool just ever so slightly before dipping them into the glaze. Why? Well, for one thing, I was using my hand and I didn't want to burn myself. But the glaze will also melt and completely run off if the dough is too hot.
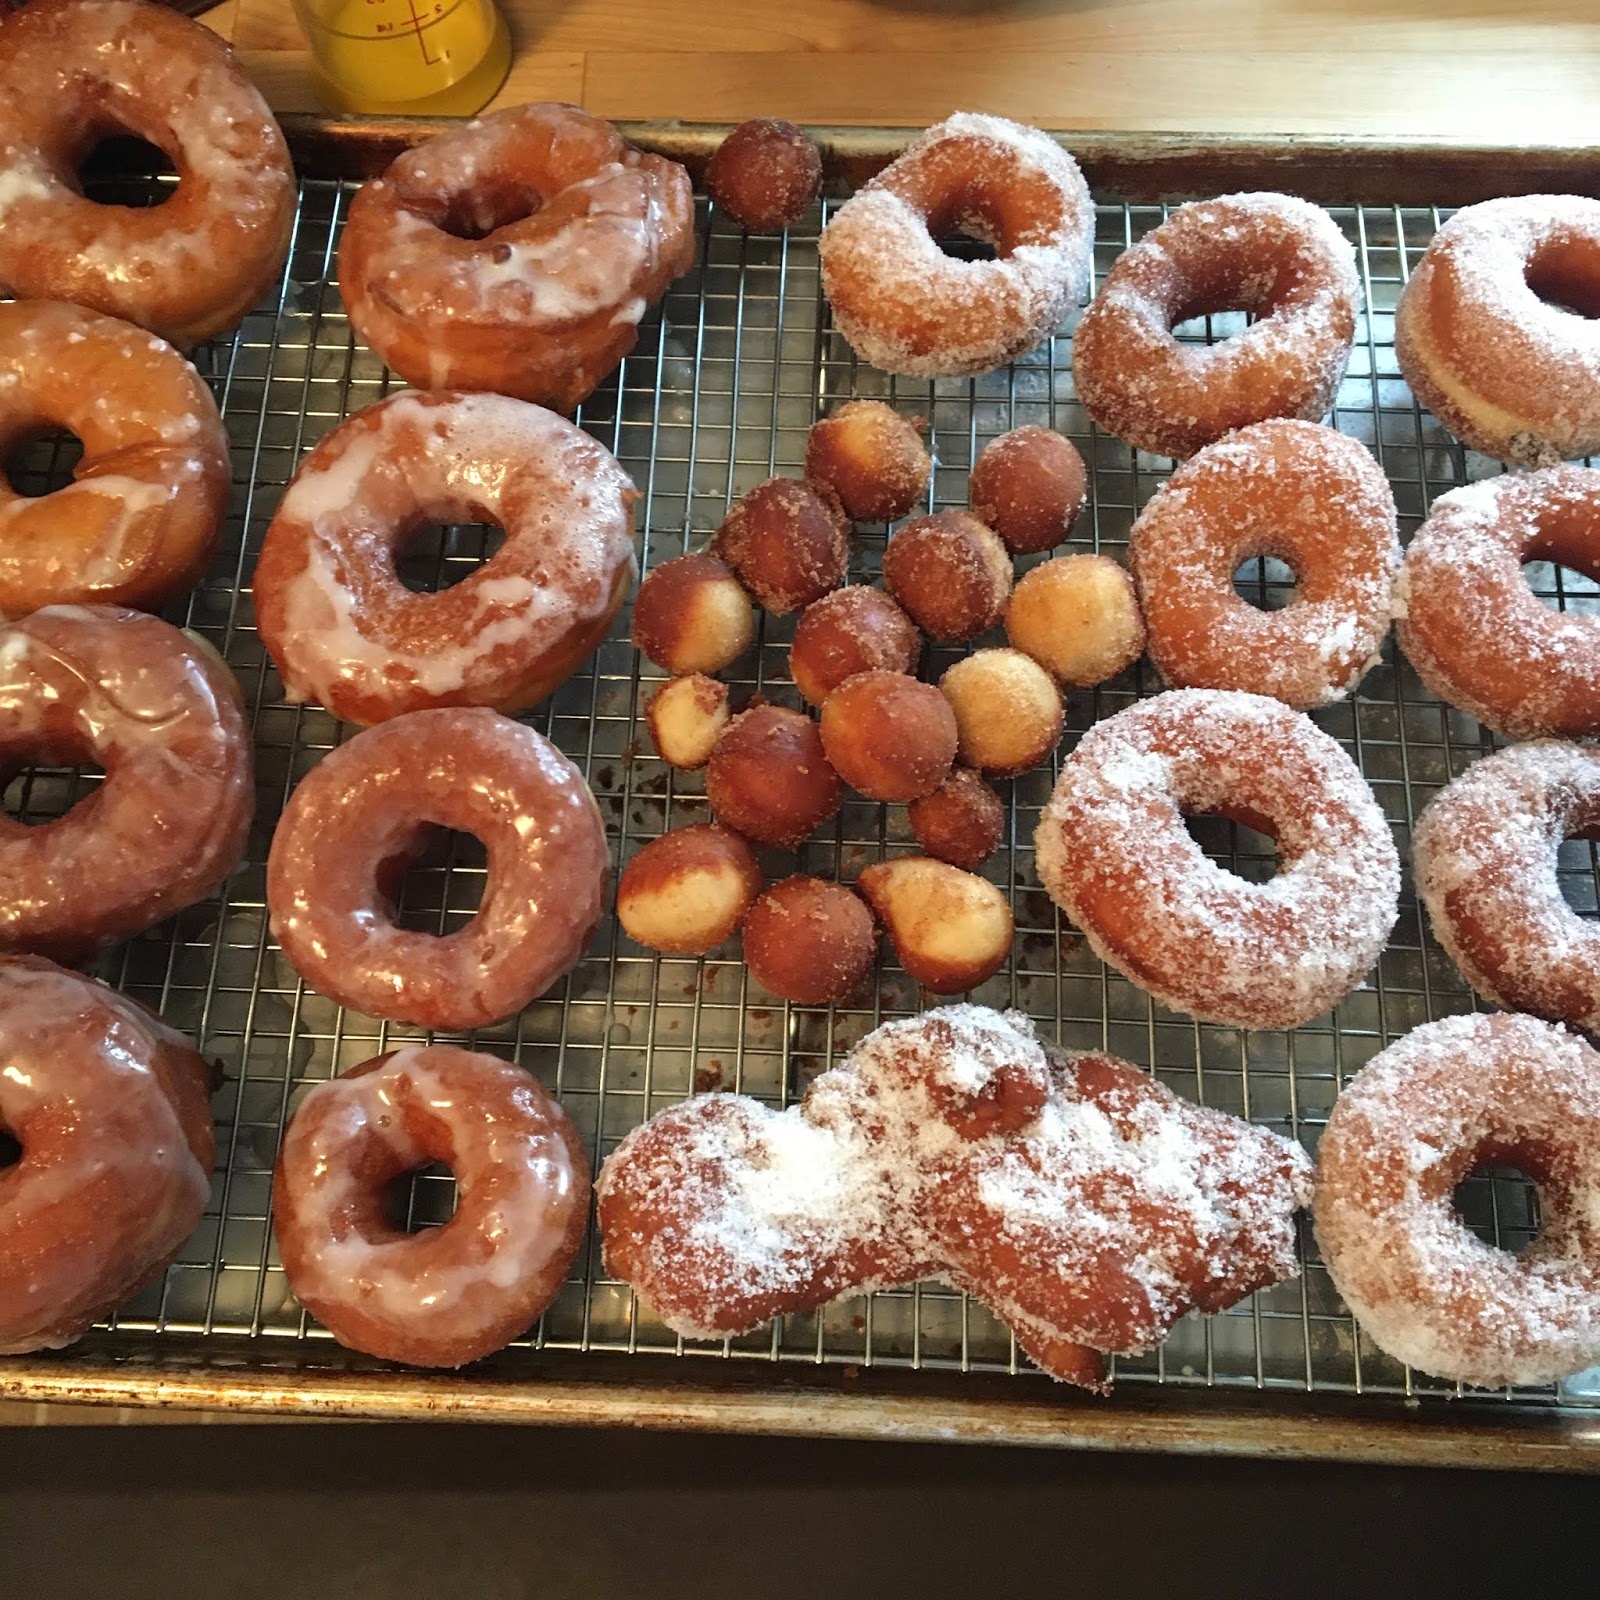 |
| The monstrosity at the bottom of the photo was made of all of the last cuttings from the doughnuts, when I didn't feel like re-rolling. Honestly, due to all of the nooks and crannies, it got a really good, crispy outer shell - and it held a LOT of sugar! |
For once, a thumbnail that actually explains the video!
Apparently my phone was frustrated with having to do so much early morning work on a Sunday, though, so here's my wrap-up wrap-up:
The verdict from Christopher was that the crispy outer edge was great, and the inside of the doughnut was actually a very good texture. His one callout was that the dough wasn't as sweet as he might have expected - but had we glazed the all around (instead of just on the top) that might not have been a problem.
And, to answer my own question from the video, above: Yes, the larger ones were a slightly better texture than the smaller ones.


As for the snow I was mentioning, here's what it looked like outside at about 12:30 this afternoon:
 |
| Yesterday, the grass was all greening up for spring. As I'm finishing this write up at about 2pm, the sidewalk and street are no longer melting - it's all white out there. |

-----
So... Who wants to make bets on what my next yeasty adventure will be? Any guesses? I have a pretty good idea, but you'll have to wait to find out. (And I might change course, depending on what you all vote for...)

