Friday, May 11, 2018

Chocolate Chip Blondies (in this version, they're Gluten-Free, Soy-Free, and Nut-Free)

I used to work at Williams-Sonoma, and we were always giving out recipe cards. One spring, we were selling "Easter" chocolate chips. (They were "Easter" because they were pastel colors and it was the nearest food holiday.) (Honestly, though, I think the "chocolate" probably also ought to be in quotation marks, because the chips were tinted white chocolate, which is only sort-of chocolate.)

The recipe they were suggesting was to use a food processor to make blondies, and add in those chips for an Easter-y flair.

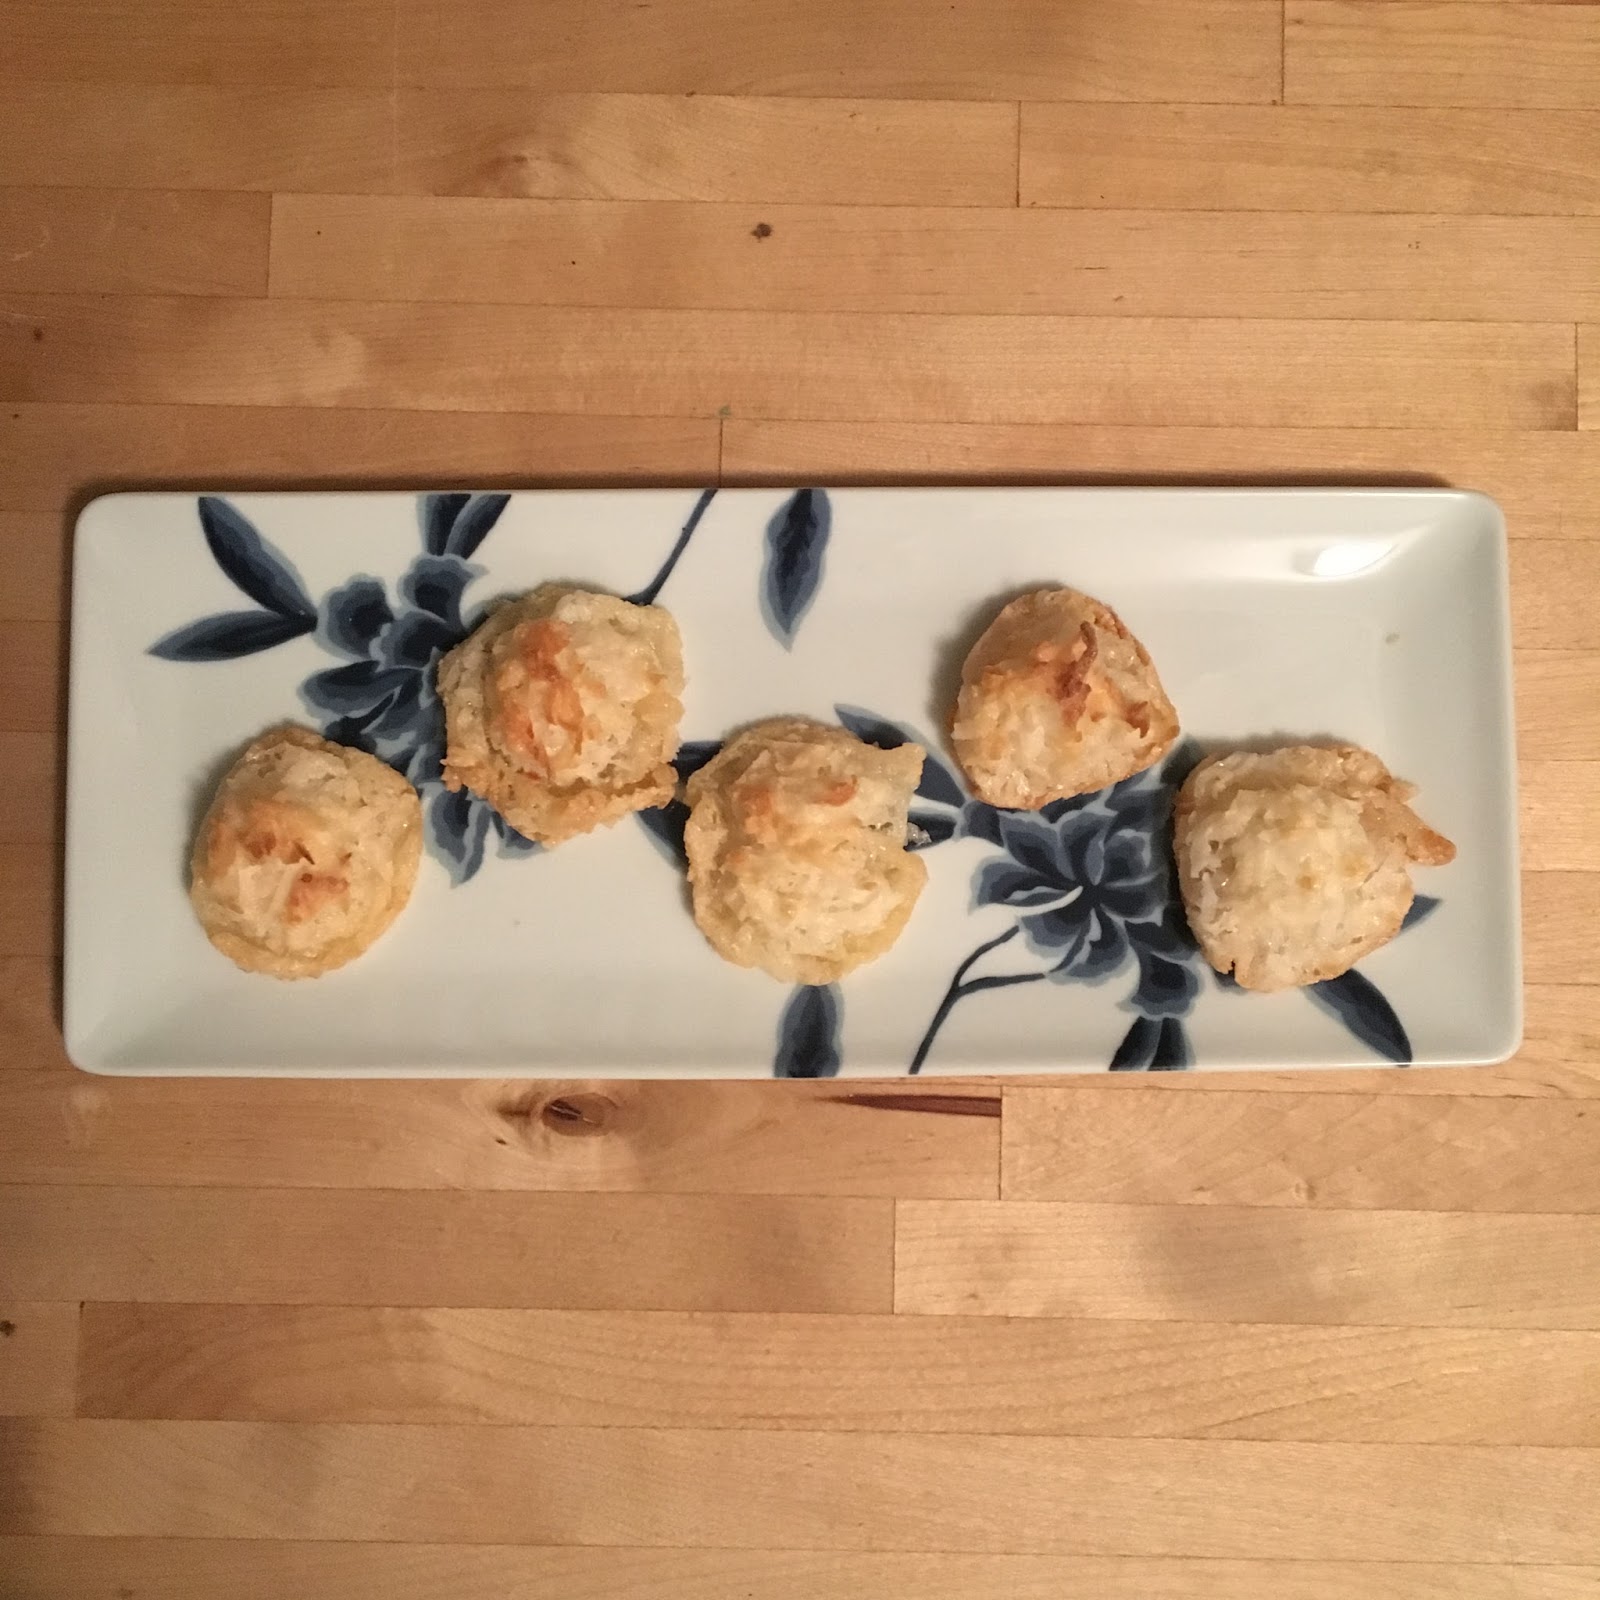
I don't have any Easter chocolate chips. I also don't use my food processor for baking. And - in this version - I used Gluten-free flour, and Soy-free/Nut-free/Gluten-free/Dairy-free mini chocolate chips. And they turned out looking like this stack of goodness:

Let's look at the thought process behind them:


Here's a better view of the recipe card:
See the notes on the side? Those are from when I first made these using Gluten-Free rice flour - which meant I also needed Xanthan Gum. These days, using the Bob's Red Mill 1-for-1 flour, you can skip the Xanthan Gum. 

Ready with the ingredients this week?
Yes!

Audience waiting to see what I might drop?

Yes! (I didn't drop anything, though that look may have earned her an extra treat when I was done baking.)

The recipe - even without using a food processor - is pretty quick to put together.

You cream the butter (and - since we were avoiding soy - I actually did use butter in these) with the dark brown sugar and vanilla.

Then you add in the eggs.
Yes, the recipe says to add them in one at a time. It also says to use a food processor. I'm breaking all kinds of rules! (Though - technically - I did add the eggs one at a time. I just didn't stir in between additions.)
I did add the (gluten-free) flour in two halves, along with the baking powder and salt.
No. I didn't sift them together in advance. Such a rebel. 
For anyone who thinks that Gluten-free (and all the other -frees that these are) means they're going to be missing something, just look at how many mini chocolate chips went into the bowl.
Definitely not doing that CDC poppy seed test thing. Eww. 
OH. Here's something I did at the same time that I was amassing the ingredients. I cut strips of parchment paper and placed them across each of the squares in my brownie pan.
You can tell I did it earlier, because there's still sunlight coming in through the window causing multi-directional shadows in the photo.
I used a slightly-rounded ice cream scoop-ful for each square. When you do that, you'll look at the squares and think "Oh, God. What have I done? They're going to rise and flow all over creation and become a burnt pile of muck in my oven!"

But, no. Even with the really shallow brownie pans filled almost to the top (maybe 3/4 full - at least), they did puff up, but didn't overflow.

No. Really:

Sorry. I got a little ahead of myself, there. The recipe says that these should bake for 30-35 minutes. Usually, when baking in small shapes instead of a big pan, things bake faster. So I started checking these at about 24 minutes. They looked (and smelled) incredible, but the recipe says that they're done when they start to feel "firm" on top.

So I waited. And checked them. And waited.

Finally, at about 31 minutes, they were becoming firm. And so I took them out and let them hang out in the pan for a bit, so that they'd finish up without getting any darker around the non-parchment-ed edges.

Note to self for future: Don't skimp on the parchment paper, and maybe use a spatula around the non-parchment sides before trying to take them out.

Why am I mentioning that? Well... Some of them came out a little more cleanly than others.

Of course, a really good way around that is to either put them in an actual 9x13 pan, or use cupcake papers and bake them in a muffin tin:

If you're counting (which I do in the video, below), you'll see that I ended up with a dozen brownies and 9 "cupcakes." I think that the last time I did them just in the round tins, I ended up with about two dozen. (I really wish I could have reminded myself of that before recording the wrap-up. Now that you know, please just ignore the momentary lack of expertise that I show...)


They looked - and smelled - so good that I broke into one before I even had a chance to record the wrap-up.

But I reminded myself that I these were all for the blog, and stopped myself before actually diving in, so that we could share the experience.


Now, really, who wouldn't want to see that waiting on the counter when they got done with a day of school (or work)? And - believe me - no one will complain that they're missing the gluten, soy, or nuts.
Yes, those are the other 10 blondies still in their "wrappers" in the background. Yum!

-----
Is there some recipe that you used to love, but you have to avoid due to some food issue? Let me know and I'll try to modify it for you - no promises on how it'll turn out, but that's half the fun!

Sunday, May 6, 2018

Coconut Macaroons - Two Days Late and an Ingredient Short (sort of)

I totally meant to get a blog post up last week. I cooked so many things - baked chicken in red sauce over pasta, Toll House pie, chewy chocolate cookies with peanut butter chips - and I kept forgetting to take pictures of anything.

I blame much of that on our weird weather. I mean... 17 inches of blizzard-y snow in April (just three weeks ago, now) was enough to throw off even the most stalwart of Minnesotans - and I do not fall into that category.

So now that it is aggressively intensely spring outside, I am back on track - if a couple of days late. This week with Coconut Macaroons.

Of course, I can only make them if I have all of the ingredients on hand, which is part of why this post is so late...


Now, to make sure we're all on the same page, we are talking about traditional Coconut Macaroons:

We are not talking about French Macarons:
From StockSnap.io
Nor will we be dining with French President Emmanuel Macron and his wife, Brigitte:
From today.com
Now that we're all on the same page, let's take a closer look at the Betty Crocker Picture Cook Book recipe:
Ooh... Just look at all of the possible variations!
Since I took the extra day to go out and buy coconut, we can now do some mise en place-ing.

Wait. Let's look a little more closely at the ingredient list:

Remember how I said that one of the things I was making sure I had on hand was sweetened condensed milk? Notice the extreme lack of sweetened condensed milk in the recipe?

Well, I guess it's just good to know that I have it on hand in case of emergency. For now, we'll just put it in the back of the photo, like that one person who always shows up at family reunions, but you're not sure how you're related.

Seriously, though - 5 ingredients. How easy is this?
I don't know about you, but I had no idea how many egg whites make up a half cup. So I did some cracking and measuring and counting.
As you can probably tell by the 3 whole and one broken yolks, it took 4 whites to get me that half cup.
In case you're wondering how fluffy egg whites get within half a minute of beating, here's what I got:

The next few steps, honestly, couldn't have been easier. Add all the non-coconut bits:
Not really sure why, but that looks - to me - like an abstract "angry bird." Do we dare go down the Rorschach test road with this? (My guess is "No. No we don't dare do that.")
You have absolutely no idea how hard it was to not just stick a spoon in this mixture and eat it. It's sugar and vanilla, after all. But - yeah - raw egg whites, too. At least I could appreciate that it smelled good. 

These wouldn't be coconut macaroons without coconut, so here goes the 2.5 cups of it right into the bowl.

It looks a little like packing materials in this photo, doesn't it? Or maybe shredded parmesan cheese? 
This gets a little gooey as you stir it, but, no matter how much you want to taste it, you really shouldn't do that.
You can't tell in the photo, but as I was taking this, some of the mix kind of rolled off the spatula in the most tantalizing of ways.
According to the recipe from 1950, these are supposed to be dropped on "ungreased wrapping paper" - which I assume means "butcher paper" and not gift wrap - either way, I went with parchment paper.

And, instead of an actual teaspoon, I went for my small cookie scoop.
Again: You should not eat this at this point because of the raw eggs. However, if you did - hypothetically - get some on your fingers and lick it off, you'd find that it is sugary and chewy and just runny enough to get into your beard if you're not careful. (And - obviously - if you have a beard.)
As they were baking, they looked a bit like melting marshmallow Peeps. 

Meanwhile, you can begin attending to the huge pile of dishes you've accumulated. Or, rather, the incredibly easy to get through one bowl, 4 measuring devices, and 3 utensils you've used.
As a bonus, this is mostly all sugar and egg - hot water takes care of most of it as long as you don't let it set and dry.
When they came out of the oven, the outer edges "deflated" and flattened a bit.

This is where the recipe says to "use your fingers" to kind of smoosh the not-quite-325-degree flattened edges back toward the middle. Because, back in the 1950s, home bakers apparently had Asbestos-lined fingertips.

If you're like me and do not have Asbestos-lined fingertips, I recommend using a small spatula, instead, which works fairly well, if not with quite the same precision.

Mine ended up basically looking like this: 
Some I waited too long on, and so they stayed a bit flatter.
The recipe goes into detail about how to lift the paper (with the macaroons on it) out of the pan, place a wet towel on the pan, put the paper back, and let the steam help with the release of the macaroons from the paper. (It's the bottom paragraph on the left - it goes with the photo.)

Luckily, to make up for my non-Asbestos fingertips, I do have parchment paper which is considered to be non-stick. So I just waited until these had set up, and then removed them with my fingers. (I didn't even need a spatula, though I guess I could have gone that route if I'd wanted to.)
I moved them around on the sheet (from where they'd baked to "empty" spaces), but didn't move them off the paper. I figured they could dry just as well on the paper, without worry of getting stuck to the cooling rack. 
So, how did they turn out?

Yeah. They are really good. Even without any chocolate on them. Just a little crunch, a great amount of chew, and all that coconut-y goodness. Perfect for a spring or summer weekend. Or - heck - with only 5 ingredients and about an hour's worth of time, these could be an easy weeknight treat, as well. (Just make sure you have coconut on hand before your craving gets the best of you.)


------
Not a fan of coconut? What do you like to have as a summer treat? Is there something from your childhood that you still go back for? Or is it an adult-onset craving? Let me know what you've got a hankering for, and I'll see if I can find a recipe to try out!

Friday, April 20, 2018

Cookie Quickie

A while ago, when I was making different batches of chocolate chip cookies, I had one question come up that I actually didn't answer.

(If you're not sure what this chocolate chip cookie testing was all about, I'd say start here: Betty Crocker's Chocolate Chip Cookies (circa 1950) and then work your way through the 3 or 4 blog posts that follow it.)

The question that came up was a question of why I grease pans (when I do - not all cookies need it) (though these chocolate chip cookies definitely do) with a "butter paper" instead of with a spray.

Okay. First of all, you all know that I usually use margarine, so "butter paper" is a bit of a misnomer, but I do typically use the margarine stick wrapper paper to grease my pans.

On the one hand, I figure cookie sheets are flat and easy to work with, so why waste?

On the other hand, I hate how sprays tend to get all over the kitchen - even if you're careful.

So I do it the old-fashioned way.

But, during my last chocolate chip cookie baking, I decided to try it out both ways. (No, I'm not doing lots of photos, because the recipe and all that are in the post, above.)

The cookies went into the oven on the same pan - half the pan was sprayed, half was hand-greased. I figured that would give us the best results.

About halfway through the baking, I glanced into the oven and thought "What the heck is going on? Why are those so different?" and then realized - oh, right, testing...

Overall, the cookies turned out the same. It's just that the edges of the "sprayed" cookies melted a bit more when they first got into the oven, so they spread and got crispy. The "hand-greased" ones stayed a little more centralized.

Here's how they looked:


Was one better than the other? Well... I prefer chewier, so I think that the hand-greased batch were tastier. But, with milk, I enjoyed the ones with the crisper edge. (There's a definite chance that I just like chocolate chip cookies, in general.)

What do you think - crispy or chewy?

-----

Have a kitchen question you'd like answered? A recipe that you're looking for - or looking for the courage to make? Let me know and I'll see what I can do for you in a future post!

Friday, April 13, 2018

Coconut-Lime Sugar Cookies (If spring won't come to me...)

I'm seriously hitting a point where spring just needs to show up. I know that we have snow in April pretty much every year in Minneapolis, but it's usually interspersed with 50-degree days (and mud). This year, the ongoing "colder-than-average" temps, combined with snow that doesn't seem to end, is getting to all of us.

A couple of weeks ago, I bought some limes for a project that I ended up changing. And so with limes in the fridge I figured I was left with two options: Margaritas or baking. We have no tequila in the house, so I went for baking.


Here's the thing, though: I'm not really a "make it up as I go" baker. If you've been following me for any length of time, you know that I tend to fall back on tried-and-true recipes (or random new things that I've found a recipe for), instead of making things up on my own.

I do have one sugar cookie recipe, though, that I have already altered in the past (with lemon - and later with lemon and lavender), so I know that it plays well with add-ins. And, thus, with a friend's suggestion in the back of my mind, that lime and toasted coconut would work well together, I decided to try it out.


I'm pretty sure I've used this sugar cookie recipe before on the blog, though I can't find it. So here is the recipe as I have it from my mom:

In the "family cookbook" that we have, this is more specifically listed as "Donna Rettedal's Sugar Cookies" - because Donna is the one in my home town who made these and gave them to us (and gave the recipe to my mom).
Although I was making it up as I went along, I did want to measure things, in case I wanted to do it again. So I started with half a cup of coconut.


I wanted the coconut to be able to cool before adding it in, so I started that early (as you probably saw in the first video). I simply poured it into a dry pan on med-high heat, and stirred it around a bit as I waited until it was toasted.


How do you know when it's toasted? Well, I went for "when you can smell it, it's pretty much done."

I turned off the heat just when I started to smell it, and it looked great. Unfortunately, I didn't remove it from the pan, so it did get a brown, toasted color to it. Don't worry - it still tastes great, either way. And the fact that it was sweetened didn't seem to matter, which was a nice surprise.


In working with these with lemon, I've learned that about 2 teaspoons of zest work for a full batch.

You've used a zester before, right? You take off the colored part of the rind, and try to avoid getting any of the pith (the white stuff). Just make sure you don't also take off the outer level of your knuckle skin. (After all, we want green - not red...)
I recommend putting this in with the sugar, so that the oils can flavor the sugar before it gets "blocked" by the fats. Note: I recommend doing that - even though I may have gotten ahead of myself (as you can see in the photo above).

Oh. Speaking of the fats. I have a note from long long ago that says "works best with half shortening." Shortening, in this case, refers to something like Crisco, and I have to agree that these turn out best if it's half margarine (or butter) and half Crisco. Not sure what the chemistry is behind it, but it is what it is.

Fiona has apparently decided that she likes to supervise in the kitchen, and she did so during these cookies, as well.


When working with the lemon version, I tried out the amount of juice to use and found that swapping out 1 tablespoon of lemon juice for the 1 teaspoon of vanilla seemed to work well, so that's how I went with the lime juice.

Of course, this throws off the liquid/dry balance, so I also learned to add an extra half-cup of flour when making the modified recipe. With this new version, however, I was going to be adding my toasted coconut, so I kept the lower amount of flour.

Can you see the brown and green flecks in there? That's coconut and lime goodness.
I'm happy to say that the consistency of the dough was pretty much as expected, so I went ahead and dropped them onto an ungreased cookie sheet.

The next steps are kind of odd, but seem fairly important. For some reason, these don't like to flatten on their own (though they will spread just a bit), so you need to help that along.

You start with a plate of sugar, then "dip" the bottom of a glass into the bowl of dough to get it "primed" to pick up the sugar.


Dip into the sugar.


Mash the cookies to about 1/4-inch thick.


Repeat.


It's a great way to get out some of your aggressions - but don't go too far or you'll end up with wafers...

If you're someone who is never quite sure when cookies are done, these are a great cookie to work with. The "touch test" will go from the cookies being "airy, but mushy" on top when they're still under way, to feeling just a bit firm when they're done.


They also get a really nice golden edge around the bottom, which lends a nice texture once they cool.

I know from working with the lemon ones that these cookies never seem to have quite as much flavor as I want. (The original version simply has a calm vanilla undertone - but I always feel like there should be more kick with citrus.) So I decided to frost these.

My basic frosting recipe is:
  • Dump some powdered sugar into a bowl - start with about 2 cups
  • Add about a half teaspoon of softened margarine (for stability)
  • Slowly add in enough liquid to get the consistency you want (depending on whether you're aiming for a frosting, a glaze, a spoonable treat, etc.). This liquid could be milk (if you're going for just a plain frosting) - with or without flavorings like almond, vanilla, or peppermint extract; it could be lemon juice or lime juice; it could even be water, if you're in a pinch.
Honestly. That's my recipe. You add more liquid if you want it thinner. You add more powdered sugar if you want it thicker. You add more margarine if you want it to be a little more stable right out of the gate. 

I know there are tons of recipes in the world for different frostings - from ganache to royal icing and everything in between - but I tend to go by feel on this.

Not a bowl of cucumber-dill sauce. I promise.
Each cooled cookie got a quick smear of frosting, and then they needed to sit on the rack until the frosting fully set up ("hardened" seems like to "hard" a word for this).


How did they taste? Well, Fiona was too tired/bored to give any opinion, ...


so I had to do it myself:


Here's hoping that you're getting spring wherever you are - or at least you've got a plan for bringing it on your own!

-----

Any ideas for what I can do to get spring to come even faster? Do you have a go-to spring recipe? A favorite Cinco de Mayo recipe you're hoping to find? Let me know and I'll see what I can do to add it to a future post!