As you may remember, last week's blog post ended with our machine-made from-scratch cinnamon roll dough sitting atop the fridge when Christopher asked me to go out to dinner with him. (For a refresher, you can just jump back to the
Dough-us Ex Machina post, if you like.)
We'll get back to that in just a moment with some comparison shots, but I thought it would be good to first make up some dough without using any electrical appliances.
(As you also may remember, this set of posts came about because a friend asked me if I thought there would be an appreciable difference between dough made with a dough hook-enabled mixer and one made by hand.)
So... once again... the basics:
 |
| Please note the extreme lack of Kitchen Aid mixers in this photo. |

I learned a few things during round one of these cinnamon rolls, including the fact that it's hard to balance a thermometer in a small bowl on the stove. That didn't, however, stop me from trying the same double-boiler-style method of milk heating. Unfortunately, this time I overshot the temp range, and so I had to wait until it cooled down so that I could add the yeast. Which resulted in more fun with the thermometer probe:
 |
| You can't really tell in the picture, but the bowl is on a silicone trivet (because it was both wet and hot), and the thermometer probe is propped on a box of butter... |
In two bowls (no mixer bowl), I got my wet and dry ingredients together.
 |
| The bowl on the left is one of my favorite things in my kitchen. |
The yeast did pretty much the same thing it did during round one, and I eventually ended up with bubbly yeast going into the mix.
Here's something that you kind of miss if you use an electric mixer: the fact that, at this stage, the mix is really ugly.
 |
| You think this one looks bad, just check out the next one. |
 |
| Honestly. Does this look like something you'd ever want to eat? |
Luckily, with the rest of the flour...
...and a bit more stirring...
...we were on our way.
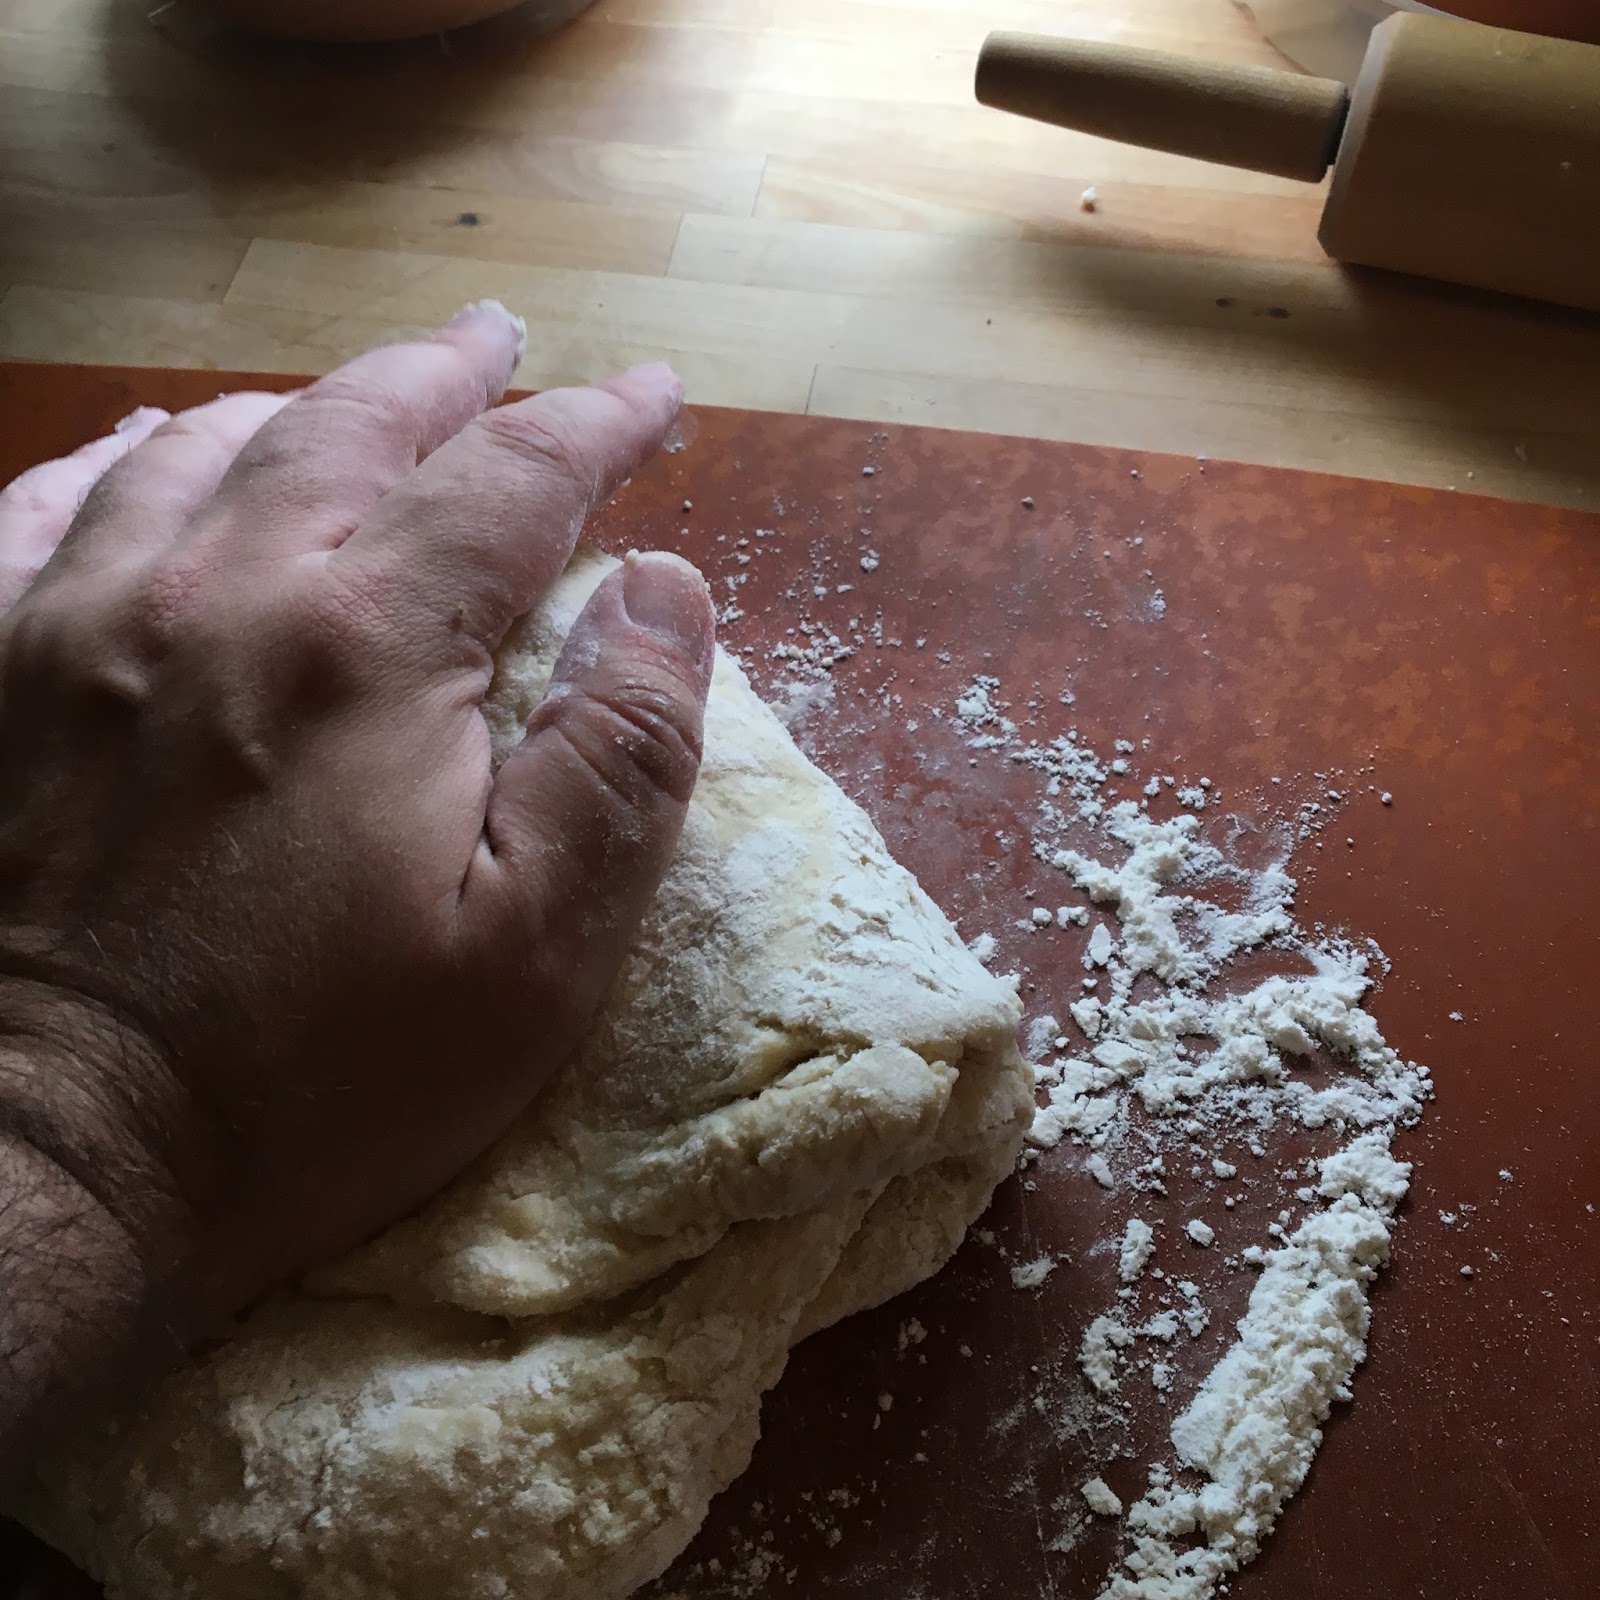
Now this is where, last week, we switched from the "paddle" attachment to the dough hook. So, I moved from the spoon to a floured board.
I decided to knead the dough for four minutes - the same amount of time that it got beaten up by the dough hook - and I have to admit that it was really kind of relaxing.
Eventually, I ended up with a nice round-ish ball. Was it as smooth as the dough that came out of the mixer? No. Would that make any difference moving forward? I had no idea, but I was about to find out.
Into a greased bowl on top of the fridge it went.
And about an hour later (this time a "real" hour and not an "oops, I seem to have gone to dinner in the middle of it all" hour), it had grown a bit. (Obviously not as much as the first round, because... again... this one was only there for an hour.)
 |
| Dough #2 - after the correct amount of time. |
 |
| Dough #1 - after about twice as much time as it should have had. |
And this is where our two stories meet up, and we go from making dough to making cinnamon rolls.
 |
| Let's pretend there's also a photo, here, of the brown sugar, cinnamon, butter, cream cheese, and powdered sugar - because I apparently forgot to take a separate photo of those ingredients... |
To make the cinnamon rolls, you start by punching down (deflating) the dough.
Considering the mixing, the whipping, the kneading, and now this punching, it does begin to feel like whoever came up with making yeast doughs really had some aggression to work out.
 |
| Because Dough #1 had risen for so much longer, when it got "punched down" it had a longer way to go - and was much more dramatic about it. |
 |
| Dough #2, on the other hand, just kind of looked at me like "Yeah. So?" when I punched it down. |
After letting the punched dough hang out for a few minutes (apparently to think about what it has done?), it's time to roll it out.
The recipe calls for a 12"x18" rectangle, and since I was trying to follow it as closely as possible, I got out my kitchen rulers.
 |
| It turns out that my largest cutting board is actually 12"x18". Lucky me. |
If you've never rolled out a dough (for bread, for pizza, for pie dough, for cookies, whatever), you'll need to figure out what the right amount of flour for the board is. There's a fine (powdery, dusty) line between "enough that it doesn't stick" and "so much that it won't stay where you want it to stay."
Once you guess at the flour, you can flop the dough out onto the board.
 |
| This was Dough #1. I can tell because it was still puffy enough to hold finger dimples. Dough #2 was a bit more solid since it hadn't risen as much. |
There is something really kind of zen in rolling out dough. If someone came up with a kitchen yoga class that included kneading and rolling out doughs, I'd be all for it.
 |
| Rectangular-ish. |
Of course, cinnamon rolls need cinnamon (and brown sugar), so once the dough was rolled out, I mixed those up.
 |
| I did not eat directly from the bowl. (Though... stay tuned...) |
After you spread softened butter on the dough, you "sprinkle" the cinnamon/brown sugar mix on, leaving a naked strip along one of the long sides (so that the filling doesn't all ooosh out when you're rolling it). And then - in one of the most confusing directions I've ever read - you "Brush [beaten] egg over side of dough without filling."
What does that mean? Does it mean you're supposed to flip the entire thing over and brush the under side? Does it mean that you're supposed to roll it and brush it with egg as you go? Does it mean that you brush the naked strip with egg?
I contemplated this for a while, and then dragged Christopher into the kitchen to read the direction and tell me what he thought it meant. We decided that it meant to brush the beaten egg along the naked portion of the strip to act as a sealant.
Here's what that looked like:
 |
| Okay. Here's something you can't see, but I'll admit to: I didn't use the right amount of softened butter on the dough for Dough #1. I mis-read the instructions and only used 2 tablespoons, instead of "1/2 cup plus 2 tablespoons." Did it impact the rolls? Maybe just a little. But not so much that I threw them out or anything. |
When I was working with Dough #2, it was a little harder to roll out (because it hadn't already been stretched by the extra rising time), but I still got it to the edges of the board.
I couldn't quite imagine a full half cup (plus two tablespoons) of butter on this, though. (See the caption, above, if you're not sure why that matters.) So I compromised with a quarter cup, and I think that was fine.
This time, though, we opted to forego the egg "glue," just to see what would happen. (Because, in part, I felt like I was wasting about 90% of that egg for no good reason.)
 |
| Spoiler alert: The lack of "egg glue" made no discernible difference once they were baked. It did make rolling and cutting them a little more challenging, but - trust me - you'll be fine if you skip it. |
Rolling the dough takes some work, because you're trying to keep the filling from oozing out the sides, while pulling it all toward you (I find rolling toward me is easier than rolling away from me for this - for the sake of the control). You also have to figure out how "tight" the roll should be, so that you don't end up with weird air pockets - but it also needs have a little give so that the rolls have room to grow. (After you've done this a time or two you'll get a good feel for it.)
When you go to cut the roll into... well...
rolls... you're going to want a serrated knife so that you don't just end up mushing log flat.
 |
| And, yes, it will kind of contract away from the knife as you go. |
My recommendation is to start at the middle, then section off the rest. The recipe says you're aiming for 12 rolls (if using a 9"x13" pan), so I started with the middle cut, then divided it into quarters, then did each of those in three.
 |
| Yes. I used a different knife on the second batch. Still serrated, though. |
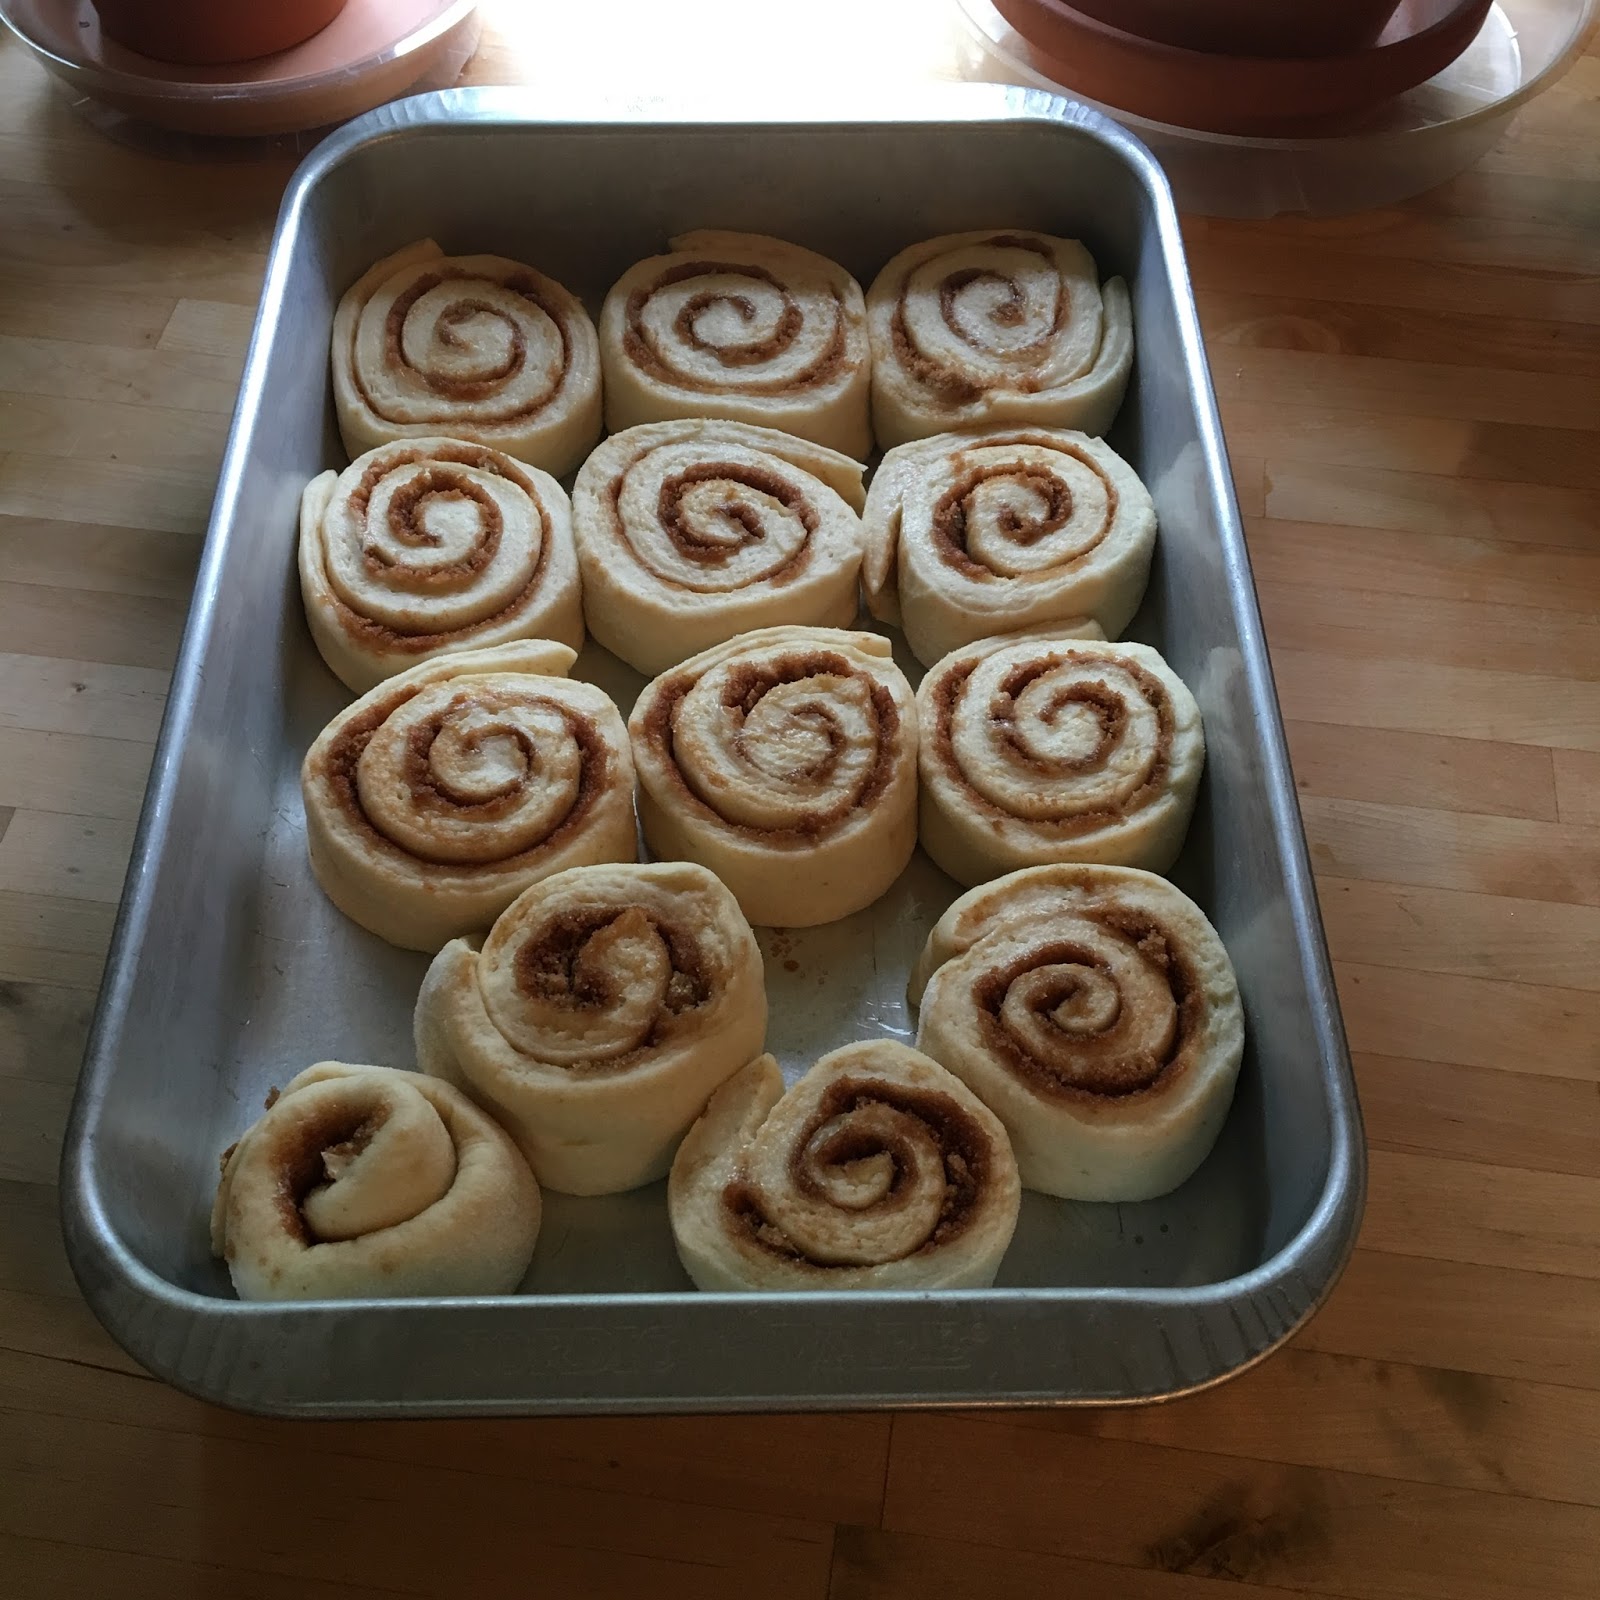
In the recipe, it actually says you're supposed to just "trim off" the ends. And it kind of suggests that you should ??? THROW THEM OUT ??? Why would you do that? I simply made room for them in my sprayed pans:
 |
| Yes, it throws off the symmetry, but it means you get extra CINNAMON ROLLS! |
 |
| But... wait... there's only one actual "end" in this picture. What happened to the other one? |
Okay. I admit it. I couldn't quite figure out how to fit the very last one into the pan. And it looked SO forlorn all alone on the cutting board.
 |
| But... it's a little spiral of doughy, cinnamony, sugary, buttery goodness. What to do? |
I feel it's important at this point to offer the following warning, which was found on the top of my bag of flour:
 |
| Yeah. Apparently there's all sorts of bad stuff that can live in flour. So DO NOT eat it raw. This includes no raw bread dough. No raw pie dough. And definitely NO raw cookie dough. In case the FDA is reading this, I'd like to state for the record that I definitely did NOT eat that last little spiral without cooking it first. (Just don't ask me to say that while attached to a lie detector.) |
Back to the rolls...
Each pan got to hang out so the dough could proof again.
Sometime during this rise, the oven got turned on, which meant the kitchen got warmer. Anyone who paid attention in science class can probably tell you that warming a solution (in this case, cinnamon roll scent particles in the air) will make them mix faster. In non-science terms, this means that the entire house will start to smell of yeasty, cinnamony goodness at about this point in your process.
Baking makes the smells spread even faster (because... warmer...), and when they come out of they came out of the oven the rolls looked like this:
 |
| Dough #1, due to exhausting so much of its yeast on that "oops" rise, didn't do as much growing while in the oven. |
 |
| Dough #2 took full advantage of its oven time, and filled the pan. Do you see the ones with their centers popping out? That's a sign that those were too tightly rolled. |
The recipe calls for flipping the rolls out onto a rack to cool a bit. I didn't do that. Why? Because I like the cinnamony-gooey side of my rolls to be different than the frosted side. I also think that doing that means that you're going to have goo on your rack (and on the counter) and I can't see why that would be a good thing.
So I whipped up the cream cheese, softened butter, milk (really - any milk would have worked, it didn't need to be whole milk), and powdered sugar and dolloped/spread it on the rolls. OH - in the frosting for batch #2, I also added some vanilla, just for an extra dimension of flavor.
 |
| It's a little thick, but since you're putting it onto the warm rolls it softens and spreads pretty easily without mashing down the rolls themselves. |
And, finally, what we've all been waiting for:
Dough #1 gave us these:
Dough #2 yielded:
And, here's the breakdown:
Because of the extra time rising, Dough #1 was a little softer. Dough #2 - because (we think this is right) more of its rise was in the oven, was a little more sturdy. We actually preferred #2 for that.
But was there any discernible difference between the two that machine versus hand contributed to? None that we could find.
I think I expected the first round to be faster (since it used the mixer), but kneading the dough for the same amount of time seemed to produce equally good results. And it was so much more relaxing than the mixer version - which, frankly, got kind of loud and obnoxious:
So... if I do this again, what method will I use? Hand. Definitely.
But, am I likely to do these again? I'm not really sure. I grew up in a household where frozen bread dough got purchased, thawed, and used for most things like this. And... wow... that is SO much easier, with basically the same outcome, really. Though - no preservatives in the stuff I made from scratch, so there's that.
Whichever dough you go for, I highly recommend considering the basic process and procedure for these rolls. Play with the filling if you want (raisins? nuts? ginger? chocolate chips? Nutella?) and the frosting (any or all of the above! or none, in which case I'd definitely flip these out of the pan to let the inner goodness coat the whole roll).
But, no matter what, allow yourself the joy of a house that smells of yeasty, cinnamony goodness. You'll be glad you did.
-----
Have a recipe you'd like me to try out? Something you might want to make for Thanksgiving, but want to have proof it works, first? Savory or sweet let me know and I'll see what I can do about trying it out and writing it up for you!