One of the strange things about working as a freelance editor in the digital world is that you seldom (if ever) meet the authors you're working with. In fact, depending on where your jobs come from, you might never have any contact at all with the person on the other side of the manuscript.
The latter version is how much of the past year of my freelancing has been: I've been working as a freelance editor and proofreader mostly for one particular company - they've been sending me the jobs, and I've been working on them and sending them back. Frequently, the only "contact" I've had with the authors is putting a note on the final edit saying "Here's what I've done/what you need to do."
Part of me enjoys the no-strings-attached world of that. It's nice to be able to do my work and send it back without any debate or discussion. That work has all been for authors who are self-publishing, and so they can accept or reject my revisions as they see fit (for better or worse) and there's no hard feelings.
On the other hand, there have been a few times when I have had author contact, and that typically does make for a richer experience. It's good to know that we're both working toward the same goal - and that we each understand the role the other is playing.
When I know why an author is using the words she is using to describe a main character, it's easier for me to understand both the character and the author. When I hear from an author that he intends to use 1950s slang for his 2017 character to set him apart from the crowd, then I can also allow that to flavor my responses (and stop questioning what's going on).
There are, of course, those times when authors and editors clash, however. For me, that tends to be when an author is choosing words or phrases that aren't going to be understood by the reader on the other end. After all, I'm not even one to fight over grammar unless something is truly unintelligible. I may point out grammatical errors and offer suggestions for fixing them, but if an author really wants to use them, that's often a style choice.
But when the grammar or word choice or writing style becomes so bad that even I can't understand it (and I've had years of reading between the lines), then I start to push back. And, sometimes, that can be kind of painful.
How much do I push back? Well, to be totally honest, what it comes down to is whose name is going to be on the final product. If I'm going to be named as the person who had final say on the page (which is kind of the implication if you list someone as your editor), then - yes - I'm going to want to have final say.
On the other hand, if the author's name is the only name that's going to appear, I'm more likely to defer to the author for the final decision. (Though I'll want to be able to make all of my recommendations so that I can point them and say "See? I tried!")
Of course, in a perfect working relationship, the two (author and editor) will be working together and finding creative compromises so that both names can be proudly displayed. That's the kind of collision that creates a new star - instead of simply a black hole surrounded by planetary fragments.
I'm a day late in posting this week, and I apologize for that. It's been a bit of an odd week. So, without further ado, let's get to the peanut buttery heart of the post!
(For the record, I also still haven't pulled the tomatoes in from outside, yet. That's how weird my week got.)
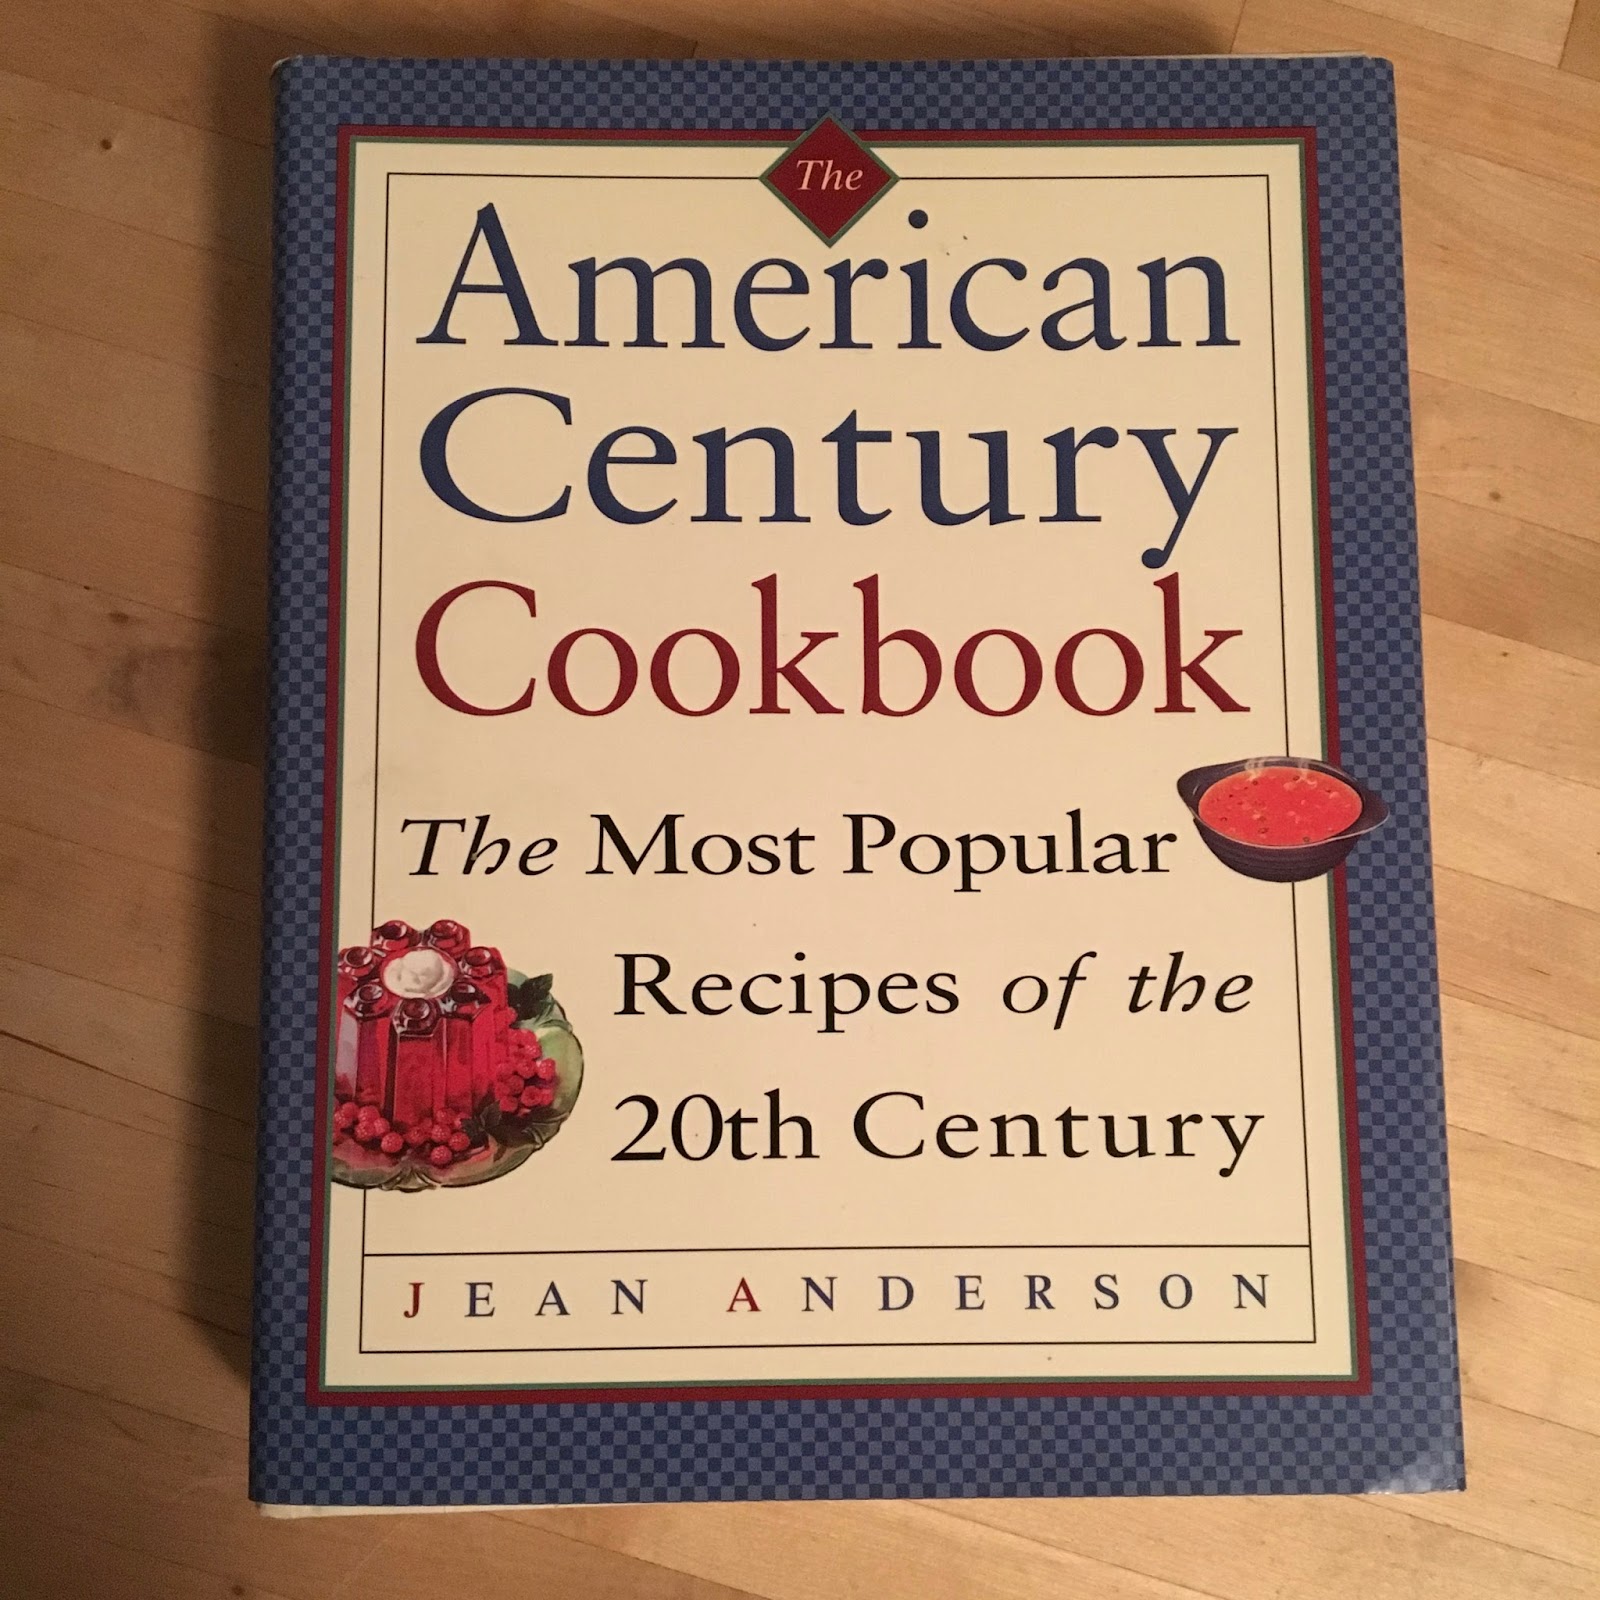
I really enjoy my American Century Cookbook. It's got a lot of great recipes in it, as well as stories - both about the recipes, and about what was going on in American kitchens at various times throughout "the century." If you can find a copy of it, I'd highly recommend picking it up. Here's a good look at the cover so you know what to be on the lookout for:
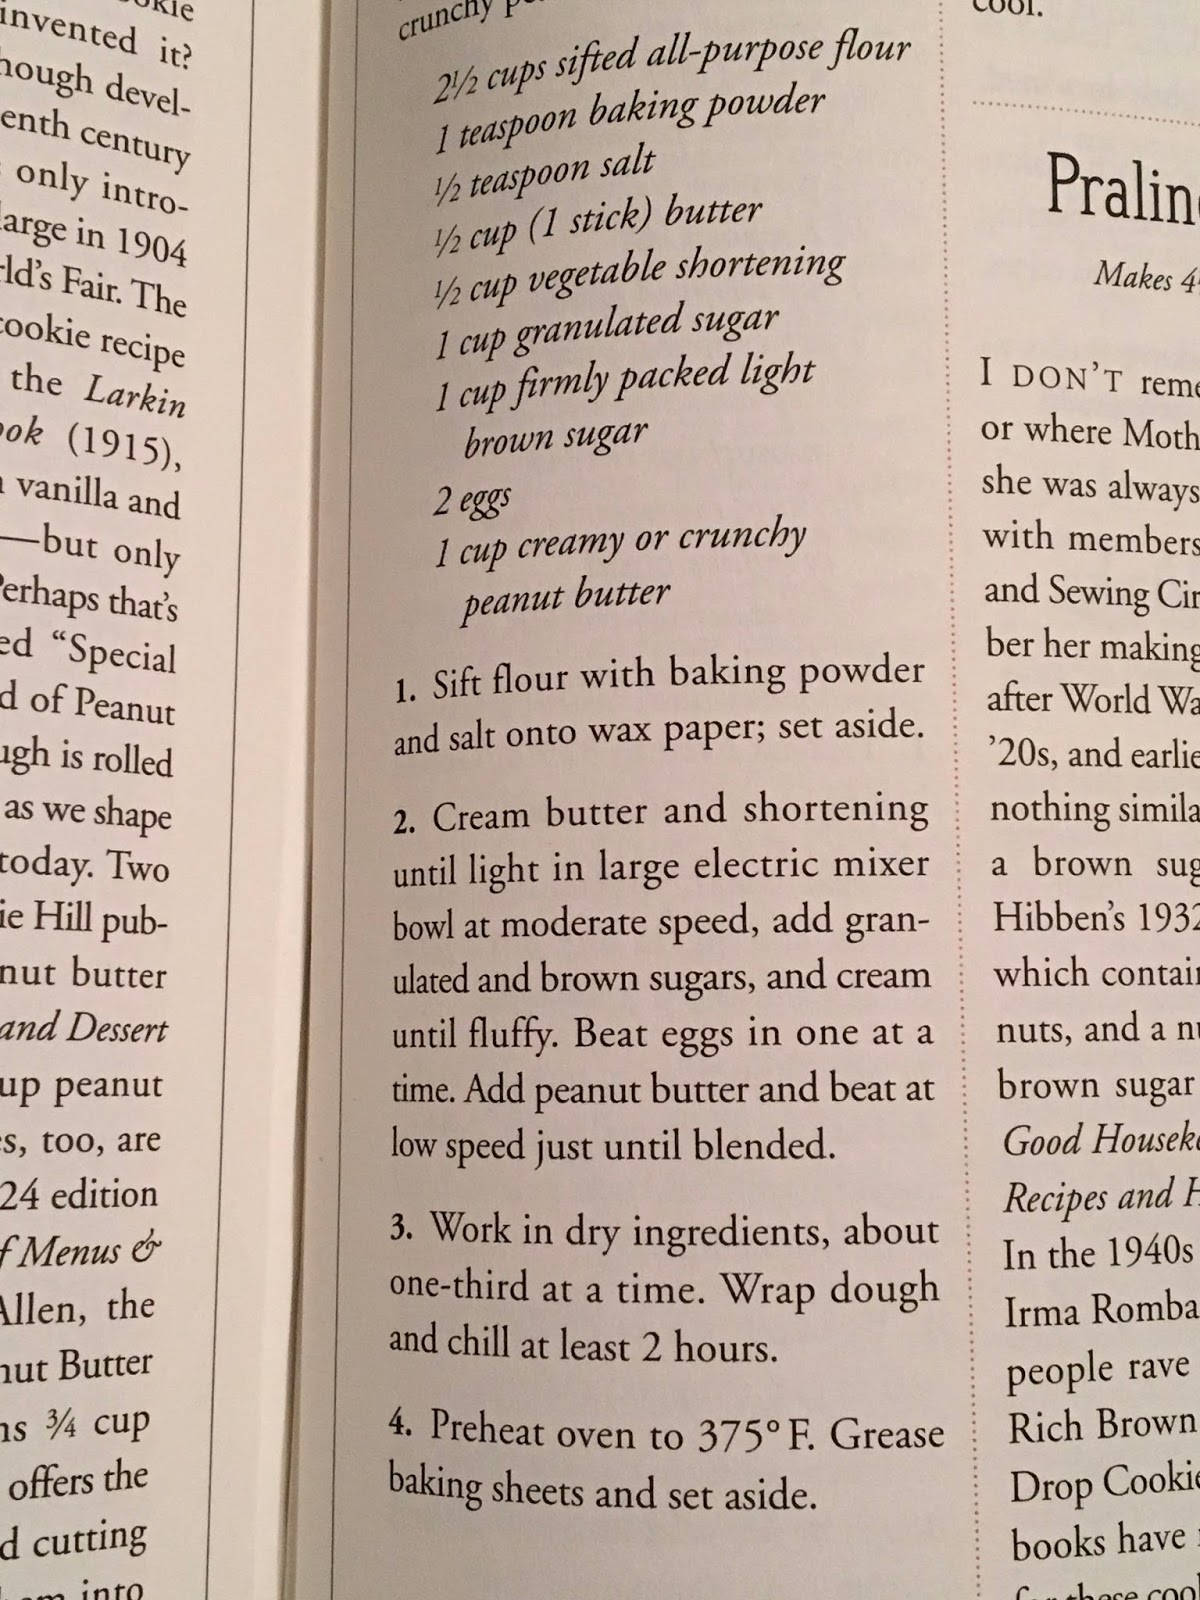
The recipe for Peanut Butter Cookies is here:
Re-reading it, now, I realize that my fork was supposed to be "floured" when I was making the crisscross pattern. That makes so much sense. Oops.
A great thing about these, is that there really aren't that many ingredients, when you come right down to it. They're pretty much straightforward:
The recipe does call for butter and vegetable shortening, but I didn't have any butter on hand (and, well, I do typically bake with margarine, anyway), so I went with what you see, here.
As with the ingredients, the recipe is also pretty much what you'd expect. Dry ingredients go in one bowl (or on a sheet of wax paper or parchment, but I used a bowl)...
Ooh... if I zoom in really closely on the flour/baking powder/salt, it almost looks interesting. Almost.
Shortenings get creamed together:
Can you see, here, why recipes call for scraping down the sides of the bowl? Check out how much of the mixture is actually getting mixed at the moment. What do you think? Maybe 1/3 of it is making contact with the beater in this picture - and it certainly doesn't look fluffy:
Eventually, though, if you scrape down the sides, the mix will turn pretty fluffy after a good beating.
Still, you can see how much is sticking to the sides, and not wanting to play nice with the beater.
When the sugars go in, well, that's the point where the mix starts to come together.
I won't lie: this is also the point where I really want to start tasting it.
Adding in the eggs make it much softer (you can see that the granular sugar seems to disappear between the last shot and this one).
Once the peanut butter goes in, it gets pretty exciting. It also gets incredibly fragrant, and the whole kitchen starts to smell of peanut-buttery goodness.
What I really needed at this point was a Hershey bar to dunk into it...
The next steps sound a bit odd, when it says that you need to add the flour mixture in three parts. But, if you think about it, most recipes call for adding the flour one cup at a time and mixing it in - and that's, in essence, what is going on here.
Note to self: Remember to start the mixer on the slowest speed when adding flour, so that you don't fling flour all over the kitchen. (Not that I did that... much...)
Once the flour is all in the bowl and incorporated, it turns into a very soft dough:
This, of course, is the point where I realized one issue: The dough needs to go into the fridge for at least two hours to chill before being portioned out and baked. You'll definitely want to factor that into your prep time, or else you'll be like me and be baking at 9pm.
Into the fridge it goes in an airtight bowl...
After the two hours (and, believe me, it was just barely after those two hours), I got out the dough and started making the cookies. I placed the balls on my cookie sheets based on the recipe's description of spacing, but I do think they could have been a little closer together (for the sake of fewer pans going in and out of the oven).
Here you can see why a floured fork may have done better - I kept getting stuck.
One random thing which I didn't find explanation for: I don't know why the cookies get the fork marking. I mean... it's nifty and all, but I'm not sure why it's done.
In the oven, these do spread (but not much) and they do puff up and get really shiny:
I know what you're saying: "Stop opening the oven door to look at them!" (I may never learn.)
When all was said and done, they came out of the oven a nice golden brown, with a little extra browning on the bottom - kind of picture perfect, if I do say so myself.
So, we know how they look, but how do they taste?
One thing about these, which could probably be adjusted either via baking time or brown-to-white sugar ratio, is that they are a bit cakey, and (from the vantage point of a couple of days after baking) they do get a little dry. Of course, we all know that that just means you need to dunk them - so get your glass of chocolate milk and go for it!
----- Have a childhood recipe you've been searching for? A holiday recipe that you want someone else to try before you make it for your relatives? An opinion on whether peanut butter belongs on pancakes? Some random kitchen/cooking question? Let me know and it might show up in one of my blog posts!
Just because something gets repeated over and over doesn't mean it's true.
It also doesn't mean that it's good grammar/style/usage.
Here are two (well, three, really) of my current least-favorite turns of phrase:
"ISO of" - as in the social media posting "ISO of plumber recommendations." Don't get me wrong - I'm all for getting good plumber recommendations. I'm just not in favor of using "of" twice in that phrase. Because, you see, "ISO" is an abbreviation of "in search of," so "ISO of" in that phrase translates to: "In search of of."
This is, obviously, closely related to the infamous "ATM machine," which, when broken out becomes "automated teller machine machine." I don't know about you, but I really don't need a machine which will give me more automated tellers.
A relatively new phrasing that has been showing up at the bottom of commercials is "Real people. Not actors." This has replaced such phrasing as "Real reactions from real people" or "Participants were not paid for their reactions" and comes alongside other disclaimers such as "Actor portrayal of real reactions."
What gets me in this is that, in saying "Real people. Not actors." the assumption is to be gained that actors are not "real people." But I'm pretty sure actors are people. They may be paid to perform roles and become other people, but - at the most basic - they're people. Just like all four of the "one out of four doctors" are people.
I know these are kind of weird little things. But, from a language perspective, they're pretty big - and important to the way we speak and write.
After all, if we don't take care of our language, who will?
And, finally, we have a grown-up, no-longer-green, red tomato picture:
Let’s discuss:
I feel like the momentous nature of this occasion requires me to go through all of the steps of a recipe, even though I really just want to go straight to the sandwich. So, here we go…
Ingredients:
Because it takes the longest, I start the egg frying...
The pan is a decent quality non-stick, but I still hit it with just a quick shot of spray, since I wanted to be able to flip the egg without issue.
If I’m having eggs just for the sake of having eggs, I usually take my fried eggs “over medium” – no longer runny, but not quite solid. For a sandwich like this, though, I like the yolk to be firm.
Covering the pan holds the heat (and the moisture) in so that the egg cooks faster, without having to crank up the heat and worry about burning.
While the egg is frying away, it’s time to turn to the star of the show. I almost felt a little bit bad cutting into it – but not that bad.
By the way... I’m a firm believer in using what is traditionally a “meat board” style cutting board for juicy vegetables. After all, I did not want to deal with having to wash dried tomato juice (which somehow always has one or two straggling seeds in it) off of the counter.
Though we don't often have garden-fresh tomatoes to cut, we do have a tomato knife. It's almost the same as a sausage knife, but the tomato knife has prongs on the end. I've been told that they're there so you can life the tomato slices without getting your hands dirty, but I also use them to poke around and remove anything that looks unsavory in the tomato.
With almost perfect timing, the egg was ready to flip by the time I had my slices cut.
See how the white is set up but the yellow hasn't really cooked, yet? That's what adds a little thrill to the flip.
I don’t have video of this, but I did actually flip the egg without the aid of a spatula. In the next photo, you can see the slight streaking of the white along the bottom/side of the pan – that’s because I didn’t quite stick the landing.
Assembly of this sandwich, for me, has a few steps.
First of all, I love doing this on English muffins, because they fit the tomato and egg so well. But since toasted English muffins can be a bit dry I start with a little bit of margarine (which melts in and softens everything).
Then I go for mayo. Yes, I’m one of those people who likes mayo – and although I’ve made it from scratch (which is so much easier than you might think), I am perfectly fine with it coming out of a jar for most applications.
I put the egg on the bottom, with the tomato on top for this one, but I don’t know that it really matters (though it does make for pretty pictures that way).
I think that if I were doing a more complex sandwich (like a club sandwich with a fried egg on it), I’d put the egg on top simply because I could make the rest of the sandwich while the egg was cooking. In this case, though, everything was done at about the same time, so I went for aesthetics.
How did this make me feel? Well, let's find out:
And, yes, this is what the plate looked like about 45 seconds after the camera was turned off. I honestly believe that it was worth every moment of the 5 months that I’ve been tending those plants.
----- Have a fall recipe that you'd like someone else to try, first? Let me know! Or, if you're looking for a recipe for the Holidays, drop me a line and I'll see if I can find it. This time of year - even more than others - the kitchen is my happy place!
Alright, as I also say in the video, below, I'm going to cut to the chase and go right to the point of this post: Cinnamon Gooey Squares from a cookbook called The Smitten Kitchen Cookbook:
You can find her website, here, or search her out on social media under the name The Smitten Kitchen.
Instead of trying to type up my gushing about the cookbook, let's just go to the intro video:
Okay. I realize I may sound a bit biased going into the recipe. But that also means that I have very high expectations, so let's see how that all comes out.
I won't lie: I absolutely love reading her stories, but in this case I kind of wish that the people who did her book's layout had realized that we'd rather have the ingredients and the steps all on the same page - instead of having the ingredients next to her story.
I spent a lot of time flipping the pages back and forth, trying to figure out how much of each ingredient was being used at any given time.
Yes, this time the mixer is in the background on purpose (but you can ignore the blender...).
Since it was my first time with this recipe, I did follow the instructions fairly closely, including lining the pan with parchment paper (as you saw in the video, above), and whisking together my dry ingredients all on their own.
That is never going to be an exciting photo.
The butter and sugar went in first (as they often do), followed by the milk (I used skim milk, because it's what I had on hand - I'm guessing that one of the "richer" milk products might yield a... well... richer final product.)
NOTE: This is what happens when you usually rely on natural light for your photos, but the sun has already gone down and there's no light source right above your prep table. (See also: my feelings of inadequacy when comparing my photos to those of The Smitten Kitchen.)
With all of the liquids in, it looks kind of like the first stages of any cookie dough.
And, frankly, that's what it looks like when you add in the flour - though it is a bit softer than most cookie doughs (more like the "cookie batter" we had when dealing with the sugar jumbles a few weeks back).
I love that the recipe says to "dollop" the bottom layer into the pan, and then spread it with an offset spatula. Unfortunately, we don't have an offset spatula. So, of course, I decided to go at it with my hands.
It was a bit of a challenge, because the parchment doesn't really want to stick to the bottom of the pan, so as the batter moves, so does the parchment. (I'm guessing this would not happen with the spatula, because it wouldn't all be getting stuck to your fingers - so this one's on me.)
Like, literally, on me.
With the base layer in the pan, it's off to do the gooey layer. And - five-year-old-kid at heart as I am - I was pretty excited to get to work with anything that calls itself "gooey."
As you know, I don't have a dishwasher, so I grabbed for the same bowl I used for the flour, earlier, to whisk my wet ingredients. It was a lot bigger than I needed, but it still worked out well. (Though, honestly, adding vanilla to milk and corn syrup did not yield the most appealing color.)
I'll admit that - bad person that I am - I used my dry 1/4-cup measure to measure the corn syrup. It's just so much easier to get in there and get out every last bit of the corn syrup. Does anyone have a liquid measuring cup that really works well for corn syrup/honey/molasses?
Of course, there's the slight factor (for the blog, at least) that aside from the corn syrup and vanilla mixture, many of the other ingredients in this layer are almost identical to the first layer. Trust me, though: I verified that the following photos are from the second layer.
Butter, sugar, and salt, creamed - with the egg added in.
The next steps, where you alternate liquid and dry additions, are really reminiscent of making a cake batter. (I believe this is done so that the ingredients don't get overworked.)
The halfway point.
The final beatings changed everything from looking a lot like the base layer to suddenly looking all fluffy and almost frosting-like.
It never ceases to amaze me how small tweaks in ingredients can make such a huge difference to the outcome.
Now, I have to admit that the recipe does suggest that you need the base layer to be pretty smooth before moving on. So, before adding the gooey layer, I dug around in the cabinet and found a pie server that I was able to use as a makeshift offset spatula.
The base was definitely much easier to work with, this way, and I got it to cooperate fairly well before dolloping on the next layer.
Part of why it looks like this is the lighting in the kitchen, but - really - it is kind of two shades of beige at this stage.
A little pie-server magic, and voila! a nice, smooth, two-layer dessert bar ready to get snickerdoodled. (That's a verb, right?)
The recipe says that the mixture of sugar and cinnamon, when sprinkled on top, will be "thick." So when I got to this point, I wasn't sure I had done enough. How does it look to you?
One of the hard parts of "sprinkling" is trying to get it fairly even. I think I did okay.
And - with my hands smelling a-mazing from the cinnamon, I slid the pan into the oven and set the timer.
Initially, just as the sides started to puff, the sugar and cinnamon started to melt. It looked like it was going to get soupy, frankly:
NOTE: You really shouldn't open the oven during baking. Not only does it screw up your heat, it also lets out all of the moisture in the oven, so it can mess up the moisture in your finished product. Unfortunately, it's really hard to take "in the oven" photos through the window in the door.
About halfway through the baking, it really puffed up, which looked a bit odd and "jagged" in a few places.
Seriously. What did I just tell you? Stop opening the oven door to look!
The recipe says that the bars should puff up and collapse in the oven, but mine didn't collapse until they had begun to cool. That could be because our oven temp has been wonky, but I thought I'd mention it so you wouldn't be surprised if it happened to you.
Once they came out of the oven and cooled on the counter, the middle did sink a bit, and - wow - such a perfect golden brown top!
Yes, this photo was taken post-cutting. So we should probably go to the video...
How did they turn out? I'm so glad you asked!
In case you're wondering whether they hold their shape, even with the gooey layer, here's how the pan looked after the cut was made:
You can see that the layers all stay together - no mushing around.
Of course, the photo from the cookbook does them much more justice, though I can't imagine having the discipline to cut them into 1-inch squares. (I suspect that we'll be cutting them much larger when we're at my folks' this weekend.)
----- Have a craving you want addressed? A recipe you've been searching for? Something you've heard of that you'd rather have someone else try before you do it yourself? Let me know and I'll see what I can do!