I was talking to a neighbor earlier this week, and she was asking whether the cookies I'd been making were going to be on the blog. I wanted to say yes, but I've honestly been pushing so hard to get things done this year that I haven't had time to take photos while baking.
I didn't even take any photos while making the dipped pretzels featured in this post. But - since they have to sit out on wrapped paper to harden, at least I do have post-prep photos.
Let me explain the idea behind them:
So... yeah... you melt the white stuff (I use a double boiler on the stove, but you can follow the package directions for the microwave if you have one), and you dip stuff in it, then let them to dry/harden on waxed paper.
Can you guess where on the prep table the bowl used to be?
It's pretty easy and fairly fast. Dipping these pretzels by hand, I made 90 of them in about 45 minutes - and that included the stovetop melting process.
I mentioned in the video that these are Gluten-Free. But, even so, can you imagine anyone turning them down? Seriously. You can do a lot of Gluten-Free stuff pretty easily - sometimes even by accident!
Frankly, that's what I need this time of year, because my brain starts to not want to process more difficult tasks. The lead-up can be pretty darned frantic, and you sometimes forget to take a little time to just enjoy it all happening. The best I can do in these cases is plate things.
Umm... This batch of Spritz cookies is also Gluten-Free! Bonus!
And wrap them in plastic.
And hope to remember to take them with me when I leave the house specifically with the intention of taking them to the neighbors. (Who among us hasn't walked out the door and realized a present/bag/set of keys was still on the counter this time of year?)
Luckily, a lot of my baked goods tend to go into the mail (or to the neighbors), so that means that in the final few days before Christmas I have nothing left to do but sit back and enjoy the world going by. Christopher and I have made a kind of tradition of going out to dinner a few days before Christmas. We try to go somewhere we might not usually go. It's a great way to take a step back, breathe a little, look at the lights, and let someone else deal with prep and delivery for a bit.
However you plan to spend the next few days - whether in the kitchen whipping up a few last-minute festive treats or on the road/in the skies or avoiding it all with a cocktail, I hope you get to enjoy it.
Merry Christmas!
-----
What are you up to for the Holidays? Do you celebrate Christmas, or some other event? Or do you avoid them all and just take advantage of the sales?
Just so you know, I'm making a New Year's resolution to be better about my blogging. I'm not planning to define "better" just yet, though. ;-)
Does it seem to anyone else that this year went from dragging along to kicking into overdrive all in about 30 seconds?
I've been thinking that I was really running about on track for getting things done. And I am still getting things done - like the foods in these photos - but that's not allowing me much time to put together decent blog posts.
Here's what I can offer you this week:
So, for now, we have about 5 dozen of those Peanut Butter Blossoms, 3 dozen Brownie Bites...
And 2 full pans of Special K Frosted Chews (which will cut into about 3 dozen each).
And I still have 16 days until Christmas.
Good luck to all of us!
----- Thanks, again, for your help with the GoFundMe pages - sharing and even donating! Keep up the good work! How are you doing with plans for the Holidays? I hope you're having better timing luck than I am!
Sorry this is so late. As you'll see in the first video, Christopher and I were out of town this past week. I thought I'd have no problem tackling a blog post from where we were staying, but the video uploads were a bit daunting on shared wi-fi, so I decided to delay until we got home.
So, without further ado, let's get into these perfect cozy treats.
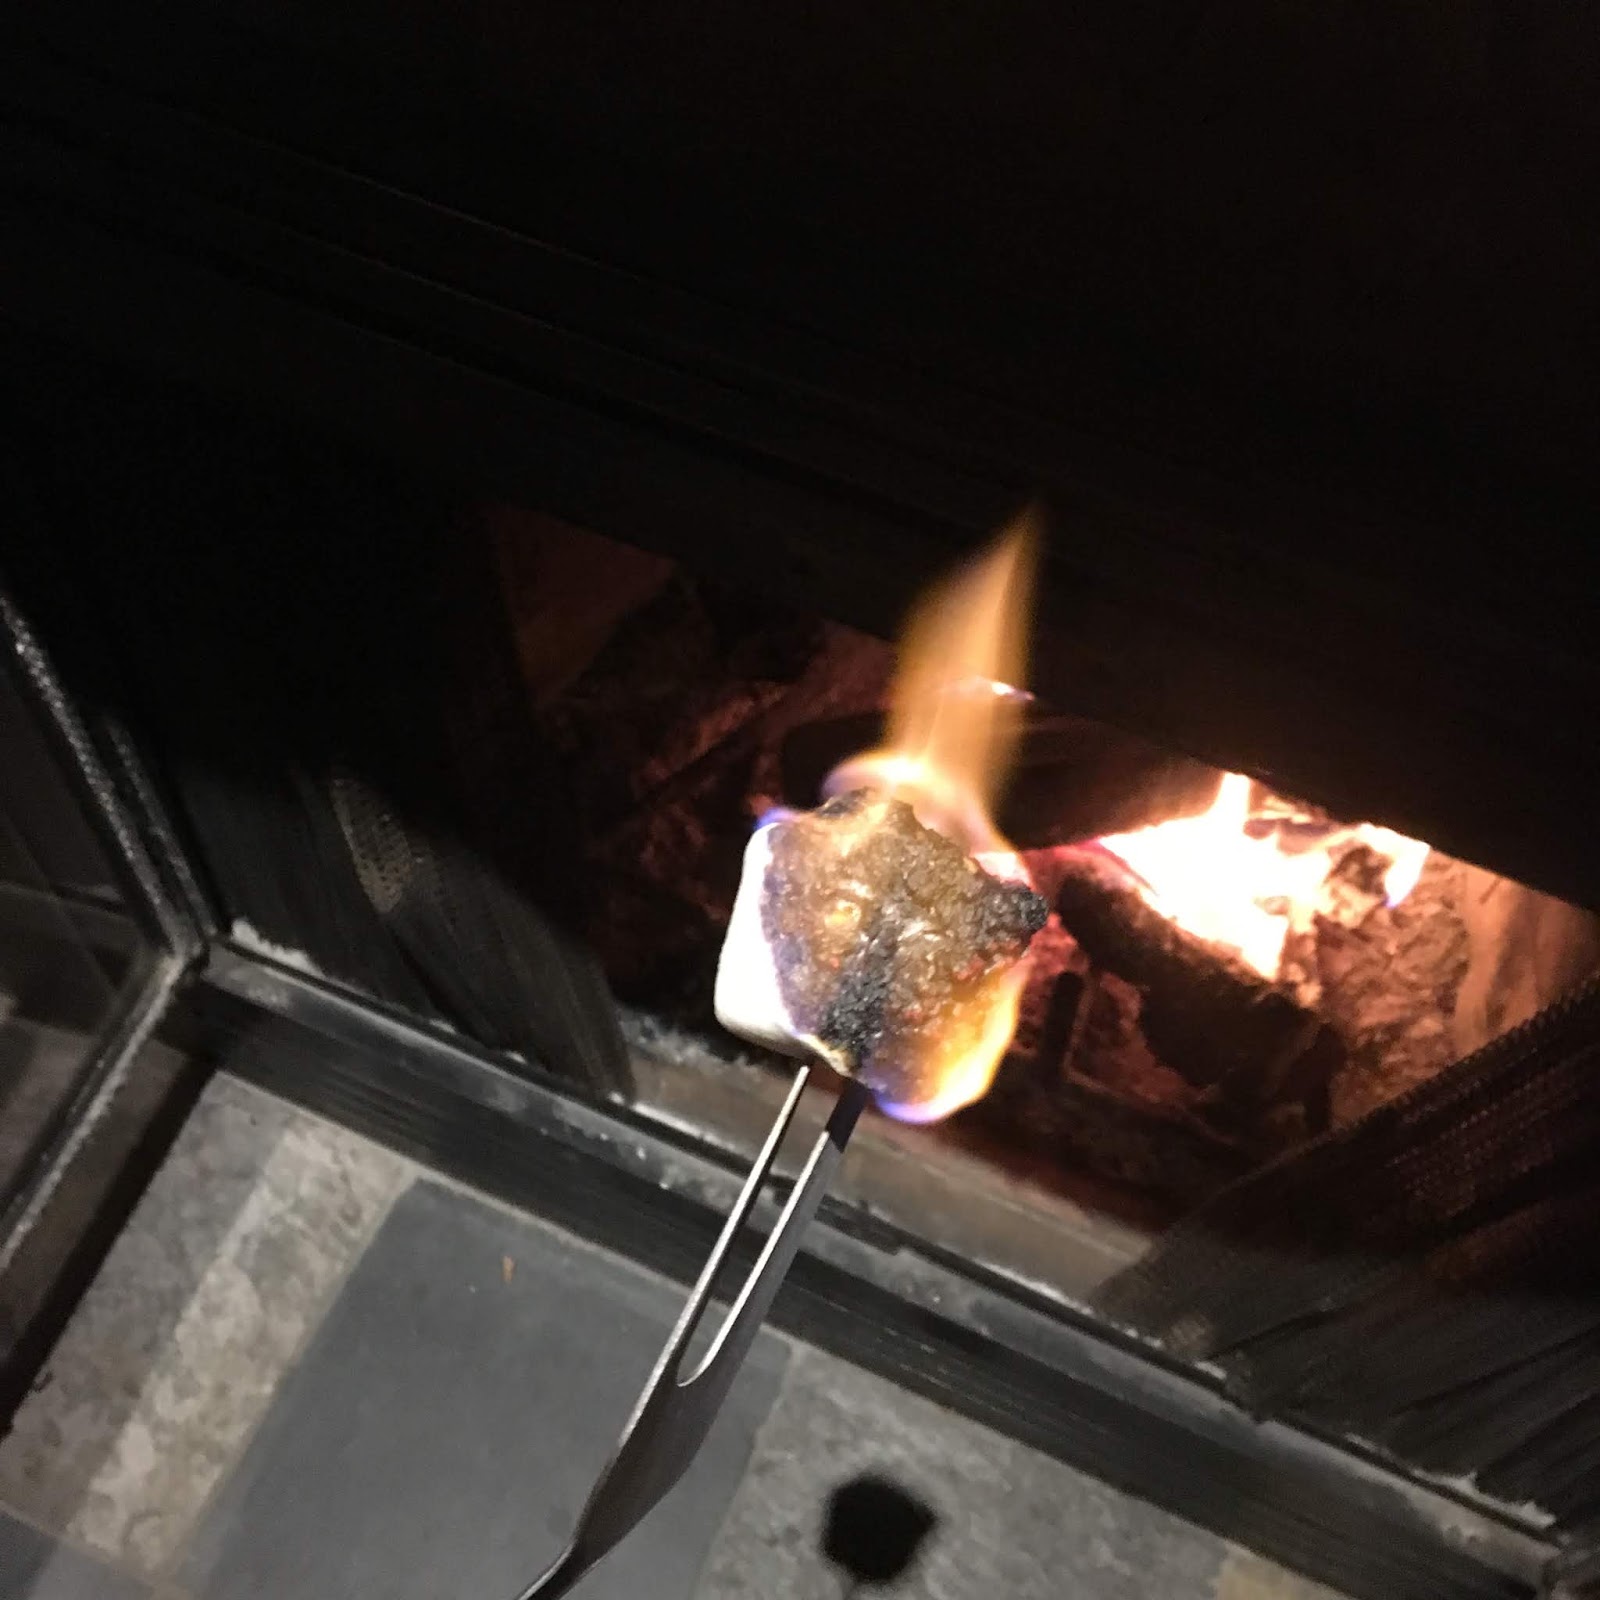
And - to prove that we were away, here's some video of me by a fire:
Now, before we go any further, I want to remind you all that in November (humor me and pretend this post went up on November 30th like it was supposed to), I've been sharing some GoFundMe projects. And - if you shared the blog posts they were in - you could be entered into a chance to win a plate of cookies.
I'm not including any new donation sites this week, but here is a recap of the ones we've seen so far:
Last week, we had Bobby and his family, who lost their home while he was fighting the fires in Northern California:
Although there aren't any new links this week, the idea is the same: If you share out this post, you can be entered into the cookie drawing. This week, though, even if you just want to share (or donate to) any of the GoFundMe sites (with or without sharing my blog), just let me know (possibly mention it in the comments on this post) and I'll enter you into the drawing. (After all, the point of this is really to amplify the stories of these three sites.)
But now, back to this week's food. I'm sure you all know that there are three basic ingredients:
Or, four, really:
The fire source can change, but there does need to be a good heat source.
I decided to be organized for this (typically, I'm in mid-marshmallow-roast when I realize that the other pieces are still in the kitchen), so here are the steps I followed with you in mind:
1) Graham crackers:
2) Hershey bars:
3) Marshmallows:
3.1) Marshmallows on a long stick:
Not only did the grilling fork have a heat-resistant handle, it also held two marshmallows at a time! Bonus!
4) Fire:
In trying to do this all proper-like, I even pulled the marshmallows out before they went up in flames. This way, they were simply hot, melty, and malleable.
Honestly, you have no idea how hard it was for me to pull them out before they were totally flambé-ed.
At this point, it's all about assembly, or what I like to think of as the "slide and smoosh" steps:
a) slide:
b) smoosh:
Note: Apparently marshmallows smell really good to some dogs. This is the very hopeful look I was getting through most of this process:
She couldn't reach the mantle, thankfully.
And, just because, here's the wrap-up video, so you can see me get the marshmallow stuck in my mustache:
Oh. Okay. I can't lie. I did do a few extra marshmallows to a more well-done state. Some things you just have to do...
Because, really, the charred outer layer is just the best, isn't it?
-----
*Disclaimer: I'll be trying to draw a winner each week before the next post goes up. Everyone who shares the post (or one of the GoFundMe sites) in a way that I can track it (or who lets me know that sharing has happened) will be entered into the drawing for the plate of cookies (shipping within the US, only). One entry per share, so feel free to share multiple times. No extra entries for making a donation to the fundraising pages, but don't let that stop you.
**Week Three's winner is Jessi B. from Alaska. She'll be getting something in the mail as soon as I make my next batch of cookies (which, this time of year, could be at any moment)!
I realize that we just got past Thanksgiving, and so eating anything - let alone Christmas cookies - may not be what a lot of us are thinking about. But, that said, "just past Thanksgiving" is the perfect time to start on Christmas cookie baking. This is especially true if some of the cookies in your Christmas cookie repertoire are sugar cookie-type cookies that can hold up to a little "drying" time.
And, while our kitchen at home can be a little small for this kind of work, the kitchen at my parents' house in South Dakota has a huge table and plenty of room. (Though the lighting can be a bit iffy, as you're about to see.)
Speaking of homes... You've probably heard about the massive wild fires out in California. This is the GoFundMe site for my nephew's girlfriend's stepbrother. He's a firefighter out in California who lost his own home while fighting the fires. It would be great if you could help them out as we near the Holidays:
And, as usual, though I'd love it if you wanted to make a donation to them (or to the other two funding sites I've featured in the past two weeks - for Kara or Derek), just by sharing this blog post (and letting me know you've done so) you can be entered into a drawing to win a plate of cookies in the mail from me.
Thanks, in advance! Now, back to the cookies...
This technique for cookie decorating can really work on pretty much any cookies. We, obviously, have always used it on rolled and cut-out sugar cookies. You could use some of the store-bought dough for this, if you have some that you like. Or you could use it on gingerbread. (Or - heck - you could do it on the top crust of a pie.) The main thing is that you're going to want to do it on something that needs to be baked because of the whole raw egg situation.
For me, I start by making rolled sugar cookie dough, which needs to chill for a bit. Then, you need to separate some eggs - you're mainly interested in the yolks for this, so you can set the whites aside for a meringue later (or you can just combine everything again when you're done and make a multi-color omelette).
I start by putting a few drops of the colors in. (This is a good time to let your inner kid out and go a little heavy on the color.)
As you can see, we're using basic drop-style coloring. Nothing fancy.
The yolks can be a little thick (as can the white), so I usually put a few drops of water into each one. (Literally, like 5 drops - but if you go overboard it won't hurt anything.)
Yes, I add color to the yellow one, though I guess you wouldn't really need to.
Here's the first of multiple photos where I was thinking "I should have figured out better lighting" - but it also shows what you get once you beat the eggs a bit.
Next, of course, you need some cookies to paint - and something to paint them with.
Yep. I use cheap "art" paint brushes. I mean... you don't want them to be too cheap, because the brush hairs will come out, but you don't have to spend the money to get any kind of fancy patisserie-grade ones.
I've been doing this for years, so I kind of feel a little zen about it. It's a great way to focus on something while everyone around you is kind of swirling. (Typically, in fact, these are the final cookies I bake. It's kind of an extended sigh of relief as I put them into the oven.)
And, yes, I feel that way even when working on these with my niece and nephews (and siblings).
I'm a big proponent of painting each one as it feels right. So some of them get fully coated, while others just get suggestions.
Yes, this is how I spend at least an hour or so every Holiday season.
Consider, though, that the more "paint" that is on the cookie, the glossier it will be when it comes out of the oven.
After a quick look at them all, I'm almost ready to put them in the oven.
Pretty much every time I do this, I find something that I want to add to just before the cookies go into the oven.
In this set, I added some extra paint on a few of them.
My one caution: If you get too much "paint" on them and it spills over onto the pan, it can be a little hard to remove from the un-greased pan. It's not a big deal, but I felt I should mention it.
One last glance before they go into the oven...
It may seem strange, but I tend to paint one color at a time. That way I don't have to put the brush down. (And, when painting with others, I can keep that one color until I feel like I'm done with it.) (Does that make it too obvious that I was the youngest in the family growing up?)
As I add colors, I kind of just go with what feels right - partially planned, partially haphazard.
By the third color, things are taking shape.
At the fourth color, we've reached the end... sort of.
Can you see how I layered blue over the yellow in the middle one on the left? As the first colors dry, you can paint over them.
But, how do they look when they come out of the oven?
If you get a bit closer up, you can see how they turned out.
Lots of paint = lots of gloss
Egg whites = slightly blotchy color. (But is it blotchy or lace-like?)
The minimalist ones are also cool - although they leave a bit more to the imagination.
And that second pan?
I really like these cookies, I have to admit. But the time that they take does make them something I pretty much only make once per year (though I have made them at other times - adding in colors like purple and orange).
How did they turn out?
Personally, I think they'd be a great way to personalize a plate for Santa - if you can make enough to save some for him.
Thus, we enter into the Holiday season - and the brightly colored chaos that comes with all of it.
And - if you're feeling thankful for your Thanksgiving and checking your Christmas shopping lists, please consider helping out the folks listed above and their GoFundMe pages. (Even if you can't donate, just sharing their stories could make a huge difference.)
Thanks for all you're doing!
-----
*Disclaimer: I'll be trying to draw a winner each week before the next post goes up. Everyone who shares the post in a way that I can track it (or who lets me know that it's being shared) will be entered into the drawing for the plate of cookies (shipping within the US, only). One entry per share, so feel free to share multiple times. No extra entries for making a donation to the fundraising pages, but don't let that stop you.
**Week Two's winner is actually two people, because one shared the Week One post, and one shared the Week Two post! Michelle M. from Minnesota and Erin L. from North Dakota will both be getting cookies in the mail as soon as I make my next batch of cookies (which, this time of year, could be at any moment)!
I realize that, considering how much time I spend baking, it would seem like this is the perfect time of year for me to be going to town with recipes for baked goods.
So, of course, I'm going for a salad this week.
Don't forget! As with last week, anyone who shares this post via social media - and tags me in it somehow so I know the share has happened - will be entered into a drawing to receive a plate of cookies in the mail! Also, in the spirit of giving - and giving thanks - this month, I'm featuring funding pages for people I am somehow connected to. This week, it's a fundraising site for a college friend and his son who is fighting cancer:
(If you think your friends would prefer to see the Brownie Bites post, you could also share that this week - sharing either one will get you into this week's drawing!)
Now, back to the food...
I had every intention of this being a good photo-by-photo salad-making event. And I started out that way. See?
The washed out stuff on the left of the photo is three packs of sliced almonds.
But, umm... I kind of got my timing wrong, and thought that it was an hour earlier than it actually was. Which meant that we had to hustle to get to where we were going - the event for which we were making the salad.
Now, here's a photo of the recipe:
You may have noticed - if you compare the recipe to the top photo - that I doubled the ingredients. That's because I was making this for a crowd at a Friendsgiving event.
You may also have noticed that it says that this is supposed to be a Bok Choy salad. But the first few times I made it I kept buying the wrong thing. And then I got used to having the Chinese Cabbage version.
And I liked it.
So that's what I use.
Here's a photo of that cabbage with the green onions:
Of course, the things that make this recipe are the toppings. On top of the greens, you get this (possibly warm) crunchy, nutty topping with a sweet/tangy/salty dressing.
A prep note worth making note of: It is much easier to crush up the Ramen noodles while they are still in their bags than once they're out in the wild. This keeps everything contained - no shrapnel under the fridge or in your eye.
All of the "to be cooked" ingredients go into a big sauté pan (oh - remember - I doubled the recipe), and while that is coming to temp and getting all warm and cozy smelling, you can put together the dressing.
You know I'm all about honesty, here, and I would normally have shown you all of the pouring of ingredients, but the time was beginning to tick away and so Christopher was pouring while I was running around and getting things ready to pack up and leave. (This includes making sure that the Brownie Bites we featured last week were plated and secure.)
Interestingly, we found that if you run out of rice wine vinegar in mid-recipe you can use white wine vinegar for the balance.
We also used soy sauce packets from delivery to supplement our bottle of soy sauce which was about 1/4 cup short.
All of that goes into a bottle of some kind so that you can shake it up when it's time to use it.
We usually use a pint-sized jar, but a pint-sized jar is too small for a double recipe, so this went into a freebie water bottle from work - which happened to be tinted gray, so this looks a bit ominous.
(Is that showing up centered on your screen? On mine, the photo is on the left and the caption is on the right. Weird.)
Back on the stove, things were doing great. I mean... doesn't it toast up and look beautiful?
Okay. Yes. This photo is from when it was already off the stove - the towel would not have survived on the burner.
Unfortunately, when I went to stir it, I found that I had left it on the heat a little too long and parts of this had gotten a tad dark brown. So, before packaging it up for transport, I did a quick "sorting" to get rid of the darker bits.
This is when I should be showing you the glorious plated photo. And I thought I had taken one when we delivered the salad to Friendsgiving. But when I opened my photos to upload it, all I found was this:
Yes, that's the salad in the upper-left corner of the photo. You get the idea, though, right? It's a base of greens with crunchy topping and then a sweet/salty dressing.
Let me summarize...
Though Thanksgiving is next week, I'll be back with Week 3 of the giveaway - as well as another fundraising page.
Thanks for all you're doing to help share these stories!
-----
*Disclaimer: I'll be trying to draw a winner each week before the next post goes up. Everyone who shares the post in a way that I can track it (or who lets me know that it's being shared) will be entered into the drawing for the plate of cookies (shipping within the US, only). One entry per share, so feel free to share multiple times. No extra entries for making a donation to the fundraising pages, but don't let that stop you.
**Week one's winner was Jennifer S. from out in Maryland! So as soon as I make my next batch of cookies (which, this time of year, could be at any moment), a plate of them will be on their way to her!