Showing posts with label Friday Food. Show all posts

Friday, July 17, 2020

Margo's Eggs (sorta)

A couple of weeks ago - the PopTarts week - my post was almost entirely video. So I'm balancing that out with this old-school post, which has no video. But it's a REALLY good recipe, so I'd recommend reading it, anyway. 

Crispy edges, chunks of bacon, cheese, and a creamy top layer. Yum!

Here's a catch, though: I also don't have any of the prep photos, because I was doing some emotional cooking and only remembered to take photos when it was done. So you'll also have to trust me that it's one of the easiest things you'll ever make for brunch (or whenever you decide to eat it). 

Basically what you're making is a savory bread pudding crossed with a Midwestern casserole (I grew up in South Dakota, so at the point this entered my life I still talked of "casseroles" instead of the Minnesotan "hot dish"). It has an incredibly basic custard (milk and eggs), stale bread, some kind of meat and cheese, and a can of cream of something soup. 

Seriously - what's not to love? 

Because there's no video, I'm jumping straight into the recipe. For my usual ramblings, please see the Q&A section below the recipe. 

Margo's Eggs

The ingredient list is pretty straightforward: 

8 slices of bread (something sturdy and/or stale works best)
2 1/2 cups shredded Cheddar cheese
1 pound of bacon, browned and drained
7 eggs
2 3/4 cups milk (dual usage)
1 tsp dry mustard (or 1 tbsp brown mustard)
1 can Cream of Mushroom soup (in the original, but Cream of Chicken is great - any "Cream of..." that you think goes with cheese and bacon would work)

Butter/Margarine/Cooking spray to grease the pan

**This is, technically, for a 9"x13" pan. But it kind of depends on the size of your slices of bread. The pan in the photo (below) is, I believe, 10"x10". My mom has always made it in a shallow lasagna pan - about 10"x15" (maybe) - and if you do it in that, you'd want to use 1.5x the recipe. 

Here's how I make this:

Note: Start this the night before you want to eat it (because it should sit in the fridge overnight before baking)

1. Brown the bacon until fairly crisp (I typically use kitchen shears to cut the strips of bacon into 1-inch pieces before cooking, but you could also just cook the strips and then crumble them after they cool)
2. While the bacon is cooking, grease a 9x13 baking dish
3. In between checks on the bacon, tear up the bread into "large bite-size" pieces and throw them in the greased pan
4. Add the shredded cheese to the pan and mix with the bread
5. Hopefully by this time (it times out pretty well if you're also hand-shredding the cheese, etc.) the bacon will be done, and you can add the bite-size pieces of bacon to the pan and mix it all together

6. In a bowl, combine the eggs, mustard, and 2 1/4 cups of the milk
7. Pour the milk/egg/mustard mixture over the bread (etc.) in the pan
     (Honestly, at this point, I go in with my hands and moosh it all around. The idea is that you want the bread to soak up as much of the liquid as possible, so you move it around and push it down a bit into the liquid.)

8. In the (now empty) bowl, combine the can of soup with the remaining 1/2 cup of milk
9. Spread the soup mixture over the mix in the pan
10. Cover and refrigerate overnight (about 8 hours)

11. Preheat oven to 350 degrees
12. Bake (uncovered) for an hour (it should be pretty well "set" before you take it out)
13. Remove from the oven and let stand for about 5 minutes to finish setting up 
14. Serve (and realize some people will fight over the crispy bits around the edges)

If any of it doesn't get eaten right away, it refrigerates and reheats really well. 

Christopher wasn't around for this one, so we went old school with Cream of Mushroom.

And now to some of the questions I'm sure you probably have: 

Can I substitute other breakfast meats? 
Yes. This is a really forgiving recipe. Just try to keep the proportions the same and drain the meat before using it. Ham is an easy swap-out. Peppered bacon adds a nice bite. Sausage works. I'm sure Chorizo would be good - as would numerous non-meat products. 

What soups have you used?
The original recipe for this was always Cream of Mushroom, but then I met Christopher - who is allergic to mushrooms. So I stared for a while at the Campbell's soup rack in the grocery store and decided to go with Cream of Chicken (for the whole chicken/egg thing). I think Cream of Potato would be really good. I'm not a huge fan of Cream of Celery or Cream of Asparagus - but they might work if you like them. 

Why is it called "Margo's Eggs"? Who is Margo? Why was it an "emotional bake"? 
Alright... you knew there had to be a backstory. And I waited as long as I could to include it. 

When I was growing up, Margo and Curt were two of my parents' best friends in my home town. Curt was the town dentist (my dad was the pharmacist), and so when they moved to town it was a good match. And, sometime along the way, Margo made this casserole and served it and Mom got the recipe from her. 

It has been served every year at Christmas and at almost every family reunion. And I have served it at (I believe) every brunch I've ever hosted. And they are always "Margo's Eggs." People who never met Margo know that they're Margo's Eggs and ask me whether they'll be served at the next brunch. I've emailed the recipe for Margo's Eggs to people on both coasts at different times. They have always been - and will always be - Margo's Eggs. 

The funny thing is that Margo apparently never really made Margo's Eggs that often. When Margo and Curt came for brunch at Mom and Dad's a few years ago, she asked where Mom had gotten the recipe. Apparently they weren't a staple in their house - and when she did make them, she almost never used Cream of Mushroom soup (she opted for Cream of Chicken). She thought it was kind of ridiculous that we called them "Margo's Eggs." But... there we are. 

I made the batch of Margo's Eggs in these photos last April. I was home with my parents to spend some time with them because Margo had passed away earlier in the month. And in trying to be cautious about gatherings, there could be no funeral for a best friend. So I came home and we talked about Margo and ate the dish that we'll always think of as hers. 

It's not really enough information to understand how amazing she was, how infectious her laugh was, and how much she is missed - but you can learn more about her here: https://okfhc.com/tribute/details/1661/Margo-Johnson/obituary.html


The world is kind of crazy right now, and it's nearly impossible to share things in person. I can't even remember the last time Christopher and I hosted a brunch - and I really miss that kind of social interaction gathering. But I know that, as soon as we can safely gather in the house, Margo's Eggs will be on the table for brunch. 

And I doubt there will be any leftovers.


----
How're you doing these days? Are there any foods that are helping you to get through it all - or any plans for "after all this" that you're keeping your eye on? I hope you're well and taking care of yourself and those you love.

Friday, July 10, 2020

Parker House Rolls

One thing I've learned over the years of blogging about food (and, really, about almost anything) is that there are always variations on themes. And those variations really come out when you're talking about recipes. 

Back around Easter, I decided that it would be nice to have dinner rolls with our Easter dinner (even though Easter dinner this year was just Christopher, me, and a ham). And so I headed online to find a good dinner roll recipe and came across this recipe for Parker House rolls from Dave Lieberman (who had a short run on the Food Network). 

Having looked at a few other recipes, I thought this one seemed to look like it hit all the right notes. And since we had just come into possession of yeast, I decided it was the way to go. (Plus, they promised to look really pretty.)


Now, something you may not remember is that I also spent much of Easter Sunday making Yeast Doughnuts (that blog post is here). (So there was a whole lot of rising going on on Easter.) 

Let's set the scene, since it's been a while: 
 Yes, frankly, this is how I feel about yeast. (More explanation in the video.) 

First, we get together the ingredients, as usual. 
You'll note that the water has a thermometer sticking out of it - that's because water that is too cold won't do anything with yeast and water that is too hot will kill it.
(Please ignore the bottle of chocolate extract in the photo.)

So what is a good temperature when working with Active Dry Yeast? Somewhere between 110 and 116 degrees Fahrenheit. 

With the water (1 cup) at the right temp, we put in the yeast (2 1/4 tsp - or one "packet" of Active Dry yeast) and sugar (2 tbsp) (because yeast needs something to eat) (eww). 

And, as discussed in the video, you let that get all foamy for 5 or 10 minutes.

Meanwhile, you can work with the rest of your ingredients, including 2 cups all-purpose flour and 1 tsp of salt. 
Yeah. The "flour and salt" photos are never going to get interesting. Sorry.

Add in one whole egg and one extra yolk... 
For the record, I do not know what the equivalency is if you crack open an egg to find it has two yolks.

And - you guessed it - you can start stirring.

At this point, you can go back and look at the frothy yeast to see what it's been up to. 

When we started, it basically all came to just barely above the 8-ounce mark. At this point, it was up to the 12-ounce mark. Which made me think the yeast had had enough snacking and was ready to do some work. 

And, having decided that it's time to mix everything together, you can do just that.

This was the first time I've made these rolls, and... yowsa... this was not what I expected them to look like. 

Eventually, they started to pull together and smooth out.

But even after adding all of the flour, this is how gloppy the dough looked when I flipped it out onto the board to be kneaded. 

I took the recipe at its word and added about half a cup more flour as I went along - both to keep it from sticking to the board AND to get it to eventually hold together. 

At this point, I put it into a bowl, covered it, and let it proof for about 20 minutes, at which point it came out looking like this: 
I know it's a bit hard to tell, but it did grow some during that 20-minute rest. 

While the dough was resting, I melted 2 tablespoons of butter and put it into the bottom of a 9-inch pie plate:

And now your junior high math skills come into play. (Though... really... with most baking you do have to use math, so this isn't a huge leap.) 

To quote the recipe: "Remove dough from the bowl, divide the dough in half and roll each piece into a long 1 1/2-inch wide snake shape. Cut into 20 pieces and shape each into a ball." That process looks (at least in my kitchen) like this: 

Step 1: Divide the dough in half

Step 2: Roll each half into a 1 1/2-inch wide snake

Step 3: Cut into 20 pieces. 
I fully admit that this step had me wondering a bit. Was I supposed to cut each half into 20? Or was I supposed to end up with 20 pieces total? I opted to go with 20 pieces total.

The first few dough balls were easy enough to roll in the butter. The latter ones were a bit of a challenge, though, because there wasn't much room left to move the butter around in. (If I come across something like this in a recipe in the future, I'll probably just butter the pan, then keep the melted butter in a bowl to dip the dough into.) 

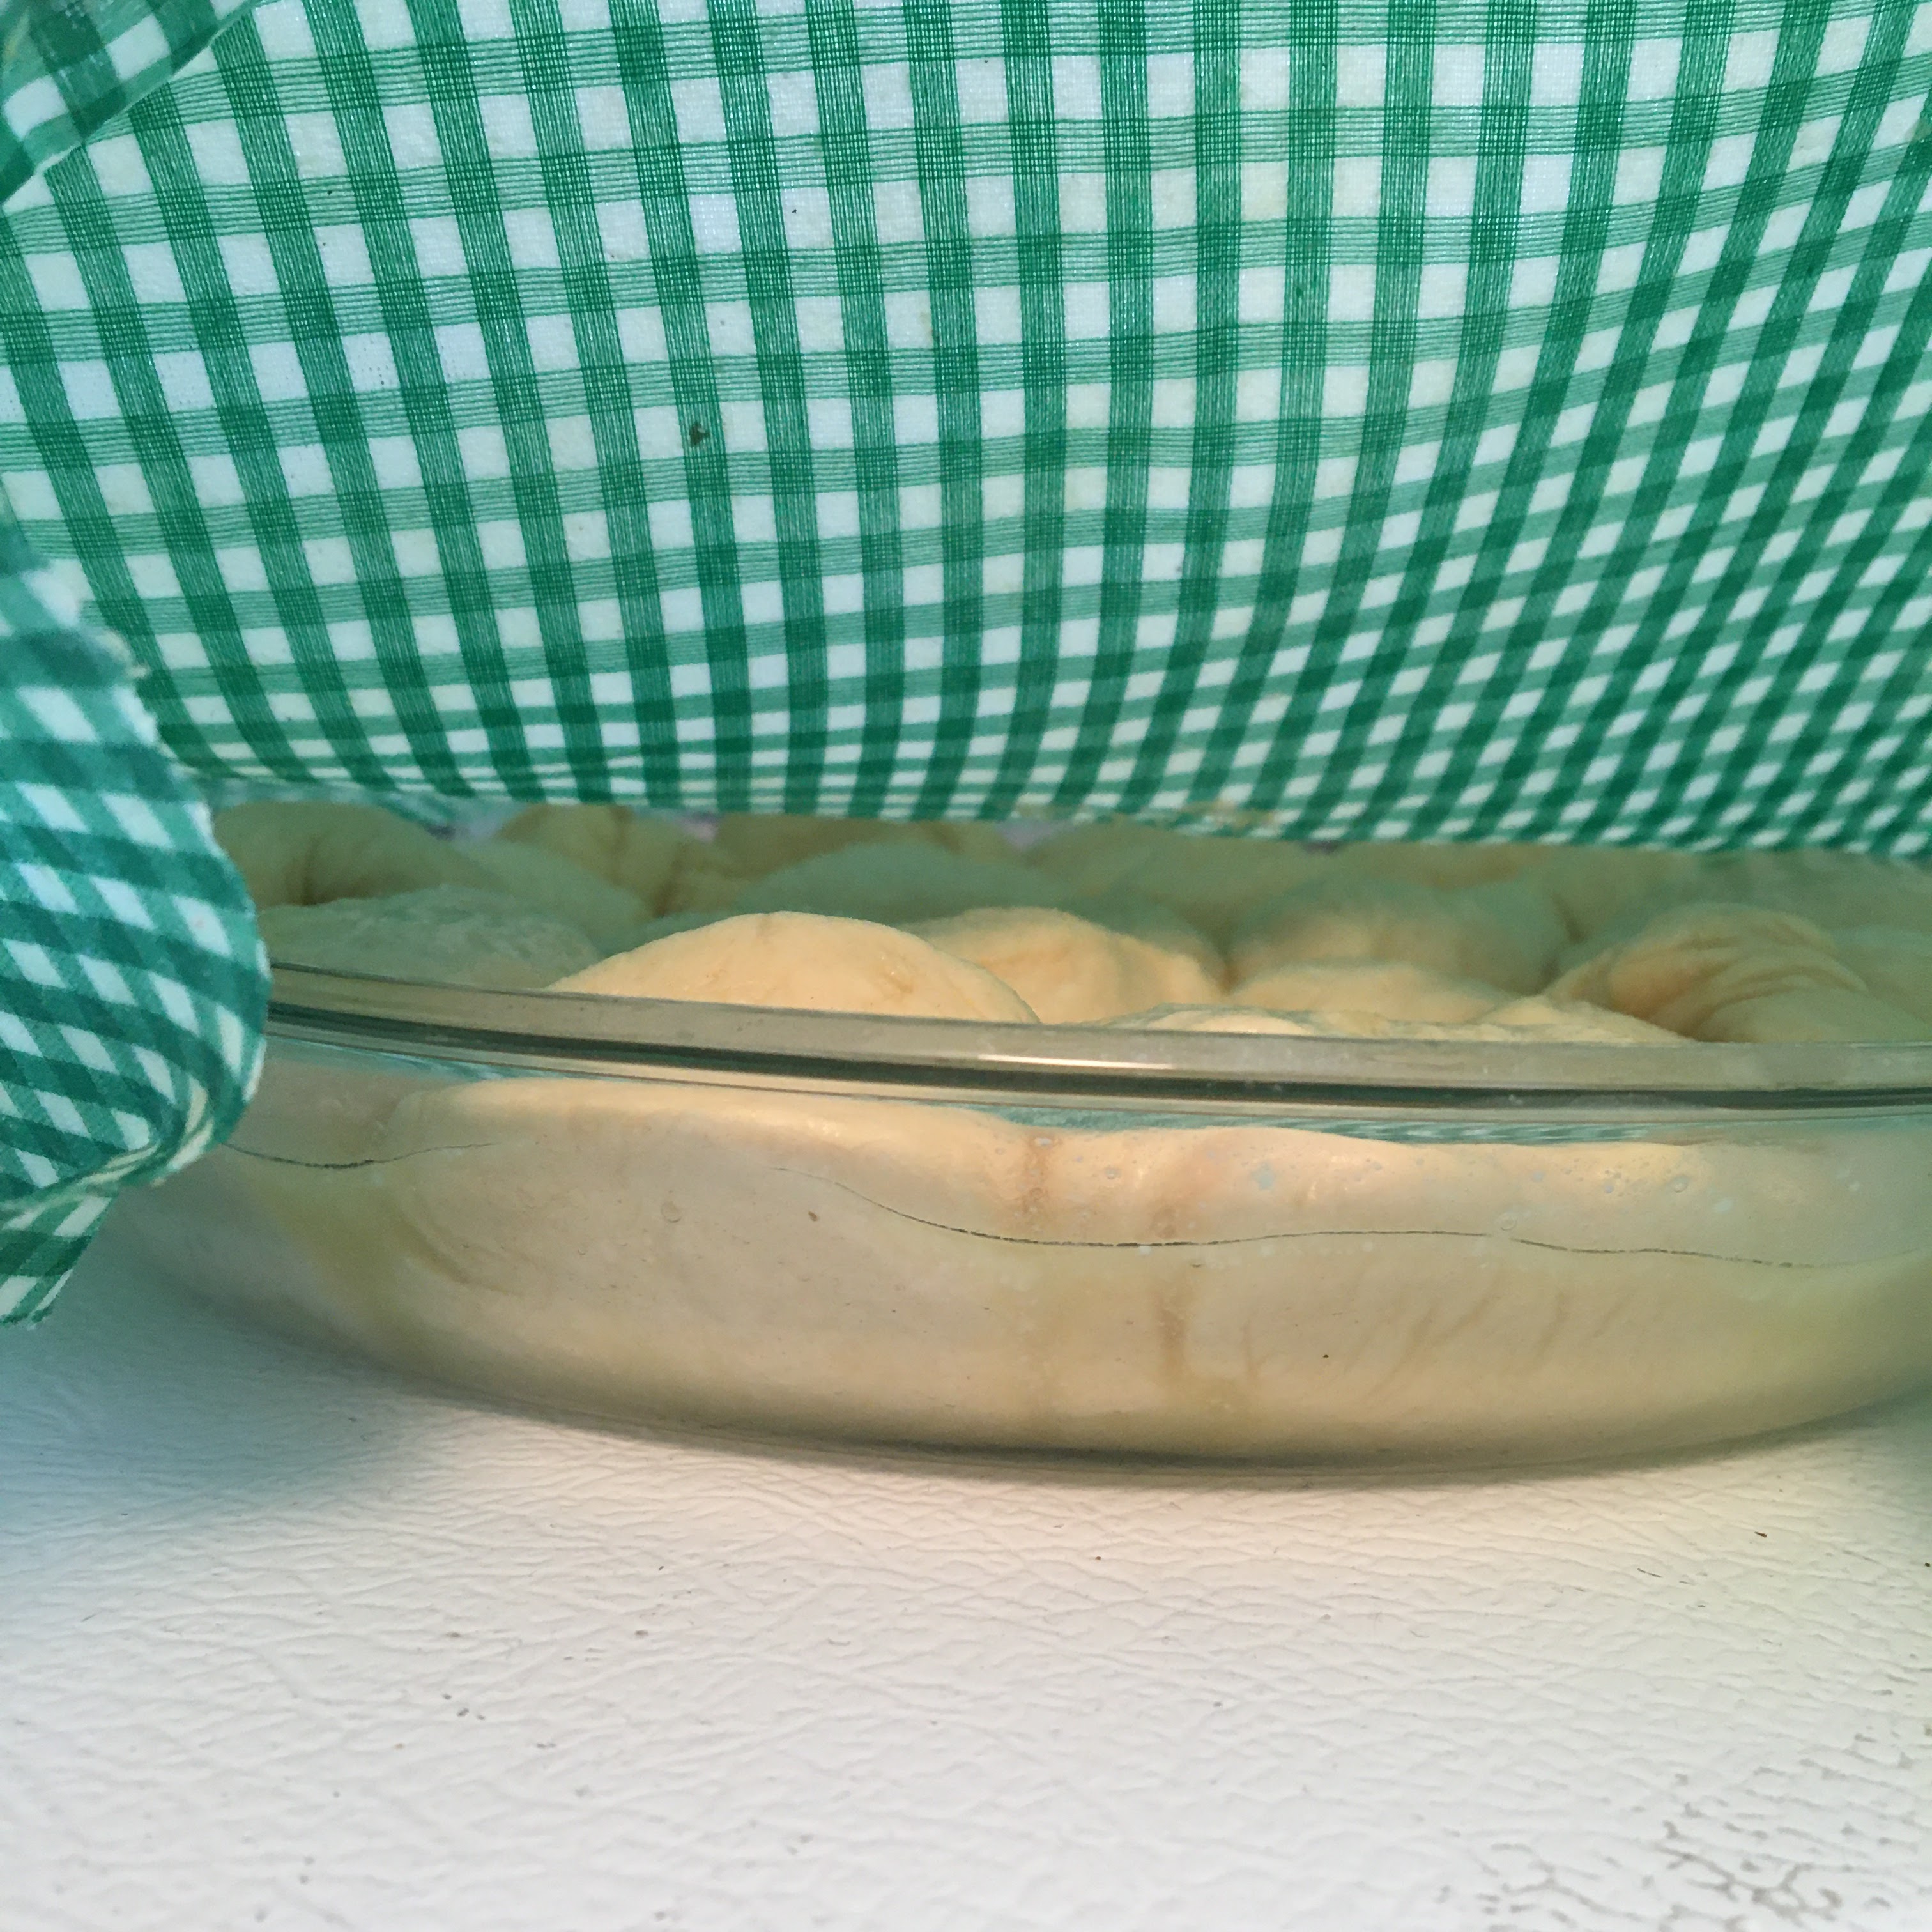
Once in the pan, I tucked them in under a towel and (as usual) placed it on the top of the fridge to proof. 

After about an hour, they'd not quite doubled in size, but I figured it was close enough. 

They did look much more pleasant than they had before proofing, after all: 

A quick brush with some lightly beaten egg (honestly, I just used the leftover eggwhite, instead of a whole egg), and then a sprinkling with salt, and then into the oven. 

And about half an hour later, they looked like this. 
Be honest - that's making your mouth water just a bit, isn't it? 

So, they look good, but how did they taste? 


Overall, I'd say they lived up to the hype. And they were great for ham sandwiches after the fact. 

Was it a perfect recipe? Maybe not. The dough was probably not supposed to be quite so wet at the start, but I worked around that. We'll see if I try this recipe again in the future or try another one. 


By the way - I did find that, yep, Parker House Rolls are named after the Parker House Hotel in Boston, where they originated in the 1870s. 

-----
Behind/Below-the-scenes photo: This is what happens when you wear black sweatpants without an apron while working with dough. (Or at least it's what happens if you're me.) 


Sunday, July 5, 2020

Froot Loops Pop-Tarts (yes, really)

You know how, sometimes, when you're feeling a little down and you go to the grocery store, and you just decide to pick up whatever just seems like an interesting idea at the time? Sometimes you get a great idea. 

Sometimes, when you've been kind of cooped up for a couple of months, you end up with a really bad idea in your cart. 

This post is about that. To whit: 

Yes. That box says "Froot Loops Pop-Tarts." 

Yes. I bought them. 

And, yes, I tried them. 

So, how were they? 

Let's find out...

Yeah... They were... sweet. But I will say that they were exactly what they advertised. They tasted like Froot Loops and they were in a Pop-Tart crust. 

Not sure whether that's a good thing or a bad thing. But there it is. 

I promise that the next blog post that I put up will involve actual kitchen activity. And possibly even a good recipe. 

In the meantime, I hope you're having a good start to July - and that you're keeping yourself (and those around you) well and happy. 

PS. I wasn't kidding about the box and the "glasses" Pop-Tart design:
I don't recommend using a Pop-Tart as glasses.
I do recommend wearing a mask when out in public. 

PPPS. Yes. I ate the rest of those two pastries. And I drank a lot of water with them. The other 6 are still in the box...


-----
Thanks for sticking with me - and for even reading all the way to the end. I'd say "send me your ideas" - because I'm always open to them - but I can't promise you when I'll get around to writing about them. (If I'm being totally honest.)


Monday, March 30, 2020

Apparently This Was a Bread Weekend

I realize that a lot of people are now at home and realizing for the first time that they have kitchens. These seem to be the people who have caused the stores to be out of flour, sugar, and eggs.

As someone who bakes and cooks regularly, I'm mostly happy for these folks - because I think a lot of them will enjoy the kitchen.

At the same time, I have to admit that I'm a little worried for a few of them (I know some people who are just discovering their kitchens - and maybe would have been better without that discovery). And - honestly - I'm also a tad frustrated with how hard it's been to find those basics in the stores.

But I am happy that people are trying new things - and so I thought I should, too.

And, since we do happen to have some bread flour and yeast in the house and - since I wasn't going anywhere this weekend - I decided to try making a kneaded yeast bread for the first time.

(Spoiler alert... it went pretty well...)


It's been a while since I've posted (as some of you have been kind enough to mention), and so I don't remember exactly how this all goes, but I guess I should add a video intro about here...

Just a basic heads-up: The first video in this post comes in at just about 6 minutes long (the others are MUCH shorter). I cover a lot of ground in this one, though: what was going on when I last posted (January), what I've been doing since, who gave me the book I'm holding, and - oh, yeah - some stuff about why I'm baking the recipe I'm baking. I think it's worth it, but obviously it's up to you.  

So... "Strange world" is probably a bit of an understatement these days, right? But spending some time in the kitchen can definitely be a great way to work on some relaxation. (Unfortunately, it's gotten a tad difficult for me to spend much time in my other favorite place - the grocery store.)

I looked through some cookbooks for a basic bread recipe, and kept finding things that had all sorts of exciting, exotic ingredients - which we don't have on hand. But I found a 4-ingredient bread recipe in Appetite by Nigel Slater:

I admit that I did something with this recipe that I pretty much never do: I only did a half-size recipe. I figured it didn't make sense to do a full batch if we were going to end up with 2 loaves of bread we didn't want. 


So... four ingredients:
By the way - 1 packet of yeast is equal to 2 1/4 tsp of yeast. 
And a big bowl to put them in:

The next steps deal with mixing. And since I was about to get my hands dirty with the kneading, I figured I'd just go in hands-first:
Dry ingredients...
The recipe talks about only putting in "most of" the water, so I started out with 1 1/4 cups out of the 1 1/2 cups.

Mixing that in, though, didn't give me the "sticky dough" that the recipe talked about:

I added a bit more water, little by little, ending up with about and extra half cup on top of the initial 1 1/2 cups - which gave me this sticky mass:


Flour on the board:

Dough on the board:

Kneading the dough:

I really like that Slater says that you don't need to beat up on it, and that if you end up exhausted you were doing it wrong. Honestly, I stared out the window and kneaded it for 10 minutes. It was kind of awesome.
About halfway through, it was already starting to look more like bread dough:

Since the recipe talks about the dough doubling in size, I did a quick measure before I put it into the bowl.

This went into a bowl with a towel over it and onto the top of the fridge - the warmest place in our kitchen. 

Unfortunately, it was a rainy, chilly March day, and the house was only about 67 degrees. So even after leaving it for an extra half hour (so a total of about 1h20m), it still hadn't fully doubled in size.

I figured I didn't want to leave it in the first proofing stage for much longer, so I went ahead and flipped it out onto my floured board, kneaded it for about another 2 minutes, then plopped it onto my baking sheet.

For this proofing, though, I moved it to the top of the stove - which had already started preheating.

That move was definitely worth it. The dough easily doubled while it was there.

I decided to try cutting a basic design in the top, once I got it kind of "grouped into a high ball" as the recipe suggested, and then figured it was on its own as I put it into the oven.


I know... I know... I know... I'm not supposed to open the oven door and take photos. But I was so happy to see that it had risen!

After the 10 minutes at 500 degrees, and 25 minutes at 425 degrees, I pulled it out of the oven to flip it over and see whether or not it was done.

The bottom wasn't much to look at, but... well... you gotta hear this:

So... We've listened and waited, and now - finally - we get to cut into it.


So, how was it?

And it was really pretty when I put it out, too:


Overall, it was pretty good. I'm not sure about the really thick crust - and whether that was on purpose, or something that I did.

I will say that Christopher and I both enjoyed it with our dinner, and I'm sure we'll enjoy the rest of the loaf over the next few days.

Here's the book that the recipe came out of. SUCH a great read!
And I'll also say that it was great to take the time to try something new - I hope you're all taking the time to try new things these days, too. (Or not - I mean... whatever makes you feel better in the long run.)


*****
So, what are you up to in the kitchen these days? Is there something you'd like me to attempt so you have some idea how it goes? Or just a question about what to do with the ingredients in your kitchen? Let me know and I'll see what I can help out with!