(For the record, I also still haven't pulled the tomatoes in from outside, yet. That's how weird my week got.)
I really enjoy my American Century Cookbook. It's got a lot of great recipes in it, as well as stories - both about the recipes, and about what was going on in American kitchens at various times throughout "the century." If you can find a copy of it, I'd highly recommend picking it up. Here's a good look at the cover so you know what to be on the lookout for:
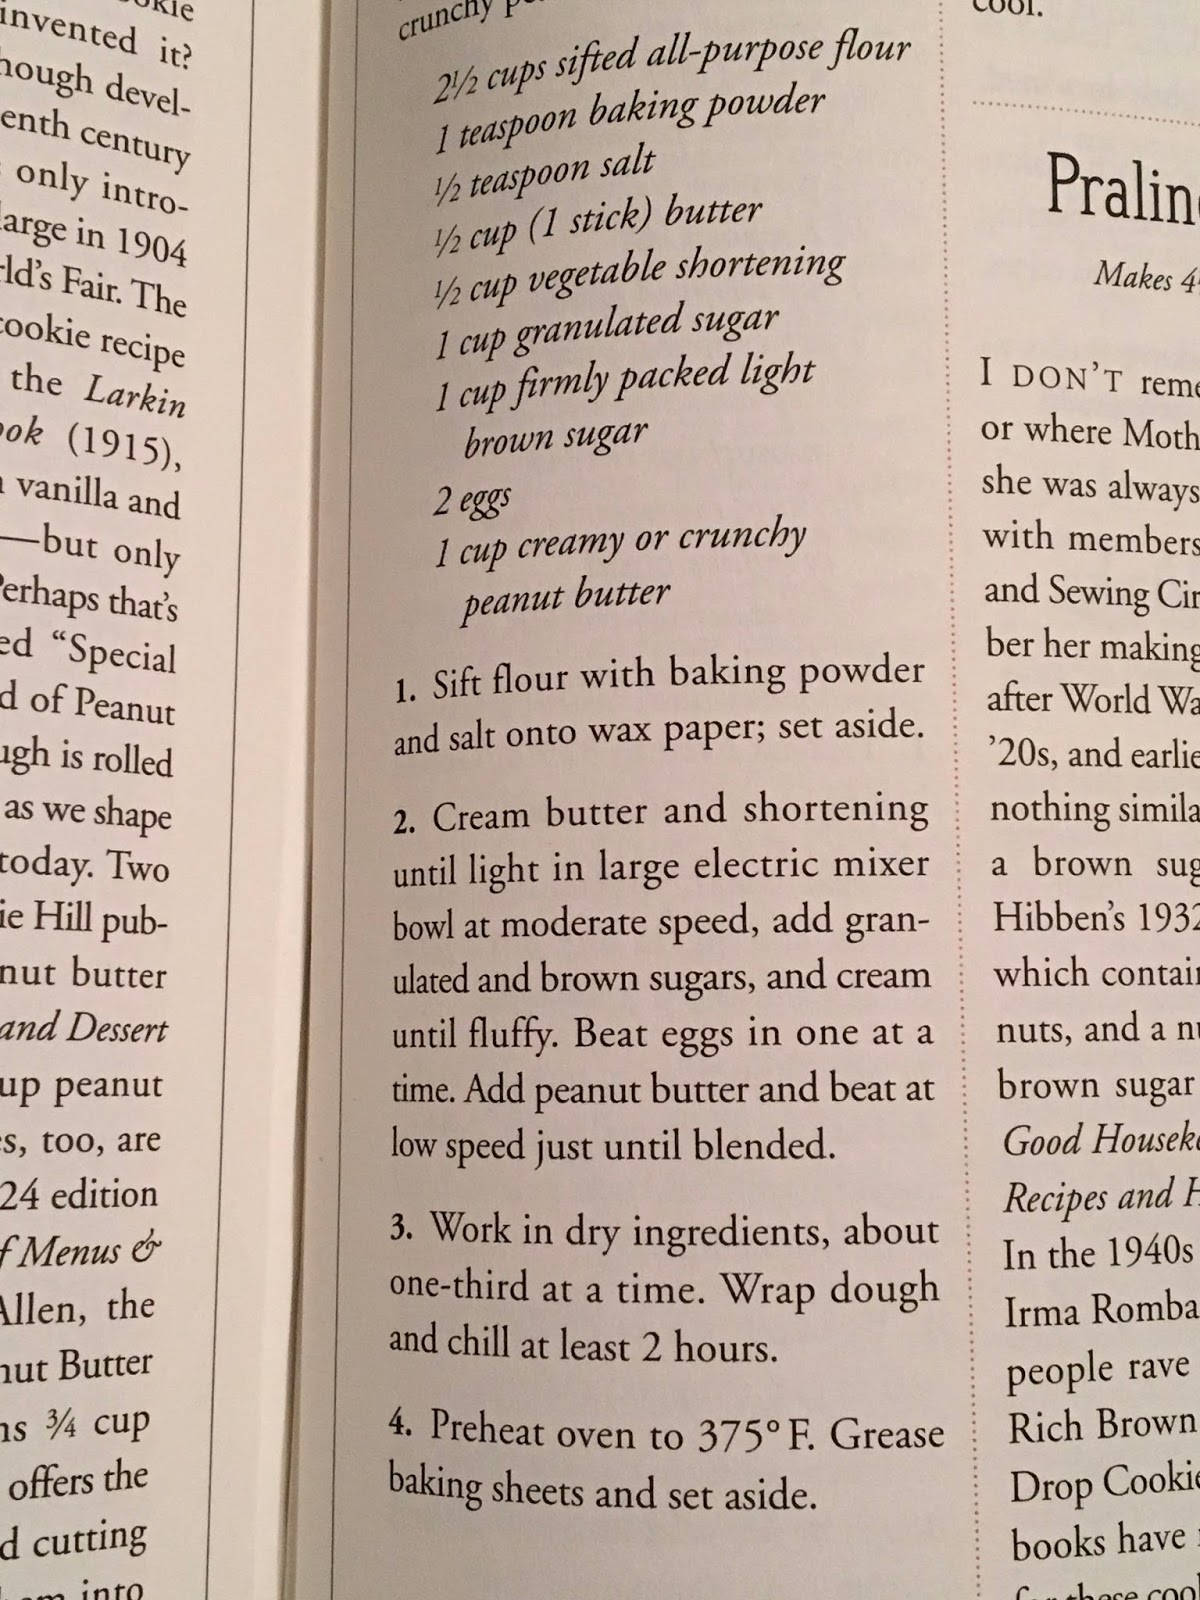
The recipe for Peanut Butter Cookies is here:
 |
| Re-reading it, now, I realize that my fork was supposed to be "floured" when I was making the crisscross pattern. That makes so much sense. Oops. |
 |
| The recipe does call for butter and vegetable shortening, but I didn't have any butter on hand (and, well, I do typically bake with margarine, anyway), so I went with what you see, here. |
As with the ingredients, the recipe is also pretty much what you'd expect. Dry ingredients go in one bowl (or on a sheet of wax paper or parchment, but I used a bowl)...
 |
| Ooh... if I zoom in really closely on the flour/baking powder/salt, it almost looks interesting. Almost. |

Can you see, here, why recipes call for scraping down the sides of the bowl? Check out how much of the mixture is actually getting mixed at the moment. What do you think? Maybe 1/3 of it is making contact with the beater in this picture - and it certainly doesn't look fluffy:

Eventually, though, if you scrape down the sides, the mix will turn pretty fluffy after a good beating.
 |
| Still, you can see how much is sticking to the sides, and not wanting to play nice with the beater. |
 |
| I won't lie: this is also the point where I really want to start tasting it. |

Once the peanut butter goes in, it gets pretty exciting. It also gets incredibly fragrant, and the whole kitchen starts to smell of peanut-buttery goodness.
 |
| What I really needed at this point was a Hershey bar to dunk into it... |
 |
| Note to self: Remember to start the mixer on the slowest speed when adding flour, so that you don't fling flour all over the kitchen. (Not that I did that... much...) |

This, of course, is the point where I realized one issue: The dough needs to go into the fridge for at least two hours to chill before being portioned out and baked. You'll definitely want to factor that into your prep time, or else you'll be like me and be baking at 9pm.
 |
| Into the fridge it goes in an airtight bowl... |
 |
| Here you can see why a floured fork may have done better - I kept getting stuck. |
In the oven, these do spread (but not much) and they do puff up and get really shiny:
 |
| I know what you're saying: "Stop opening the oven door to look at them!" (I may never learn.) |

So, we know how they look, but how do they taste?
One thing about these, which could probably be adjusted either via baking time or brown-to-white sugar ratio, is that they are a bit cakey, and (from the vantage point of a couple of days after baking) they do get a little dry. Of course, we all know that that just means you need to dunk them - so get your glass of chocolate milk and go for it!
-----
Have a childhood recipe you've been searching for? A holiday recipe that you want someone else to try before you make it for your relatives? An opinion on whether peanut butter belongs on pancakes? Some random kitchen/cooking question? Let me know and it might show up in one of my blog posts!
No comments:
Post a Comment