That being said, this recipe is even easier than most that I do. It’s also seriously hands-on and messy.
So if you’ve got beginning cooks (or bakers) in the house, who are learning about measurements and doing recipes in the right order, this might be a good place to start. It’s also good for experienced cooks who just need a chance to relax in the kitchen for a bit and don't want to worry about calories.
And it’s good for people with dogs.
 |
| Someone was a little over-excited. Can you guess who? |
For anyone who has ever wondered what is in the dish that often shows up in the lower right corner of my videos. Now you know - dog treats!
As I mentioned in the video, I don’t know the exact origin of this recipe. I got it from a friend when – a few years ago – I put out a social media call for gluten-free dog treat recipes. (You’d be surprised how many dogs have grain allergies – or you might not, depending on your household pet situation.)

As someone who already has a bunch of gluten-free baking supplies on hand, this was easy for me to tackle. If you’re not stocked up on things like brown rice flour or powdered milk, I’d recommend buying in bulk from a local food co-op (that’s where I go), or – if your grocery store doesn’t have these things (they actually might, these days) – you could look for the flour online. (The powdered milk really ought to be in any grocery store.)

A bigger concern, depending on when you’re making these, might be the canned pumpkin. It’s incredibly easy to find (and really cheap) around Thanksgiving, but can be a bit of a bugger to track down in spring. (Is it in the canned vegetable aisle? The canned fruit aisle? The baking aisle? Wherever it is, it’s probably either on the top shelf or the very bottom shelf – no wasting top-selling shelf space for an out-of-season item!)
You want to make sure you get the plain pumpkin – not pumpkin pie filling (which typically has spices, etc.) – and you’re baking for the dog, so don’t worry about it being high-end. (I know… the stuff I’m using for this is organic. I was in the co-op buying the brown rice flour and didn’t want to go to another store on my way home, and this was all they had.)
Because you won’t be using a full can (unless you at least double the batch), you might consider other things to do with the rest of it. I’ve heard that it’s good as a thickener in soups. Or you could have it as a warm side dish (think pureed sweet potatoes). Or maybe you could also make a pie or dessert roll or something. Or – as I’m going to try to do this time around – you could freeze it in appropriately sized amounts for next time.

As promised, this is a really easy recipe, which is part of why I’ve been stalling.
Here’s my bowl with all of the “first set” of ingredients in it:

Here's what it looks like when you're whisking:

Here are the other ingredients going in. It says you should just stir them in, but since the whisk is already dirty, I just used it.

 |
| The parsley is supposed to be good for your dog's breath. It also adds visual interest to this photo. |
At this point, as you can tell, it's really liquid-y. Which is where the flour comes in, and turns it into this:


And this is where the messy part comes in. You see, it doesn’t all really want to mix together right away, so you need to go in there with your hands and work with it, and then even knead it a bit.

Before we get to the next step, a caution: Pumpkin has natural colors in it. Those natural colors may transfer onto and into your counter if you’re not careful. I recommend working with these on a cutting board (or even a sheet of waxed paper), so that you can avoid that.
Because the dough can be sticky once it's all worked together – and you want to get it fairly flat – you might need some leftover flour on the surface.
The next few steps are good practice for anyone who wants to make pastry: it’s all about rolling out the “dough,” shaping it, and getting it from the counter to the pan. Basically, it’s the same things you do with pie dough, pizza dough, or rolled/cut cookie dough. Just… simpler.
 |
| Honestly, it looks a lot more orange than that in real life. |
That’s both a thickness question and a surface area question. First, about the thickness: These are not going to rise at all in the oven. They’re just going to sit there and get drier/harder/crunchier. If you know that the dog you’re working with really likes crispy treats, then thinner is better. If you think the dog really likes stuff she can chew on, thicker would be better. I tend to aim for about 1/4” thick. That seems like a decent thickness to hold them together, without being too thick for an older dog to get through.
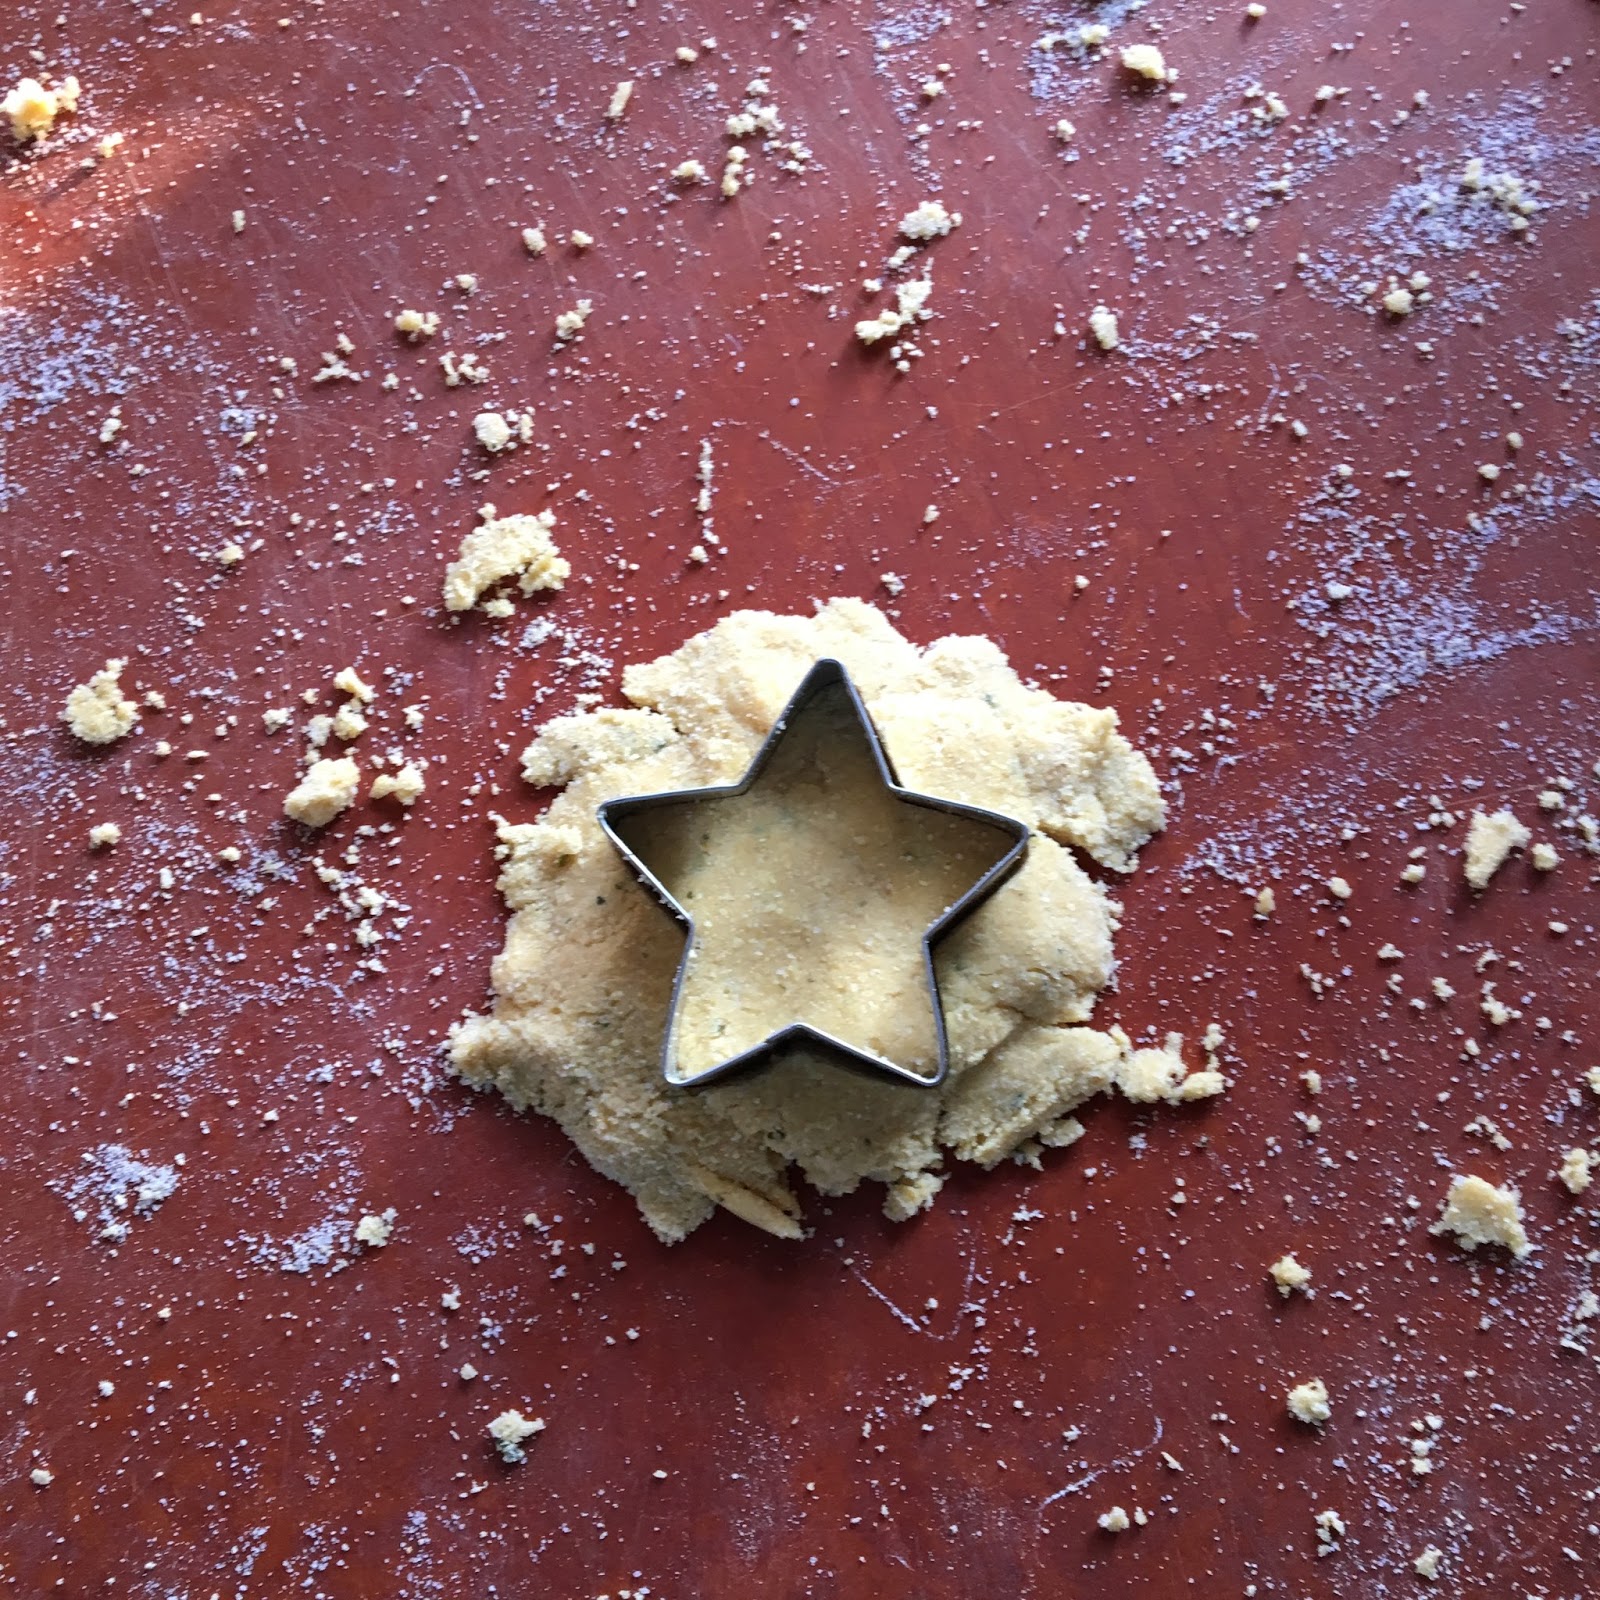
As for the surface area – I thought that would be really easy to take care of, but I was sorely mistaken. You see, dog-bone-shaped cookie cutters tend to be pretty big, and we tend to have smaller dogs. So I wasn’t going to buy one of the 4-inch bones and spend all my time breaking the treats into smaller pieces. I eventually just dug around in my Christmas cookie cutters and found the smallest ones I had:

 |
| I tend to prefer the star, simply because it's easy to get the dough out of the cutter. |
 |
| Yeah... the necks on the people were a little hard to work with. Hence the headless form in the upper-right corner of the photo. |

This same process works over and over until you're left with barely enough to cut out.
If you’re used to baking cookies, you’ve probably dealt with them puffing up and expanding in the oven – and sticking together. Trust me when I say that you don’t have to worry about that with these. They aren’t going to grow. You can put them millimeters apart on the sheet, and you’ll be fine.
 |
| Did I mention that you’ll be making a lot of these? |

Back into the oven they go for the next round of drying.
And then onto a rack to cool. Unlike most cookies for people, these must be fully cooled before you give them to a dog.
 |
| I actually left them on the pan and set it on the rack. It was easier than making the rack dirty. |
By the way, these are – technically – people-grade and edible. I mean… all of the ingredients are in other things that we eat, just not in this combination. (In fact, I’ve heard that – because they are a bit bland – the thinner ones work well with a good Brie.)
For my part, I think I’ll leave the taste-testing to the pooch.
And there we go! All the stress relief of baking and no extra calories for me. It's like the perfect setup. (And I think the pup would agree.)
-----
Is there anything you've been looking for a recipe for? I found this recipe by calling out to the cybersphere and asking for help. If there's something you're hoping to find, let me know and I'll see what I can do!
2 comments:
I'm a little concerned about the "little" people shapes...that you're feeding to Fiona.
: -)
I consider them payback for all of the animal crackers people eat.
Post a Comment