(Spoiler alert: Christopher wasn't home to help me with this one, so it's not quite as pretty as last week's pie.)

But anyway, let's jump:
There's truly not a lot of ingredients in this, and what there are are really pretty healthy - if you focus on the "natural" side and ignore how much sugar goes into it.

OH - Quick point: You want your cream cheese to be softened when you use it. I tend to take it out of the fridge and set it - still in its sealed foil wrapper - on either a window ledge (this time of year) or on top of the fridge (any other time of year when the house is cooler).
As I mentioned in the video, I did make my own crust(s). They're not quite as camera ready as last week's crust was, but that one was a gluten-free crust that I bought from our local co-op, so I don't feel too bad.
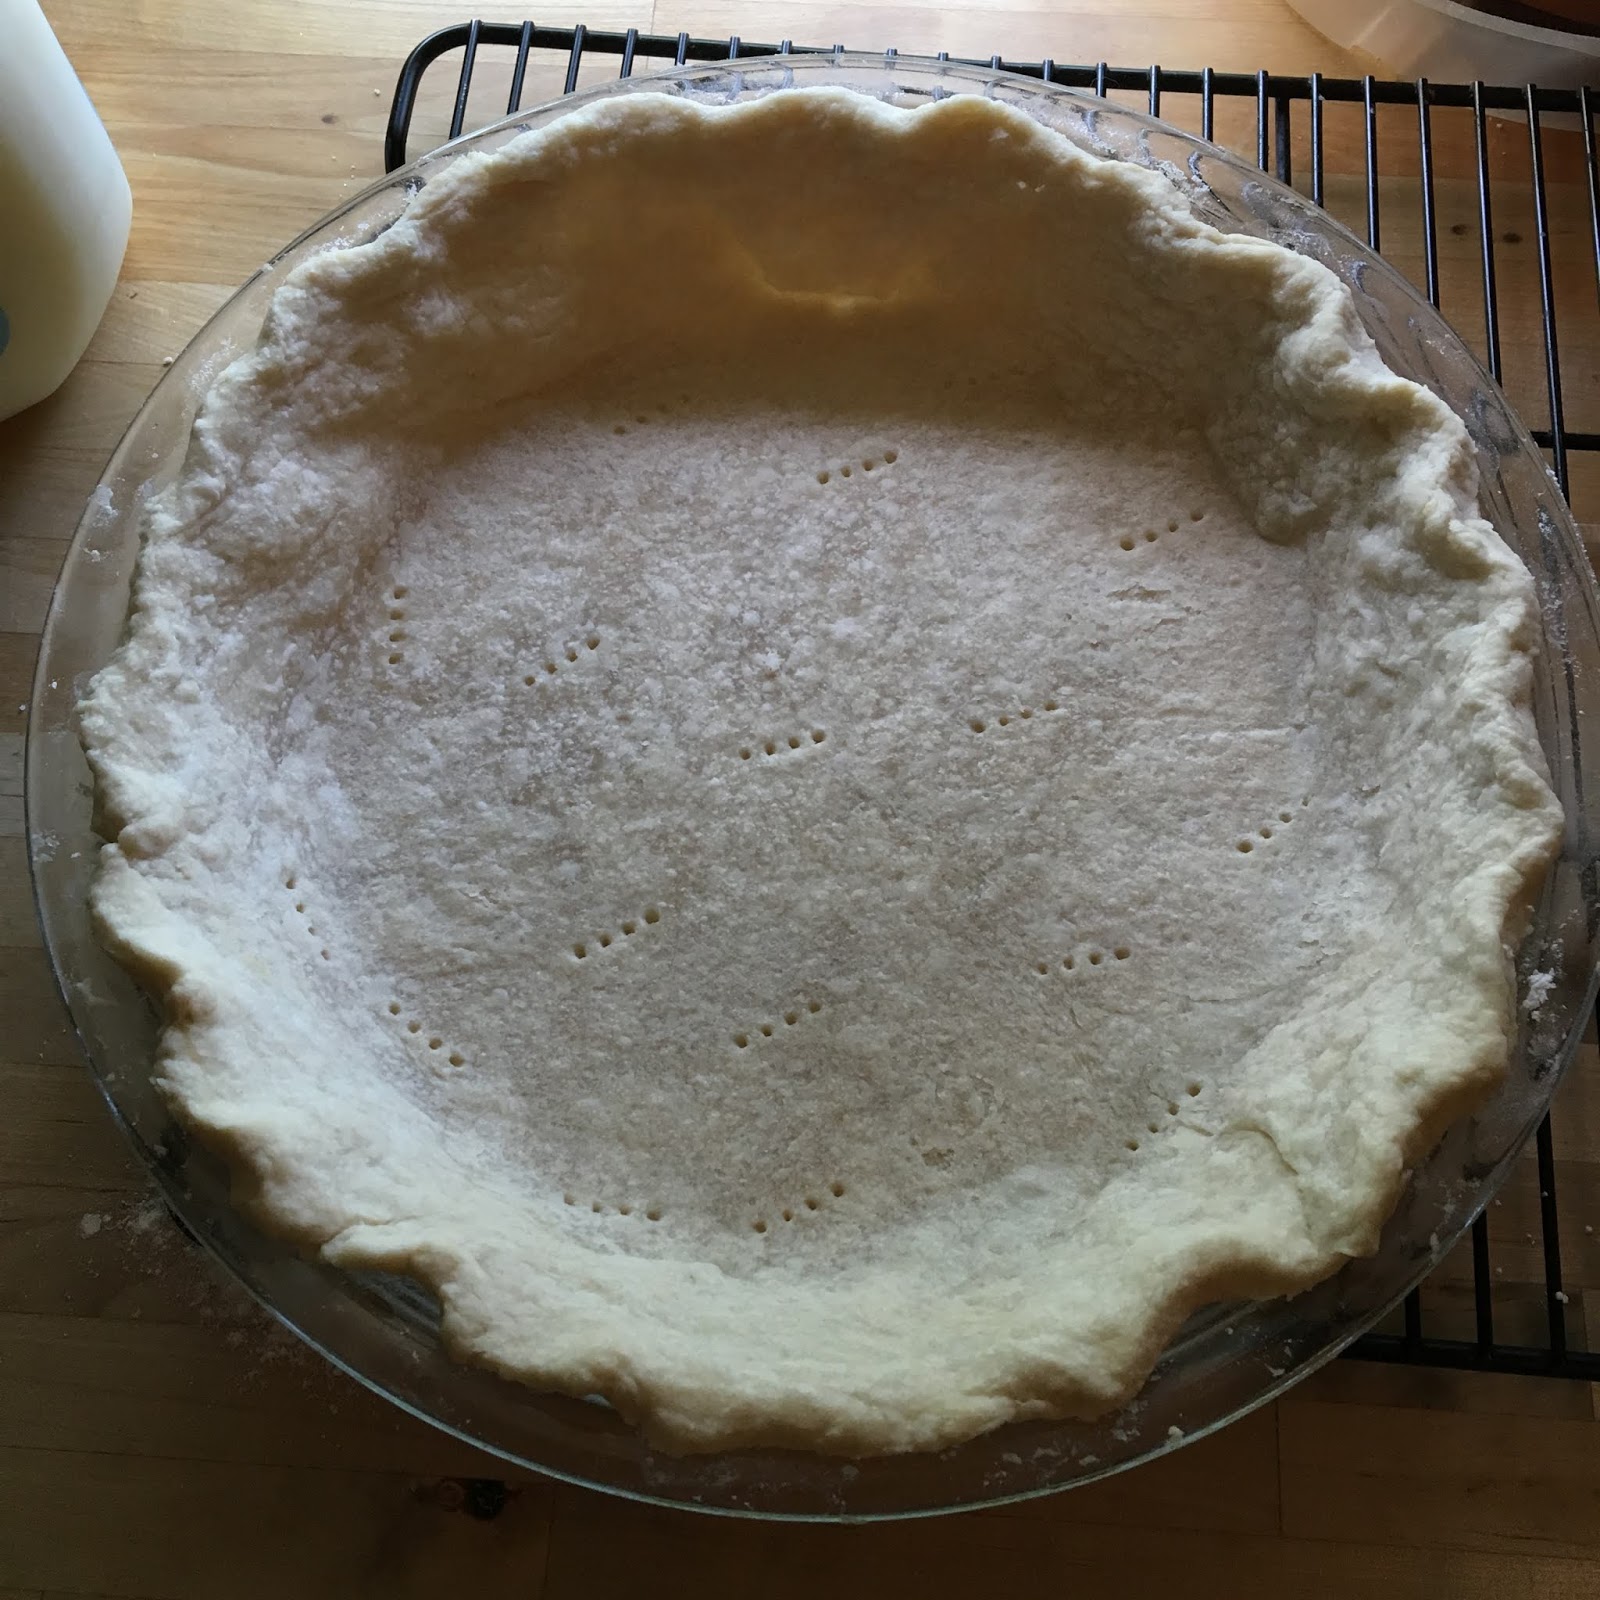 |
| It's not perfect, but I'm pretty proud of it. |
 |
| I'm thinking the outside crust might be too thick, here. |

Now, this being a homespun recipe, there's some guesswork as to quantities. And part of that is caused by the desired size of your finished pie. A quart of strawberries was a perfectly fine amount for last week's 8" crust. For this week's 10" crust (as well as the mini pie on the side), I started with two quarts.
But, as you can see, I also did some "measuring" by putting the fruit into the pie shells as I was cleaning it to see how many I might need.

The one constant with your berry measurements needs to be the "kept back" one cup (of whole strawberries), because those get cut up and used in the glaze.
 |
| Note: This is one cup of whole strawberries, which you then cut up. This is not "one cup of cut-up strawberries" - which would be a lot more by weight. |

Luckily, you don't have to watch them too closely at this point. So, instead, you can deal with the sugar, corn starch, and 1/3 cup water.
At first, it really doesn't look like there's enough water to do much.

But, with some good fork-whisking, it becomes a liquid. (I really want to call it a "slurry," but I'm not sure if that is appropriate for something that doesn't have flour in it. Does anyone know for sure?)

Even before the strawberries begin to boil, they already will begin to let go of some of their color.

Once they boil, the strawberry color kind of takes a dive - and the water around them becomes fairly dark red.

In goes the... slurry-type... corn starch mixture, which will disappear into the bottom of the pan until you stir it up.

Then you get this weird, cloudy mixture that looks like something has gone wrong. (I promise that it hasn't.)

Thus begins the first really big part of the patience I refer to in the intro video. Stirring occasionally, this will gradually come to a boil, then - after more patience and waiting and stirring - the mixture will go from cloudy to clear. It's a magical thing - but it does require some time.
While that is coming back up to a boil, you can whip together the first layer of the pie filling. (Be sure to go back to the pan every so often to check the color and to stir it so it doesn't burn on the bottom.)
**This is also a decent time for some kitchen dancing.
Again, the amount of cream cheese and milk you use will depend on the size of your pie. I used a full 8 ounces of cream cheese - and about 4 tablespoons of milk - to get a good, spreadable consistency to cover the base of both my pie and tart.

As a reminder: You want your cream cheese to be softened before you start. Otherwise, it's really hard to make this spreadable - and you don't want to rip up the bottom of your pie crust.
Don't forget about your strawberries on the stove, though. You'll want to stir it from time to time, just to be sure it's doing okay.
 |
| If you scrape all the way to the bottom while this is boiling, the bubbling sound may sound like something has gone wrong. Most likely it's perfectly fine. |
Then you can go back to spreading the cream cheese into the crust.

To minimize the amount of "worrying" you do to the crust, I recommend dropping a few glops of your prepared cream cheese mixture around the middle of the crust. This gives you somewhere to start from and less distance to cover.

Meanwhile, back on the stove, a miracle of sorts has been taking place.

Somewhere along the way, it's gone from cloudy and runny to "clear" (but still red and filled with cut-up strawberries) and kind of syrupy.
 |
| I don't know about you, but those last two photos seriously make my mouth water! |


Yes, I go for "attractive" when I do this - but I also go for "full coverage of the cream cheese layer" so it's usually not as pretty when I'm done as it is about halfway in.
Before you pour the glaze over the pie, you need to decide which of the possible two ways to deal with all of the chunks floating in it.
If this pie is going somewhere special, you can strain them all out so that the glaze is a clear, jewel-tone red when it's poured.
 |
| You can basically see through the glaze all the way down to the cream cheese in the "strained" version. |

If, however, this pie is just for you (and possibly the hundred-or-so weekly readers of your blog), you can leave the wilted strawberry chunks in and enjoy all of the extra goodness.*
 |
| Can you see the lighter, wilted strawberry bits in there? |
There is one problem with this: even the clear, strained version can get just a little cloudy.


But, really, are we here to look at it or eat it? How did it taste? (Are you sure you're ready to find out?) Here you go:
I totally distracted myself while talking about prep time, didn't I? It took me about half an hour of prep, about 15 minutes of cooking/assembling, and then about 6 hours of chilling, during which I actually went to see a matinee...

Now go forth and pie-create! (You did buy all of the ingredients already, right? After all, I told you what you'd need in last week's post.)
And, if you happen to take a little Pride in the pie you create - I think that's perfectly fine, too.
*Speaking of extra. What do you do if you have extra glaze (preferably with chunks) and cream cheese? (I just happened to have an extra 4 ounces of cream cheese in the fridge...) You put them both into a bowl and stir.

This gives you some absolutely amazing homemade strawberry cream cheese, which you can put into a container in the fridge.

It will probably last about a week (unless you eat it before then on bagels, croissants, crackers, spoons, etc.).
------
Did you have a good Fourth of July? What is your go-to dish (or is it a drink) for a summer holiday?
1 comment:
Strawberrrrrry Pie!
When I do mine, I put the sugar and cornstarch in the pan, then add the water and strawberries and stir to dissolve the dry ingredients (I mash the strawberries before putting them into the pan). I suspect it takes the same amount of boiling time, I just spend my time stirring so it doesn't clump up. I still get the same lovely clear red glaze at the end.
Post a Comment