Back around Easter, I decided that it would be nice to have dinner rolls with our Easter dinner (even though Easter dinner this year was just Christopher, me, and a ham). And so I headed online to find a good dinner roll recipe and came across this recipe for Parker House rolls from Dave Lieberman (who had a short run on the Food Network).
Having looked at a few other recipes, I thought this one seemed to look like it hit all the right notes. And since we had just come into possession of yeast, I decided it was the way to go. (Plus, they promised to look really pretty.)

Now, something you may not remember is that I also spent much of Easter Sunday making Yeast Doughnuts (that blog post is here). (So there was a whole lot of rising going on on Easter.)
Let's set the scene, since it's been a while:
Yes, frankly, this is how I feel about yeast. (More explanation in the video.)
First, we get together the ingredients, as usual.
 |
| You'll note that the water has a thermometer sticking out of it - that's because water that is too cold won't do anything with yeast and water that is too hot will kill it. (Please ignore the bottle of chocolate extract in the photo.) |
So what is a good temperature when working with Active Dry Yeast? Somewhere between 110 and 116 degrees Fahrenheit.


 |
| Yeah. The "flour and salt" photos are never going to get interesting. Sorry. |
Add in one whole egg and one extra yolk...
 |
| For the record, I do not know what the equivalency is if you crack open an egg to find it has two yolks. |
And - you guessed it - you can start stirring.

At this point, you can go back and look at the frothy yeast to see what it's been up to.

When we started, it basically all came to just barely above the 8-ounce mark. At this point, it was up to the 12-ounce mark. Which made me think the yeast had had enough snacking and was ready to do some work.

And, having decided that it's time to mix everything together, you can do just that.

This was the first time I've made these rolls, and... yowsa... this was not what I expected them to look like.

Eventually, they started to pull together and smooth out.

But even after adding all of the flour, this is how gloppy the dough looked when I flipped it out onto the board to be kneaded.

I took the recipe at its word and added about half a cup more flour as I went along - both to keep it from sticking to the board AND to get it to eventually hold together.

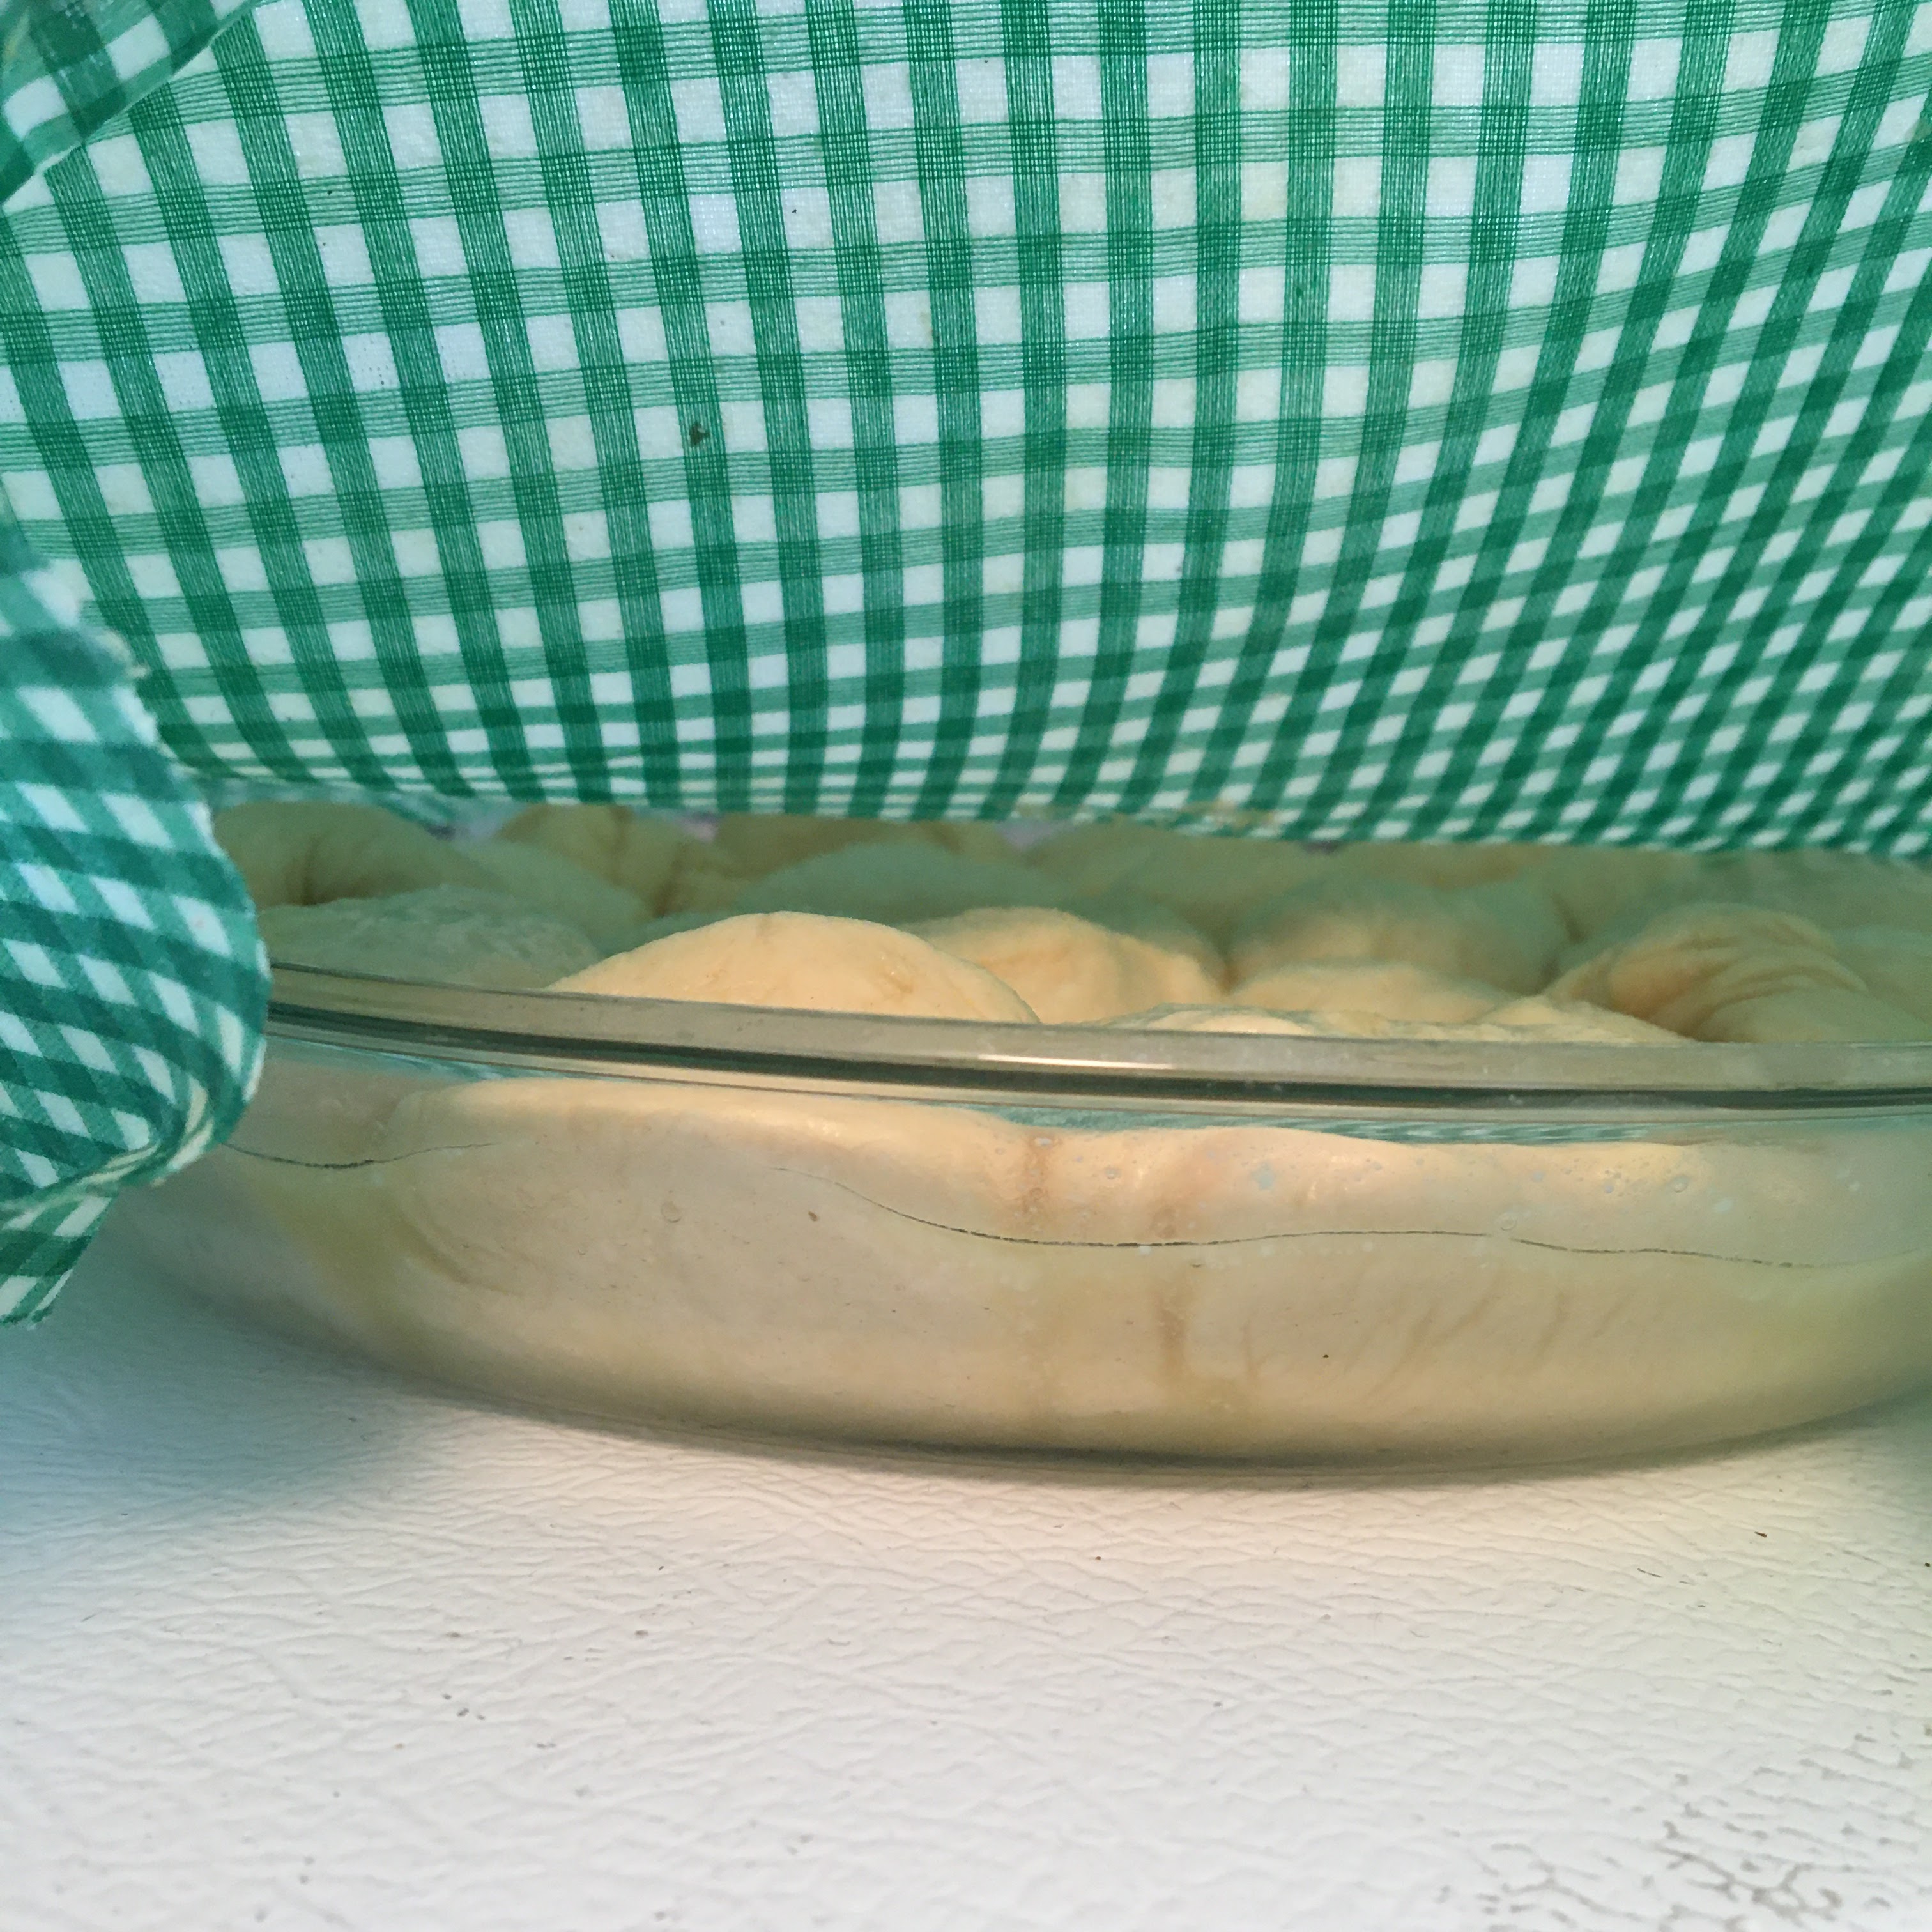
At this point, I put it into a bowl, covered it, and let it proof for about 20 minutes, at which point it came out looking like this:


 |
| I know it's a bit hard to tell, but it did grow some during that 20-minute rest. |
While the dough was resting, I melted 2 tablespoons of butter and put it into the bottom of a 9-inch pie plate:

And now your junior high math skills come into play. (Though... really... with most baking you do have to use math, so this isn't a huge leap.)
To quote the recipe: "Remove dough from the bowl, divide the dough in half and roll each piece into a long 1 1/2-inch wide snake shape. Cut into 20 pieces and shape each into a ball." That process looks (at least in my kitchen) like this:
Step 1: Divide the dough in half


 |
| I fully admit that this step had me wondering a bit. Was I supposed to cut each half into 20? Or was I supposed to end up with 20 pieces total? I opted to go with 20 pieces total. |
The first few dough balls were easy enough to roll in the butter. The latter ones were a bit of a challenge, though, because there wasn't much room left to move the butter around in. (If I come across something like this in a recipe in the future, I'll probably just butter the pan, then keep the melted butter in a bowl to dip the dough into.)


And about half an hour later, they looked like this.
 |
| Be honest - that's making your mouth water just a bit, isn't it? |
So, they look good, but how did they taste?
Overall, I'd say they lived up to the hype. And they were great for ham sandwiches after the fact.
Was it a perfect recipe? Maybe not. The dough was probably not supposed to be quite so wet at the start, but I worked around that. We'll see if I try this recipe again in the future or try another one.

By the way - I did find that, yep, Parker House Rolls are named after the Parker House Hotel in Boston, where they originated in the 1870s.
-----
Behind/Below-the-scenes photo: This is what happens when you wear black sweatpants without an apron while working with dough. (Or at least it's what happens if you're me.)

No comments:
Post a Comment